The Thanksgiving and Christmas seasons tend to be filled with work, stress and anxiety- not to mention a calendar full of activities. To help focus our hearts and minds during the season of Thanksgiving, our family started a tradition called the “Thankful Tree”.
On November 1st we put up our Thankful Tree on our living room wall. It’s nothing fancy and usually made out of crumpled up paper grocery bags or brown butcher paper (see our plans below for how to assemble a tree of your own). Each evening at dinner we spend time talking about our day and we reflect on what we are thankful for. Each family member says one thing they are thankful for, we write them down on our thankful leaves (see plans below) and we add them to our tree. By the time Thanksgiving arrives, our tree is so full of leaves that we can hardly squeeze in more.
We’ve found our Thankful Tree to be a great way of focusing our hearts during a busy time of year and a great way to reflect on all that we have to be thankful for. Even in the hardest of times, we still have so much to be thankful for.
The season of Thanksgiving leads right into the season of Advent/Christmas. Advent is simply a time of reflection, preparation and celebration of the coming of Christ. We created “The Advent Kids” website to give families a place to help focus on the true meaning of Advent/Christmas. What better way to help prepare our hearts for the season of Advent than to reflect on all that God has blessed us with and all that we have to be thankful for.
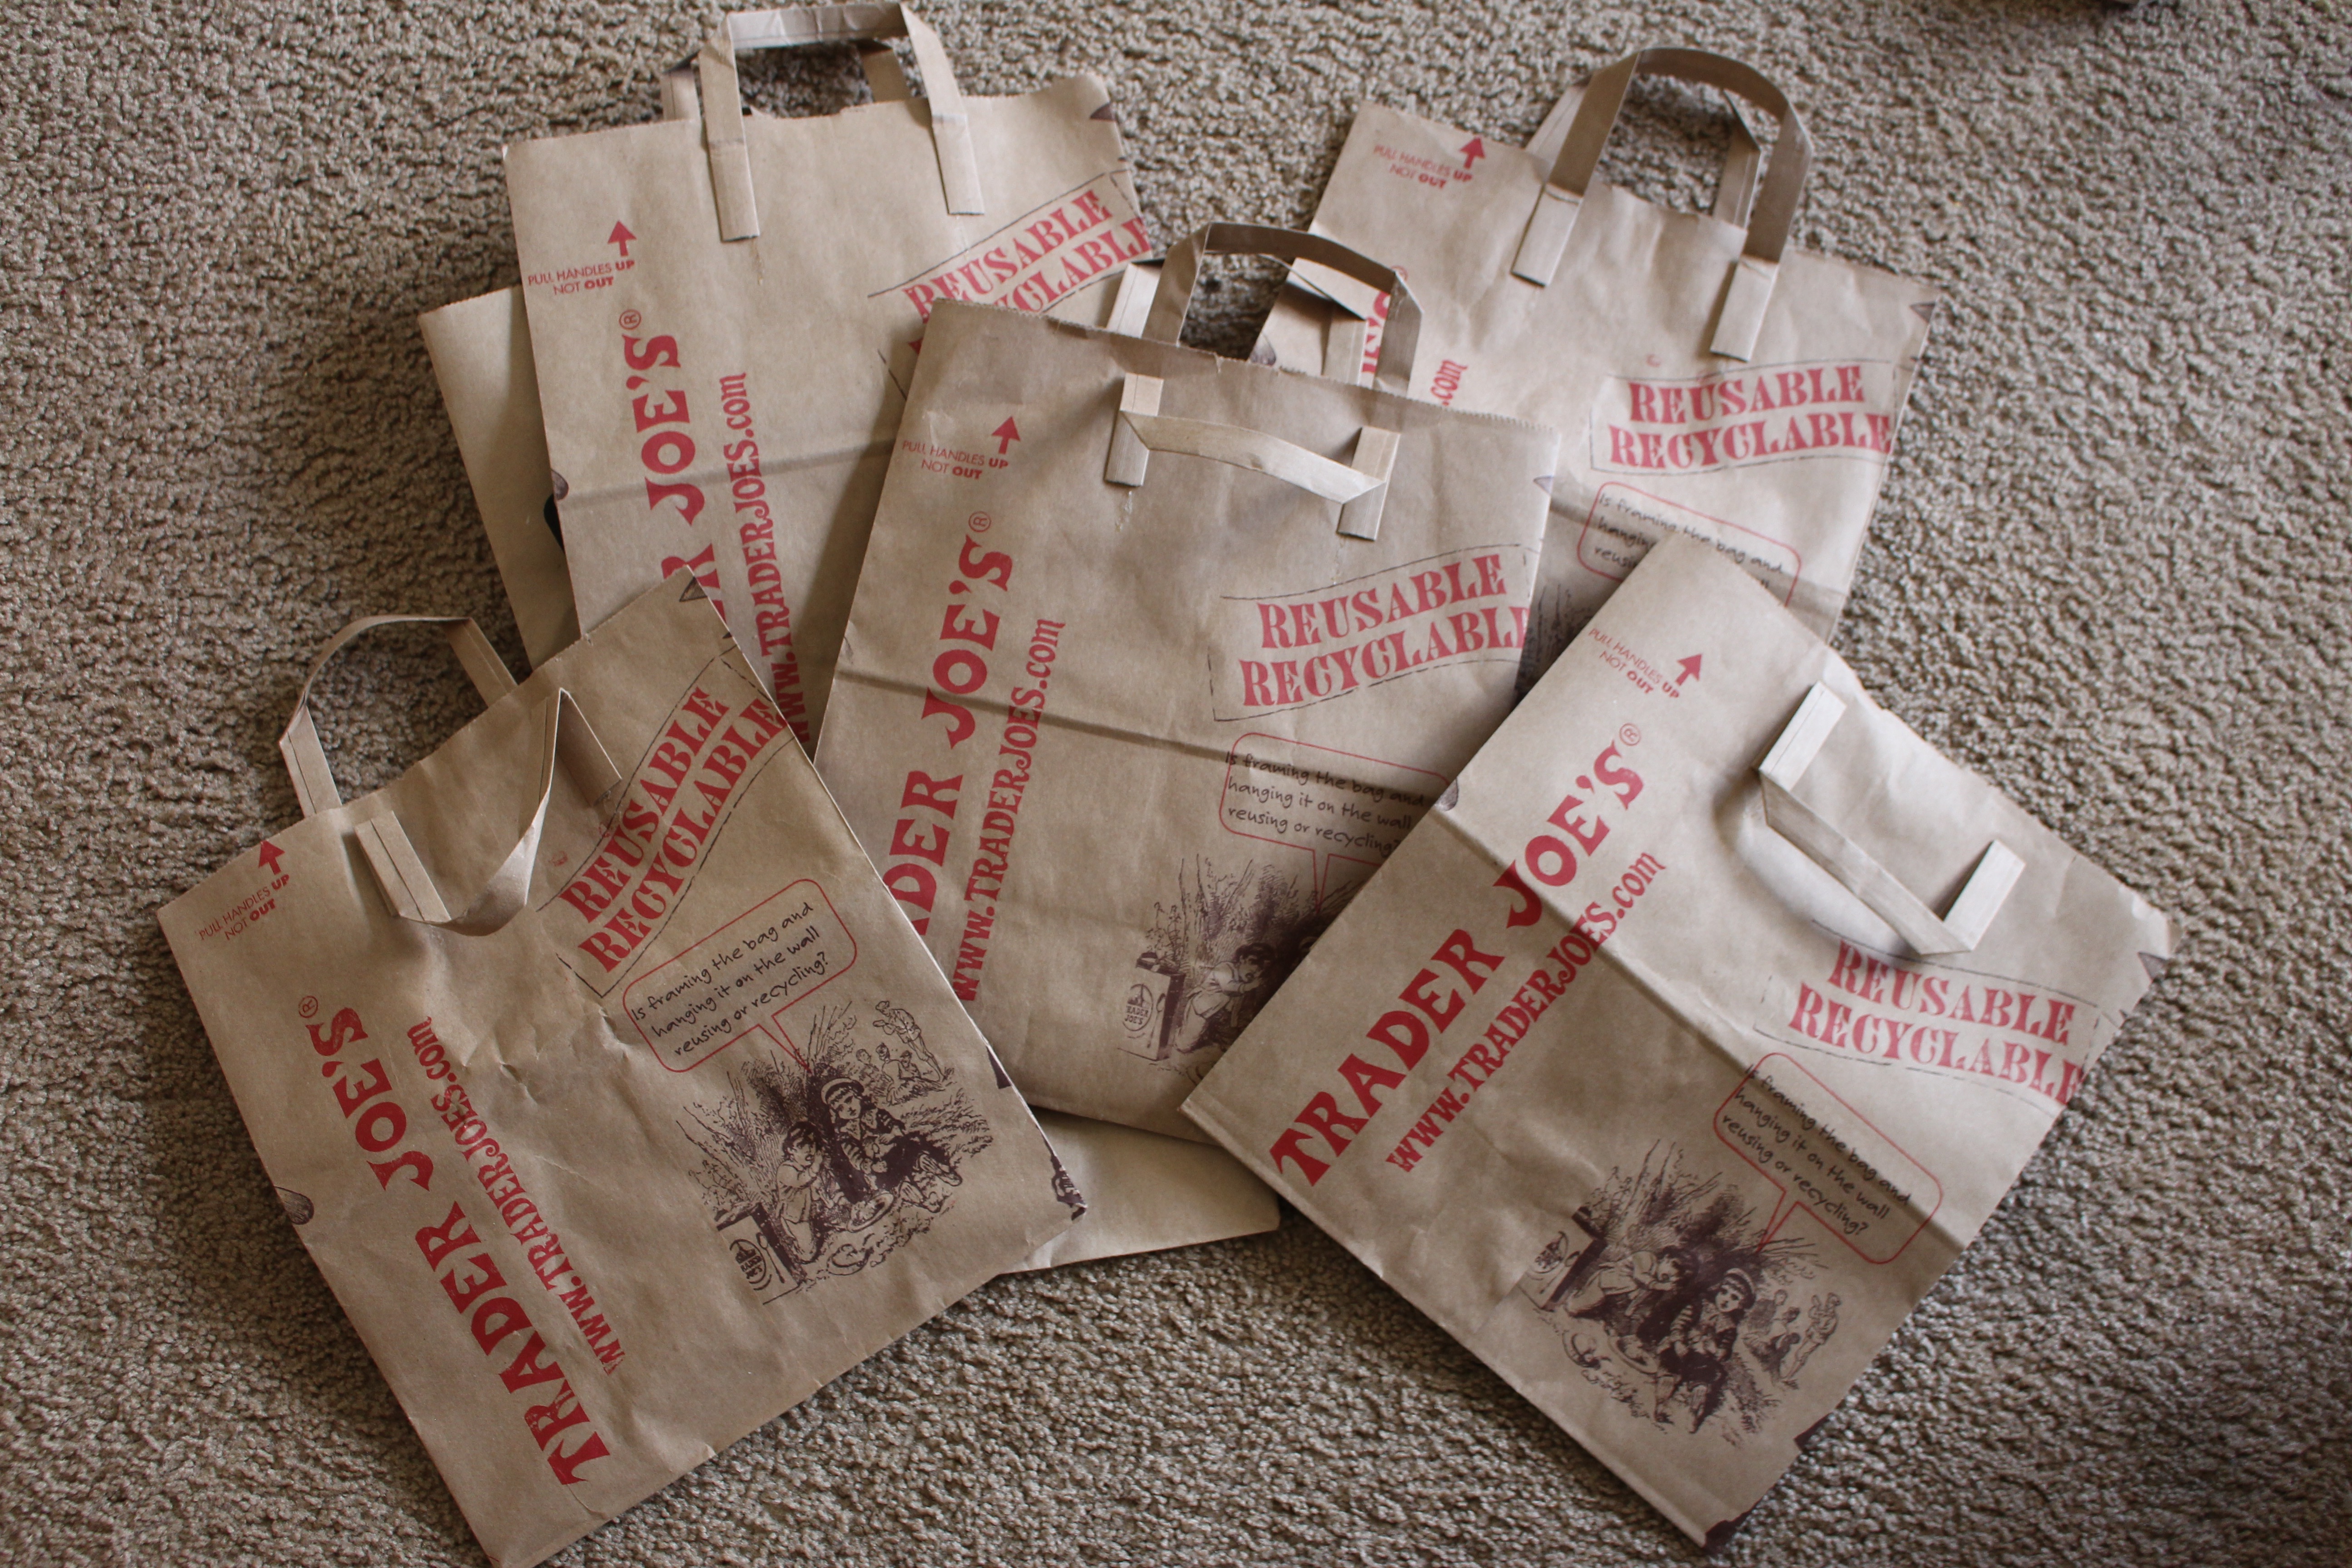
Here is how we assemble our Thankful Tree:
You’ll need paper grocery bags or brown butcher paper, masking tape, scissors, construction paper or cardstock in fall colors and a sharpie.
Get a few paper grocery bags (yes, we love Trader Joe’s J). Our tree used between 3-4 bags. Brown butcher paper works even better since it’s thinner paper, but we didn’t have any this year.
Cut out the bottom of the bag, take off the paper handles (you won’t need these) and slice the bag open so you have one long rectangular piece of paper.
For the trunk: I use one whole bag, crumple the paper and shape it into a tree trunk shape. Then I tape the back together (on the printed side) so it holds its shape.
Note: the step-by-step pictures below show the 2-D version of the Thankful Tree. The very last picture shows the 3-D version (which the one we most often use). The directions are virtually the same except with the 2-D version you don’t crumple the paper, you just leave it flat.
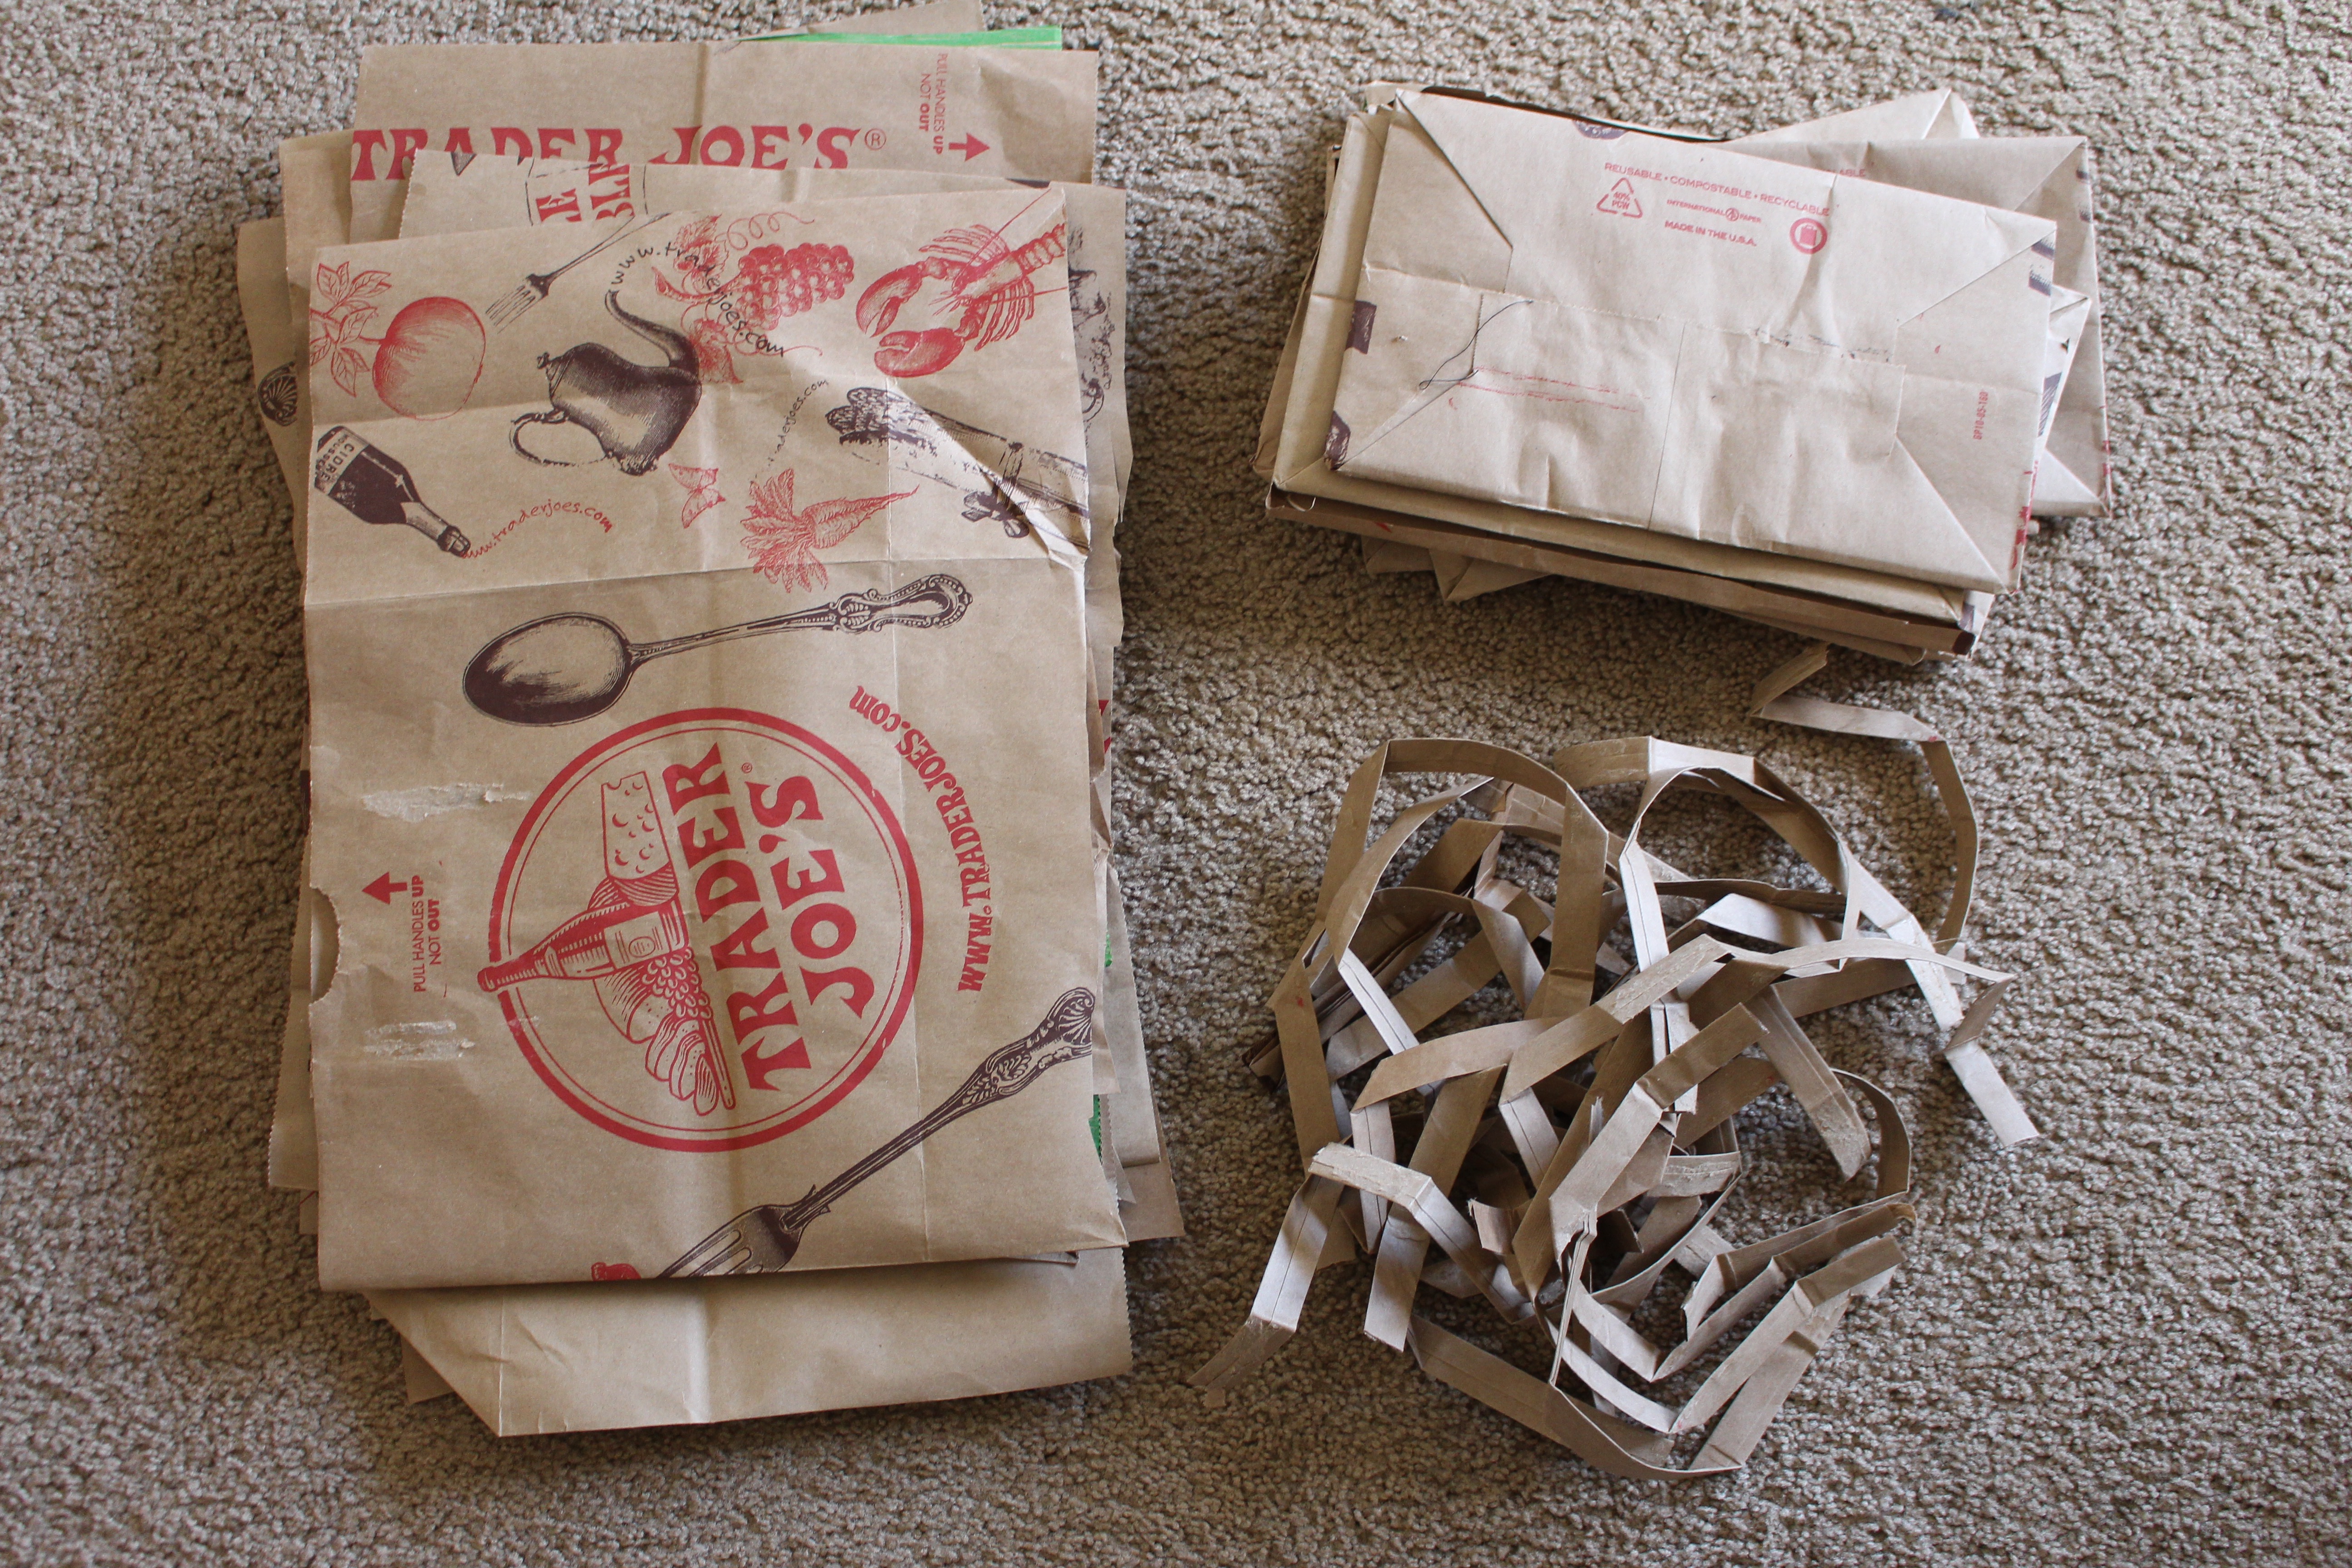
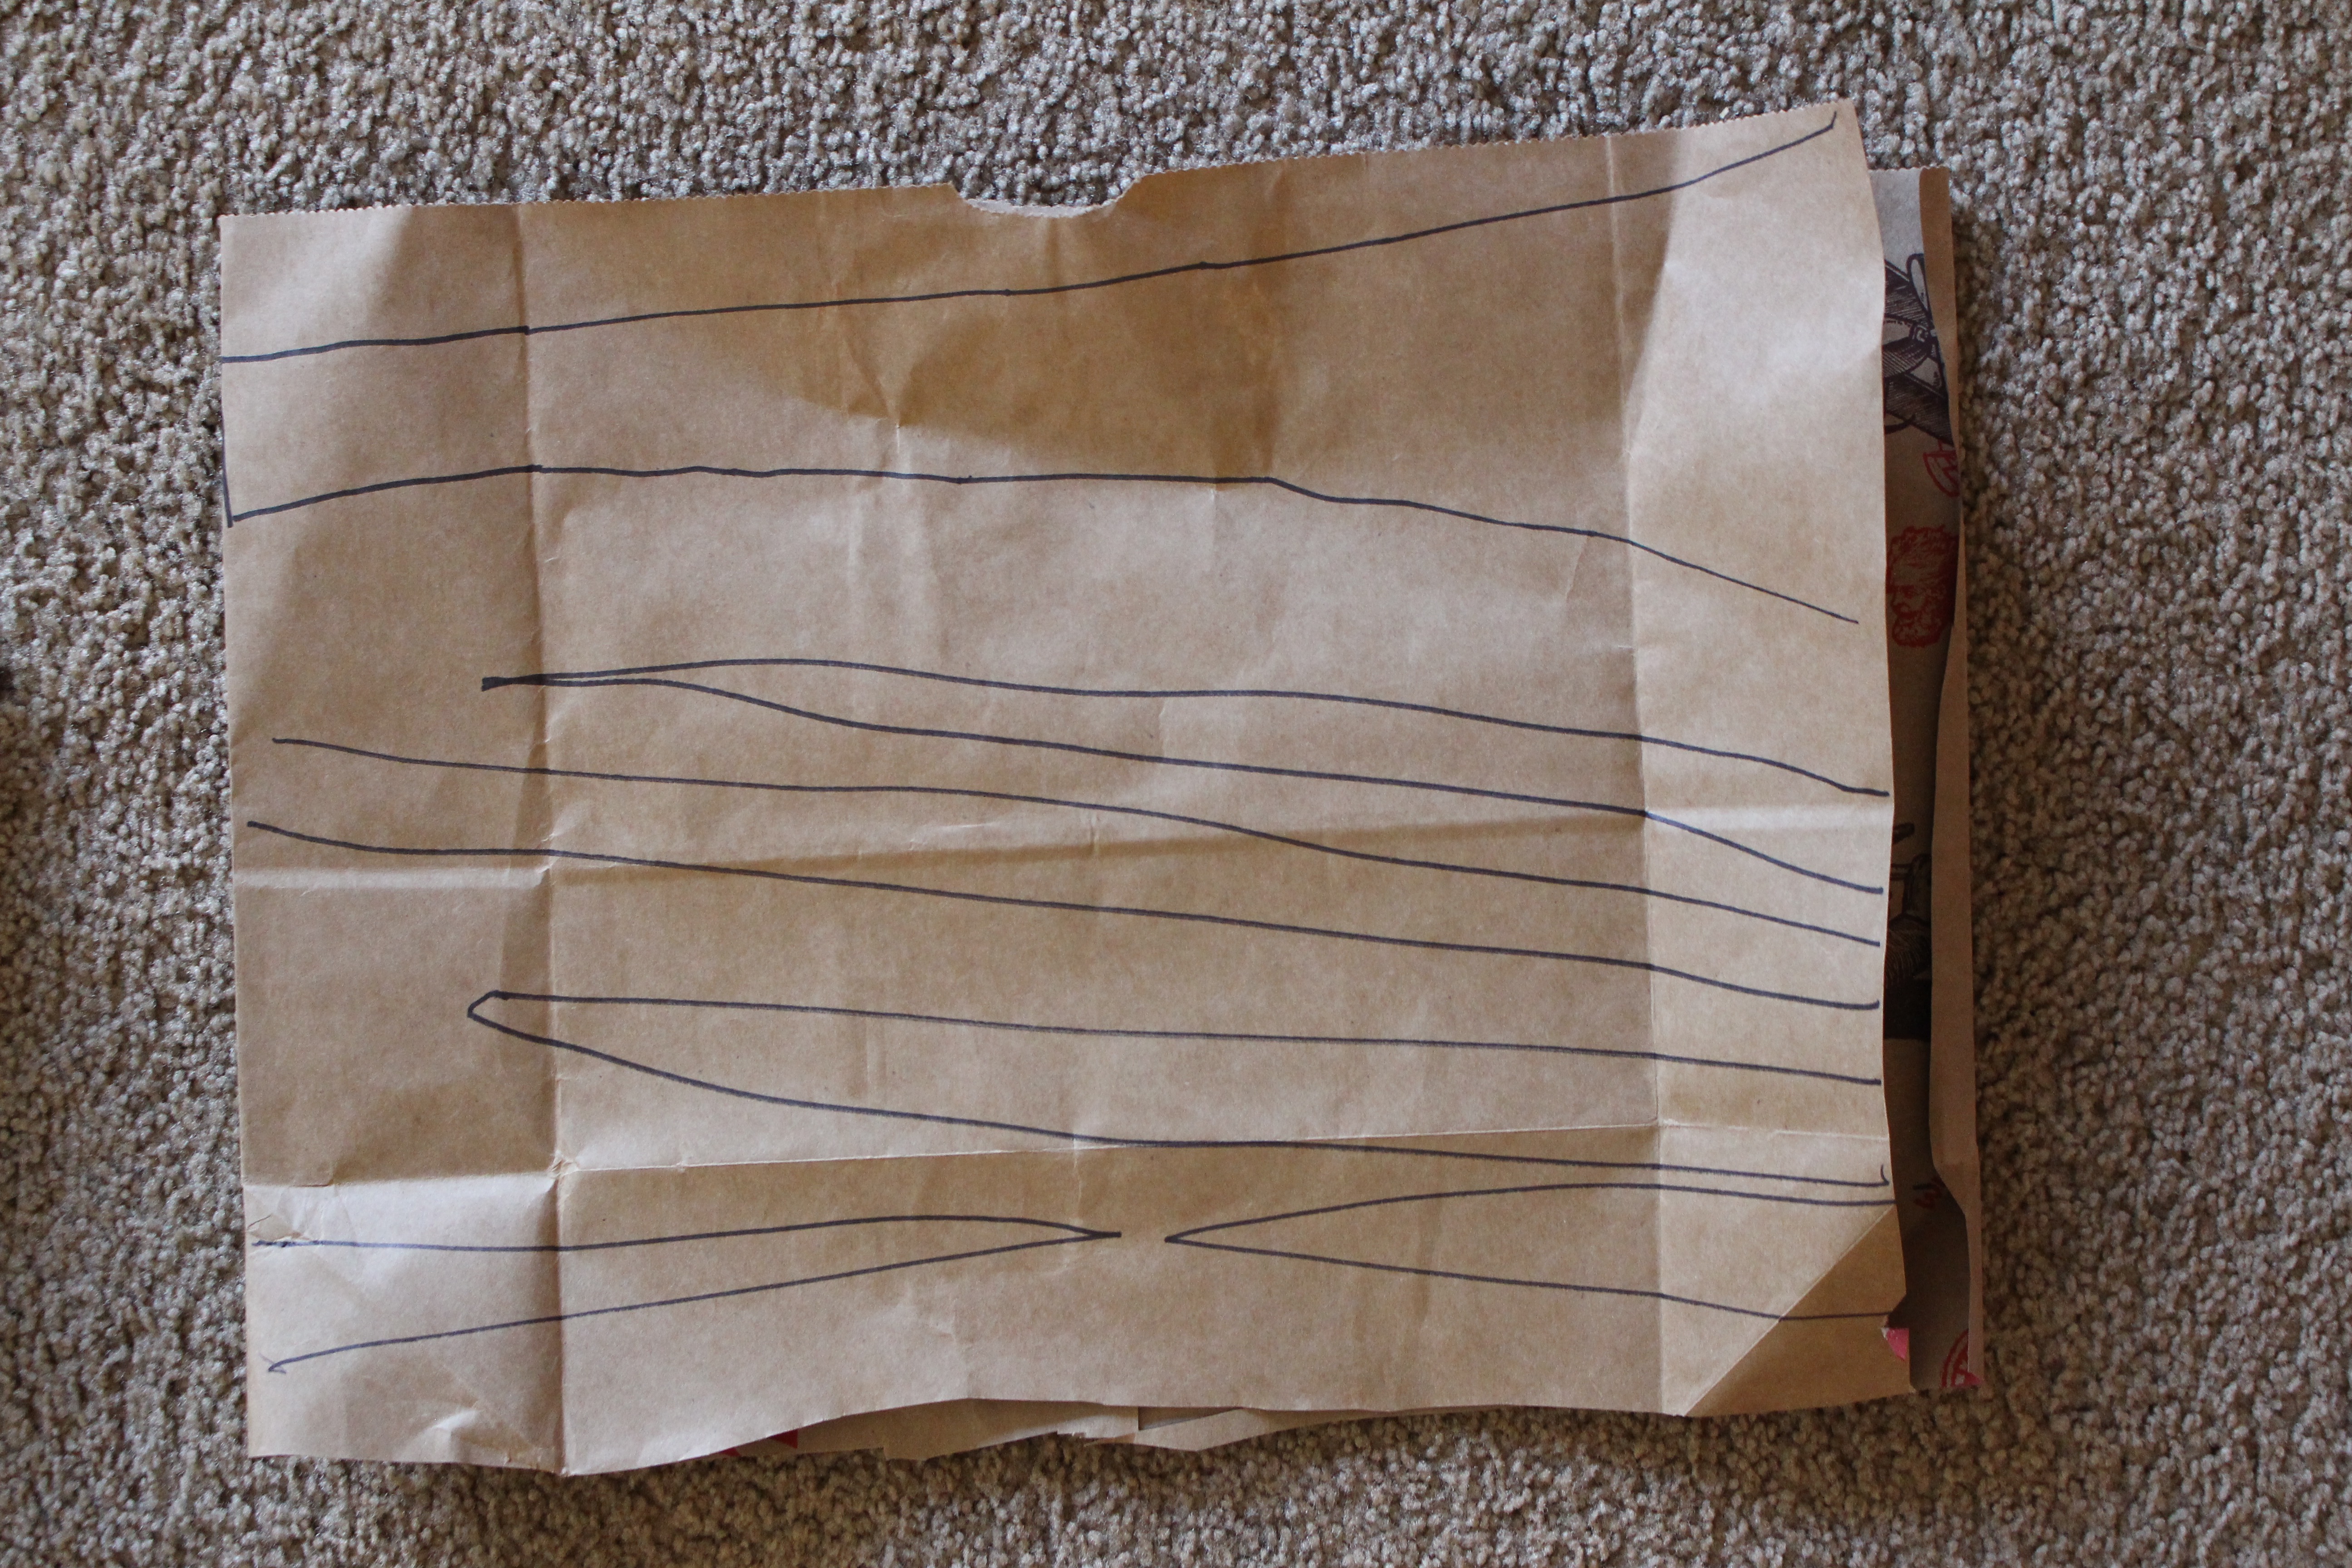
For the branches: I cut out various size and shape pieces of paper, crumple and roll them up. Then I tape the back just like the trunk so the branches hold their shape. Your tree shouldn’t be perfect- life isn’t perfect. The more gnarly your tree looks, the better.
Assembling: I start with the trunk. Make double sided pieces of masking tape and stick your trunk in place (add more tape as needed). You’ll be surprised how well the masking tape will hold the tree in place.
Note: I have found that masking tape works the best for putting your tree onto the wall (duct tape is too rough on your paint, scotch tape and painters tape are not quite strong enough).
Add the large main branches (these will determine the size and shape of your tree).
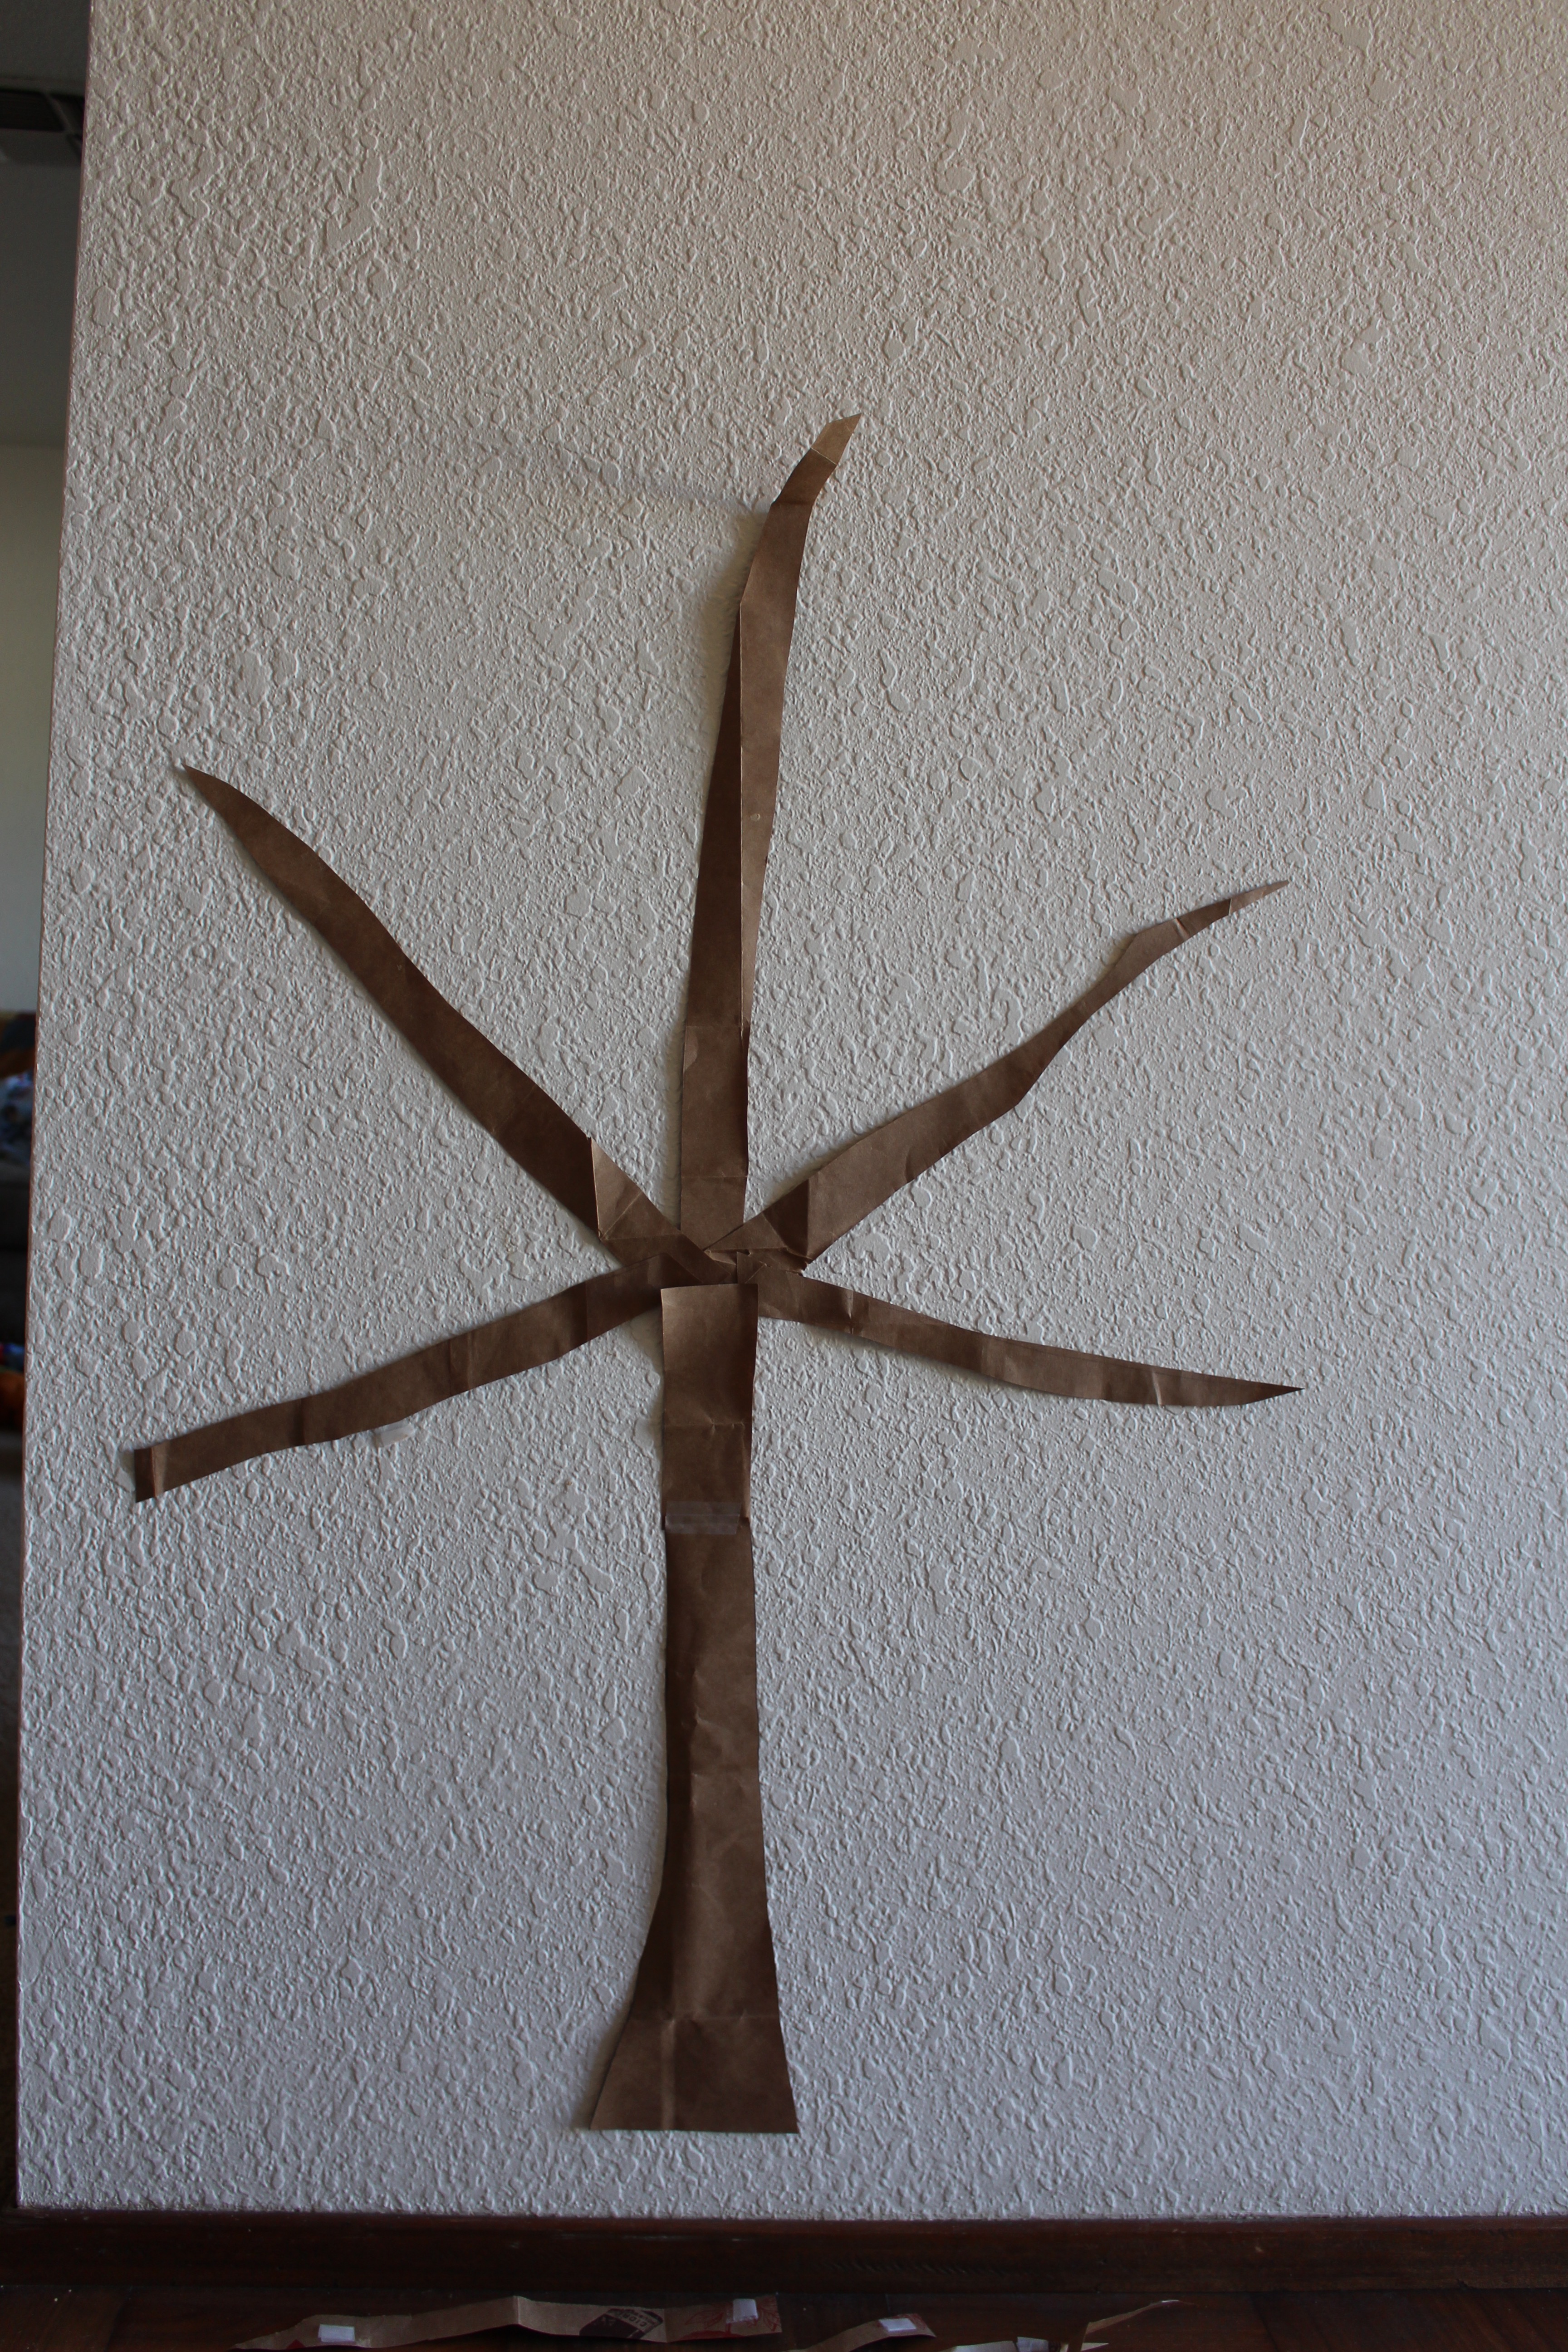
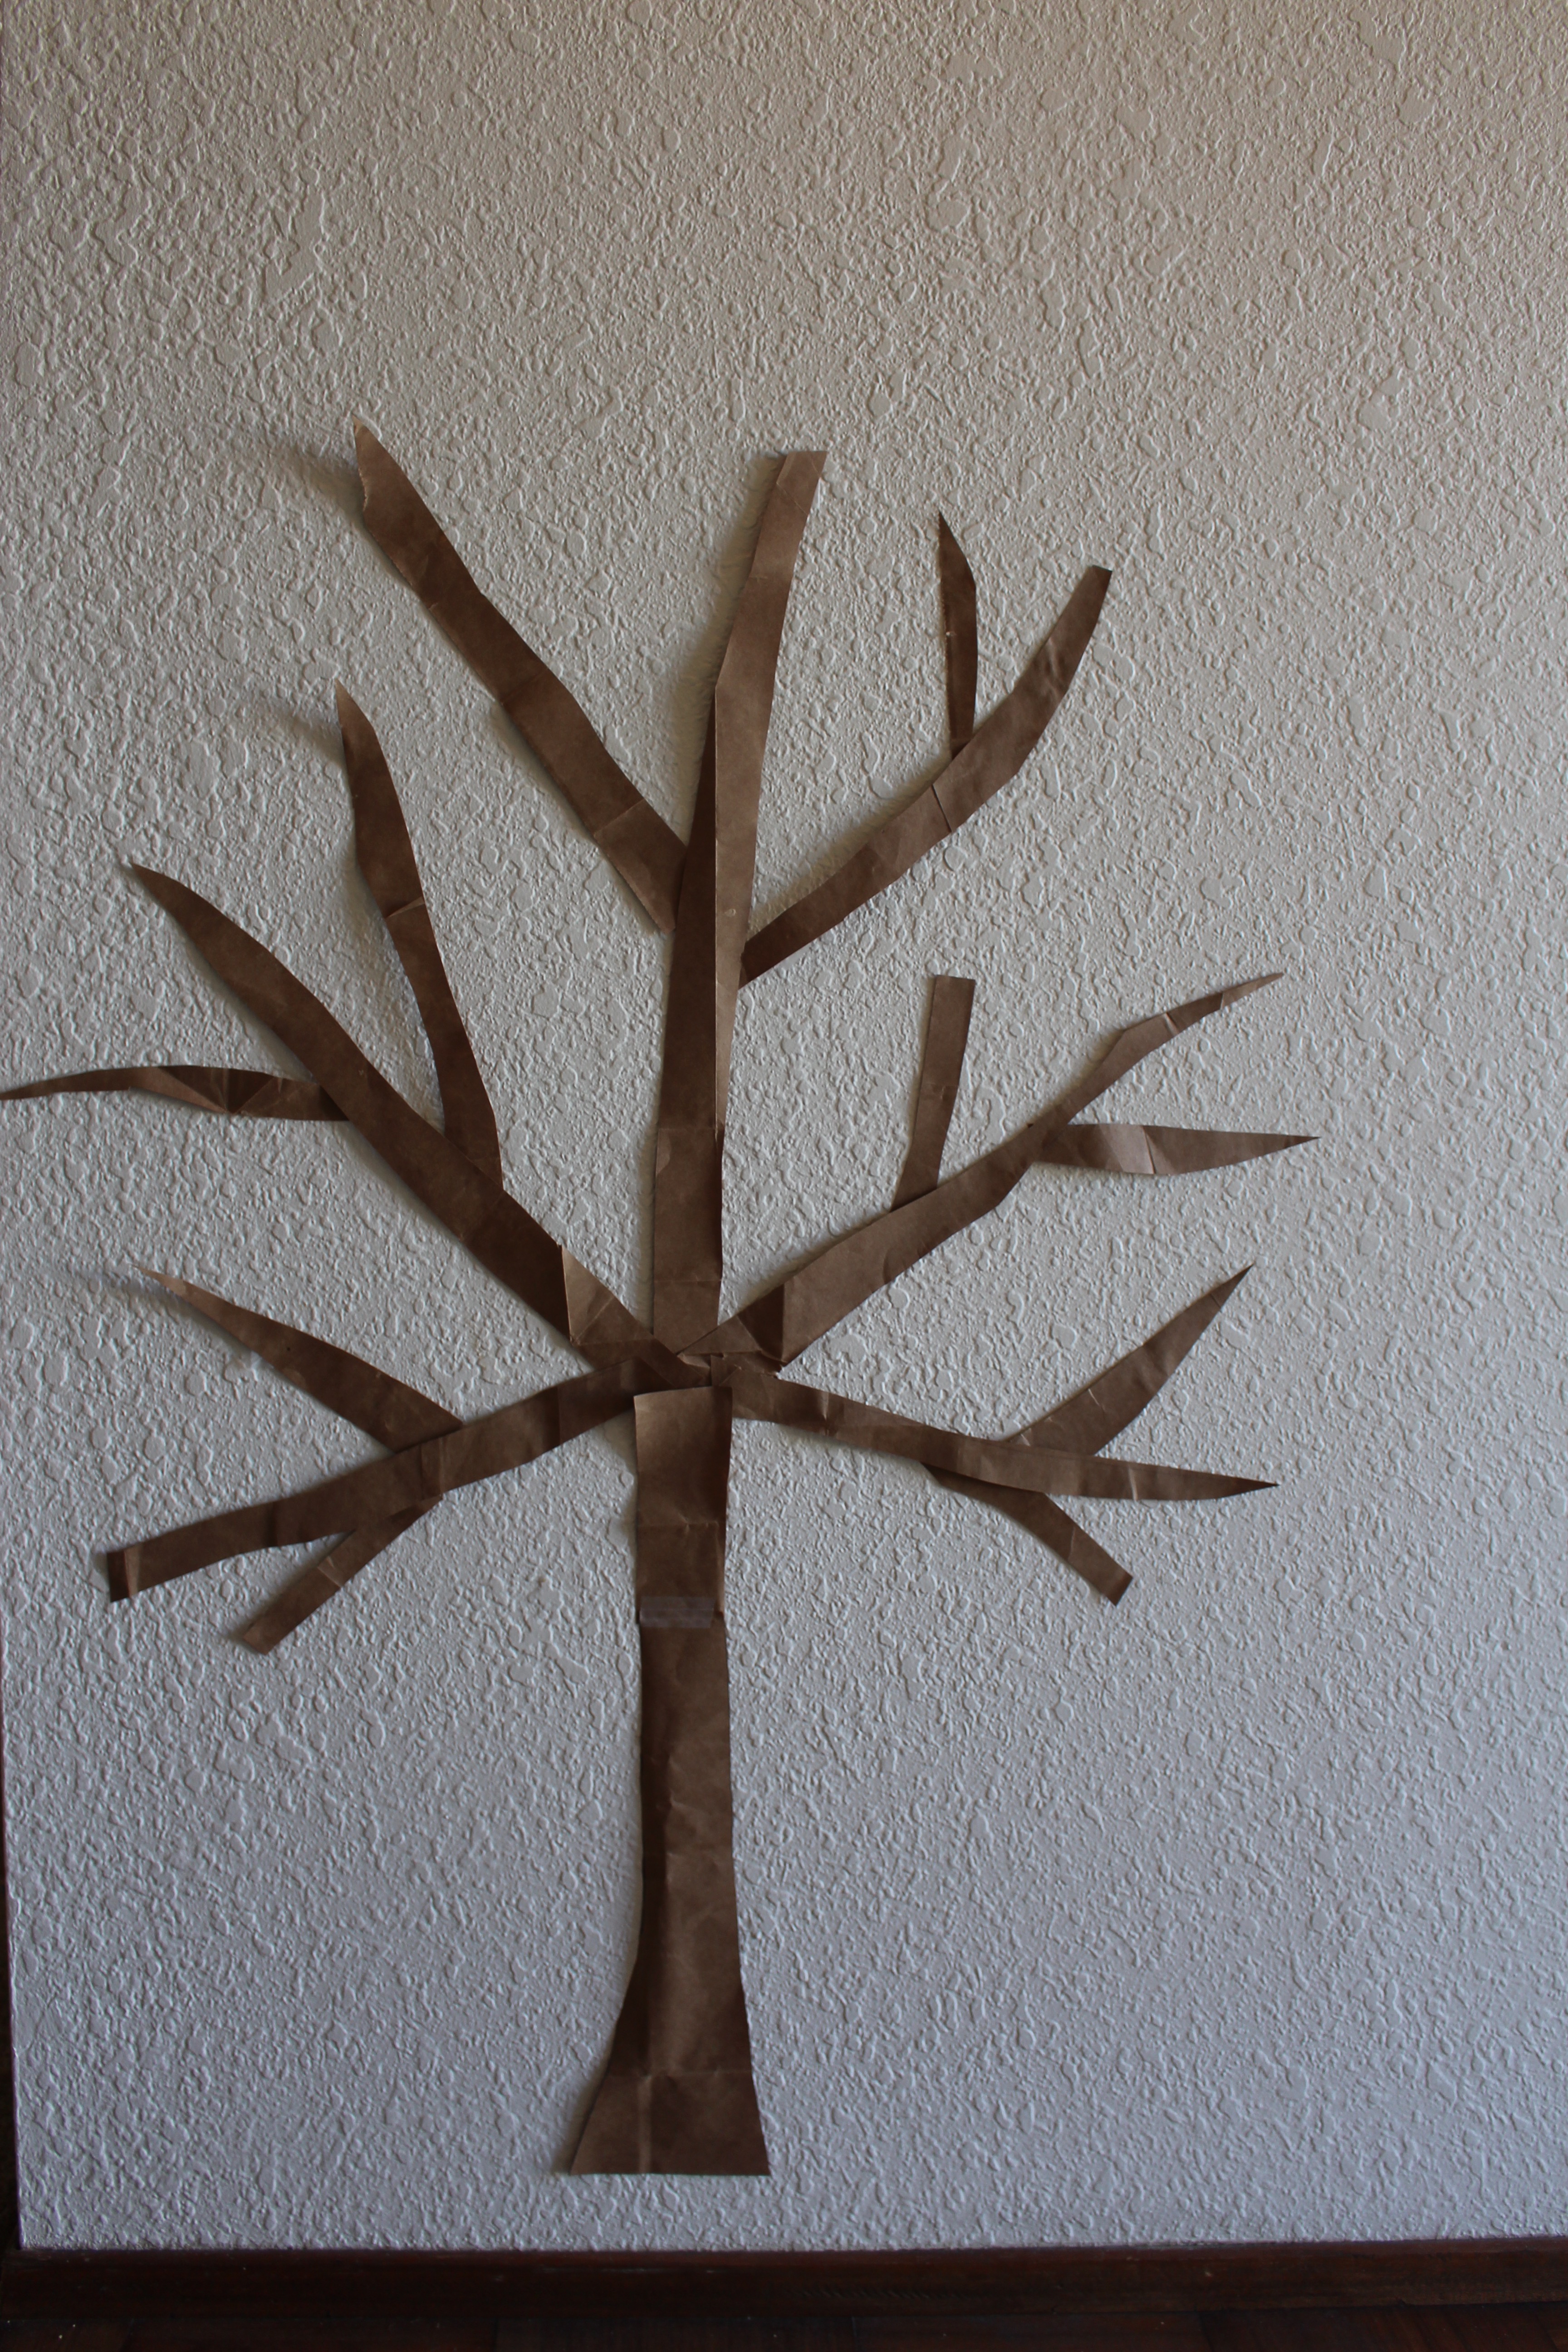
Add the smaller branches. Stand back and look at your tree and add/take away as needed.
Cut leaf shapes out of the cardstock/construction paper (I cut out various sizes, but you don’t have to). I used my Cricut die-cutting machine to cut out our leaves (Cricut Essentials, leaf pattern, 1.75” and 2.75”, if you have one of your own), but cutting them out by hand is fine, too. In fact, it’s a fun project if your kids are old enough- have them cut out the leaves. We have a pattern here if you need one.
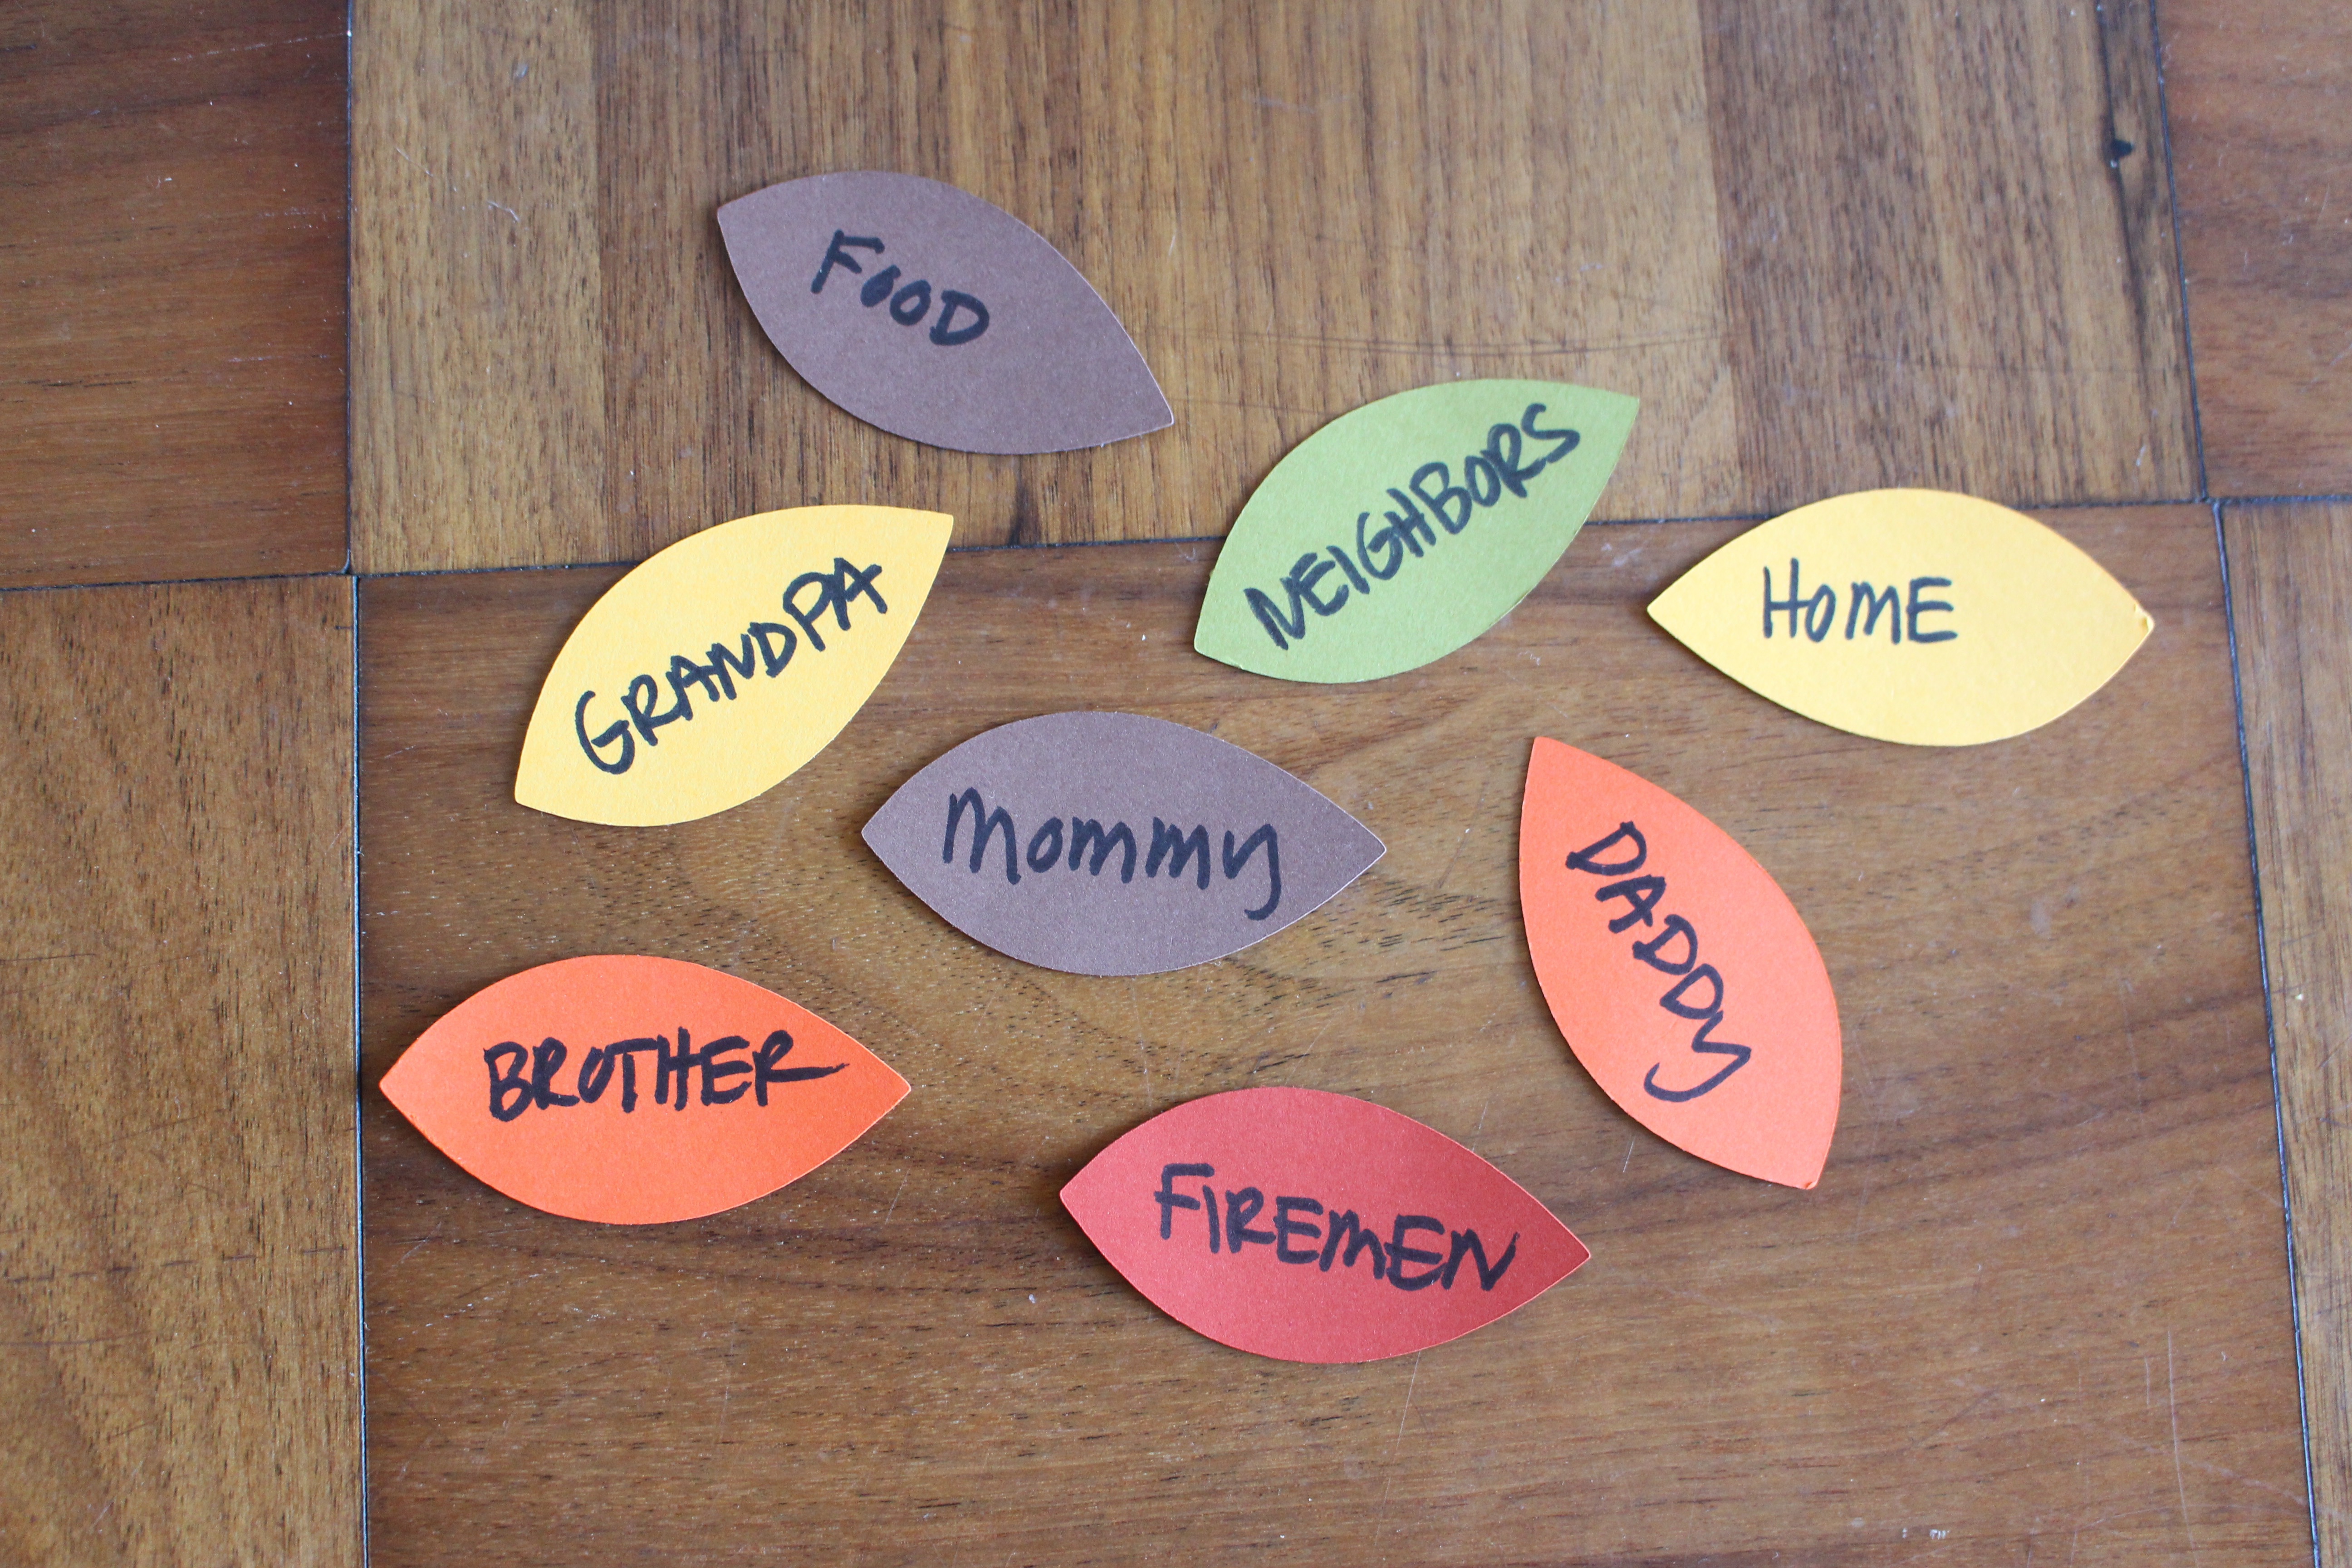
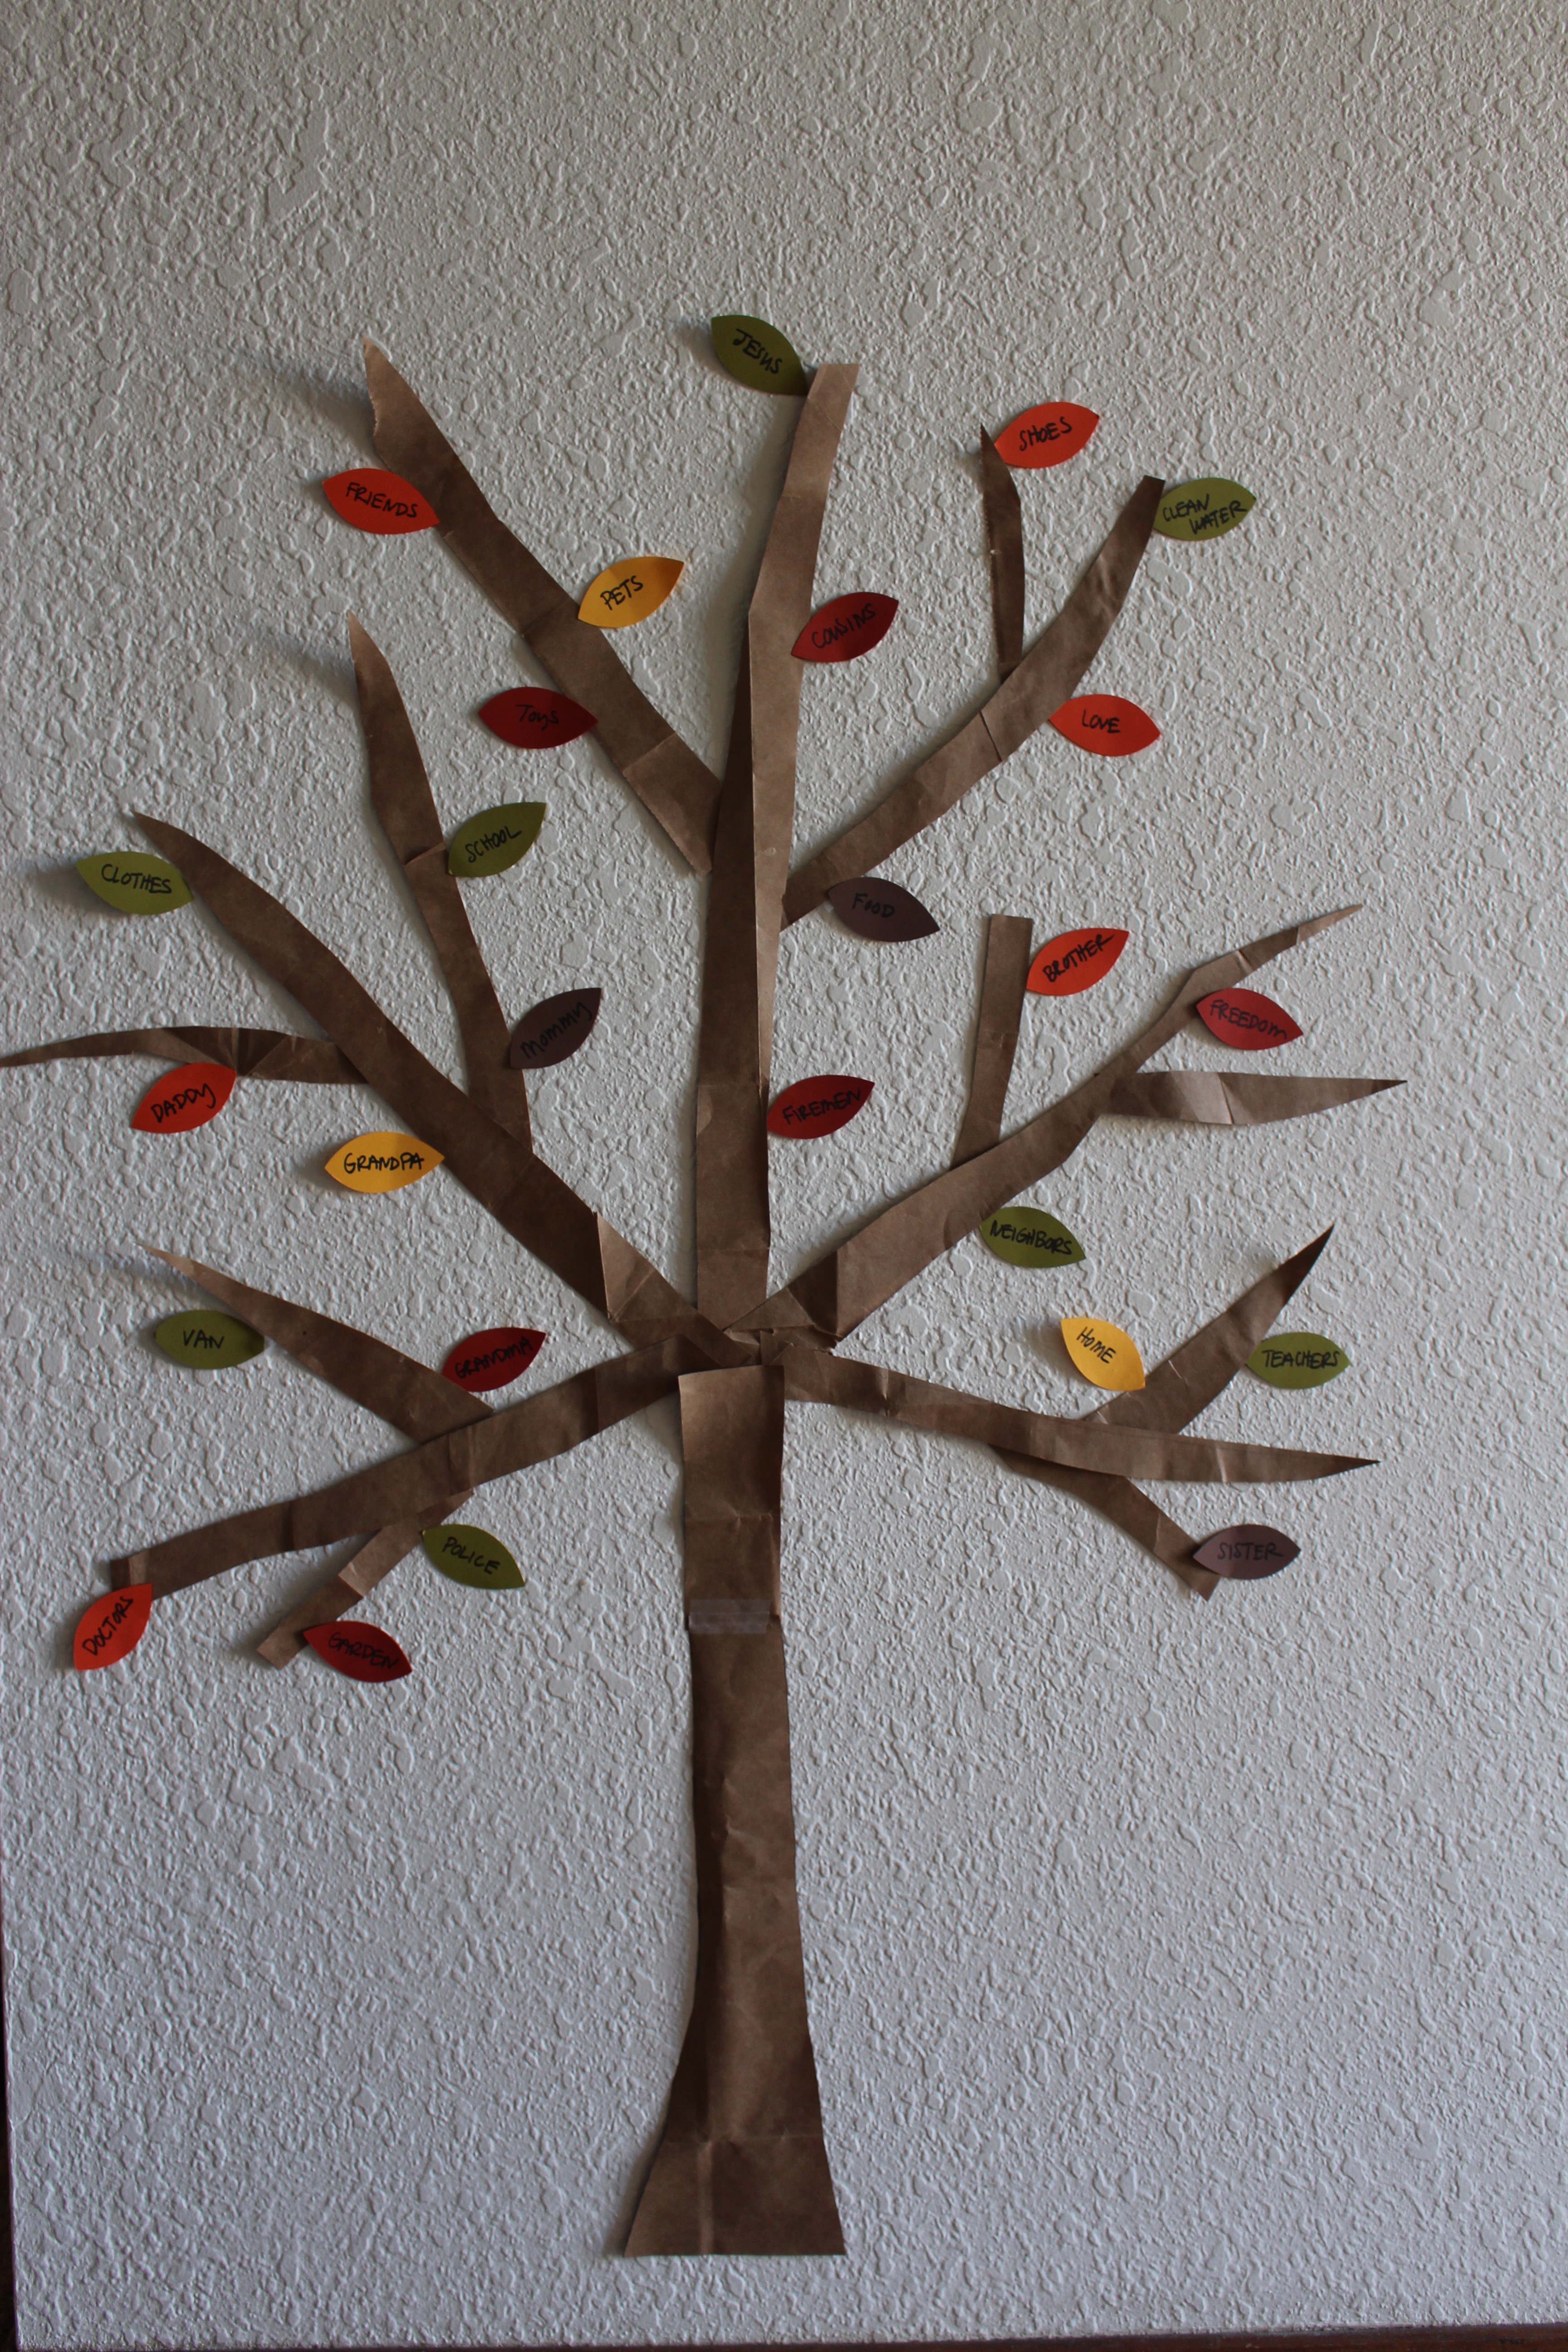
Add the leaves with tape or a stapler each day and watch your thankful tree grow. Be sure to involve the whole family- my boys LOVE helping assemble our thankful tree.
This is a great project for your family, classroom, Sunday school, small group or office to do together. It’s a great way to reflect on all we have to be thankful for.
Here is the 3-D version that we use most often.
Make your Thankuful Tree your own, it doesn’t have to be fancy. You could even use a house plant you already have (artificial or live) that you can hang your leaves from. Don’t make it complicated, just have fun. Happy season of thanks.
