Calendula
Calendula has slowly become one of my favorite plants to grow in the garden. Calendula has many wonderful garden benefits: it fends off pests both in ground and above, it’s pollinator friendly AND it can be companion planted with ANYTHING as it has no plant foes! Bonus: where we live in gardening zone 9b, calendula can basically be grown year round! Calendula comes in many different sizes and colors and here are some of my favorite varieties: Strawberry Blonde, Zeolights and Oktoberfest.
It wasn’t until recently that I learned about all the wonderful healing properties of calendula, which is actually classified as an herb! Who knew?! Calendula is kind of a super healing, herbal powerhouse. It is anti-inflammatory, antiviral, anti-fungal, anti-microbial AND it’s an astringent! Even with all its healing powers, it’s very gentle to use. It is a wonderful addition to salves, soaps, lotions and even makes a wonderful tea (which can help aid with things like menstrual cramps!).
Today I’m going to show you how to use calendula to make a wonderful salve! A salve is like a balm or ointment that is applied topically to your skin to help aid with a number of ailments.
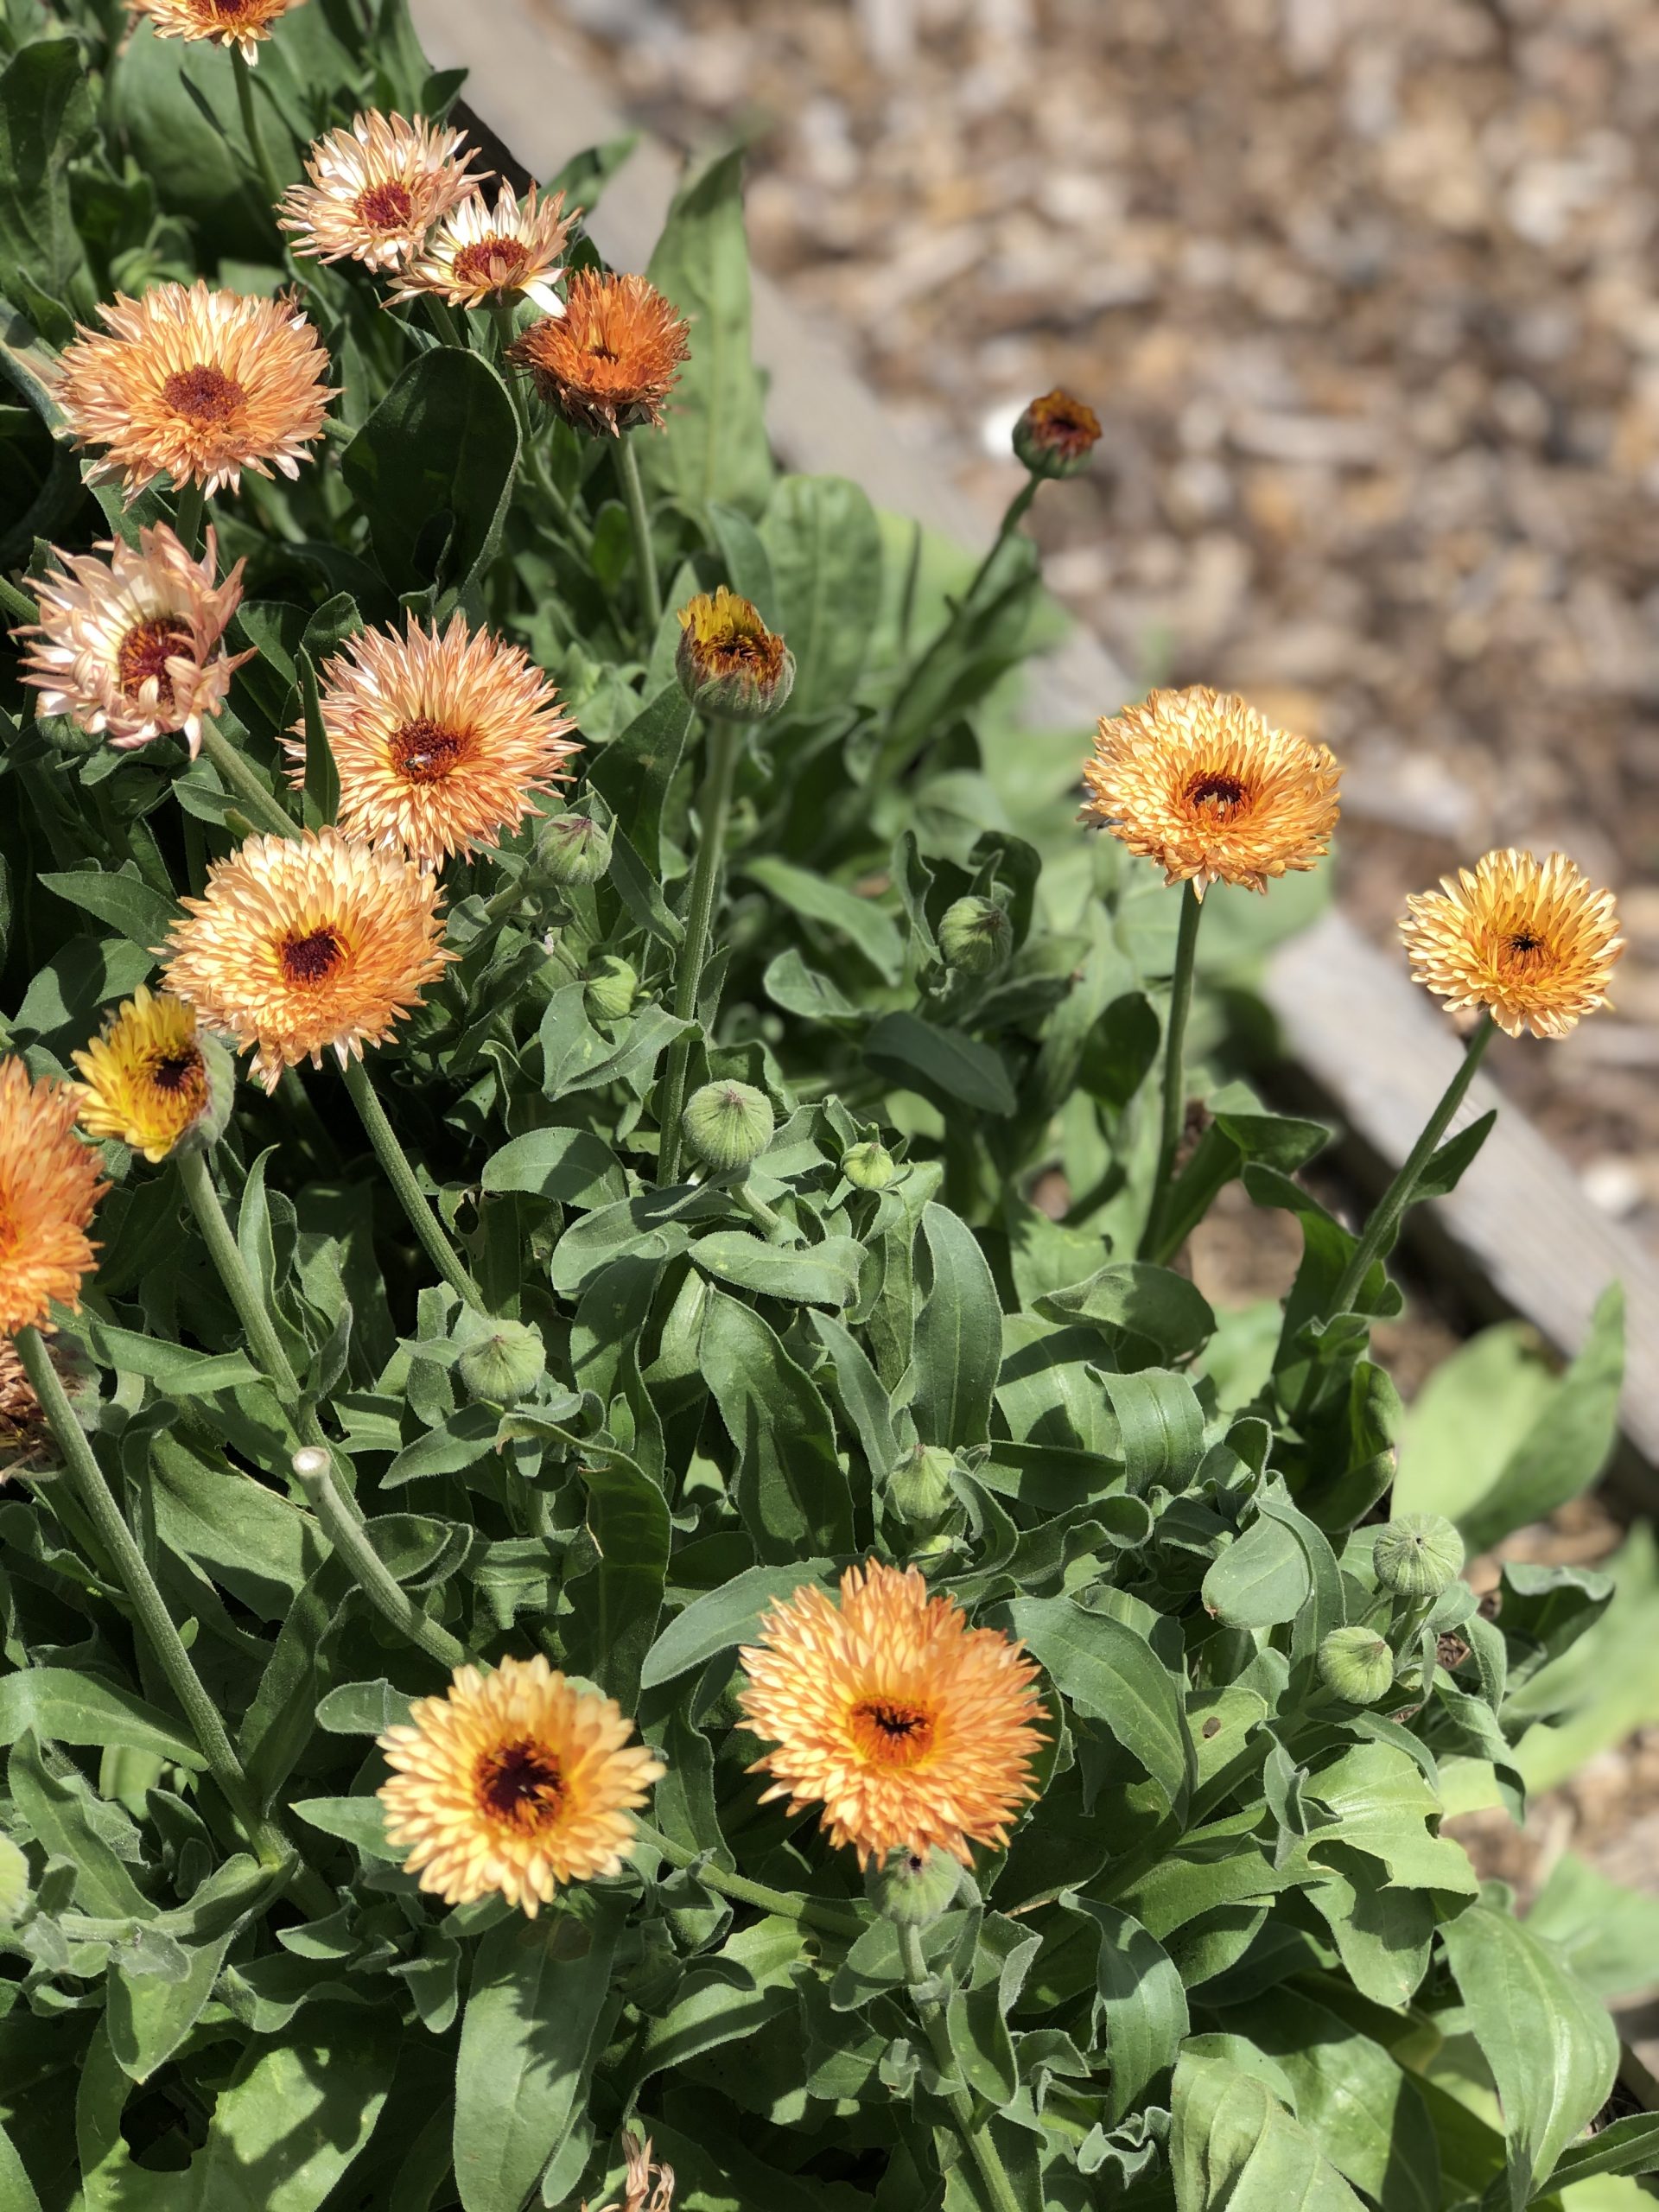
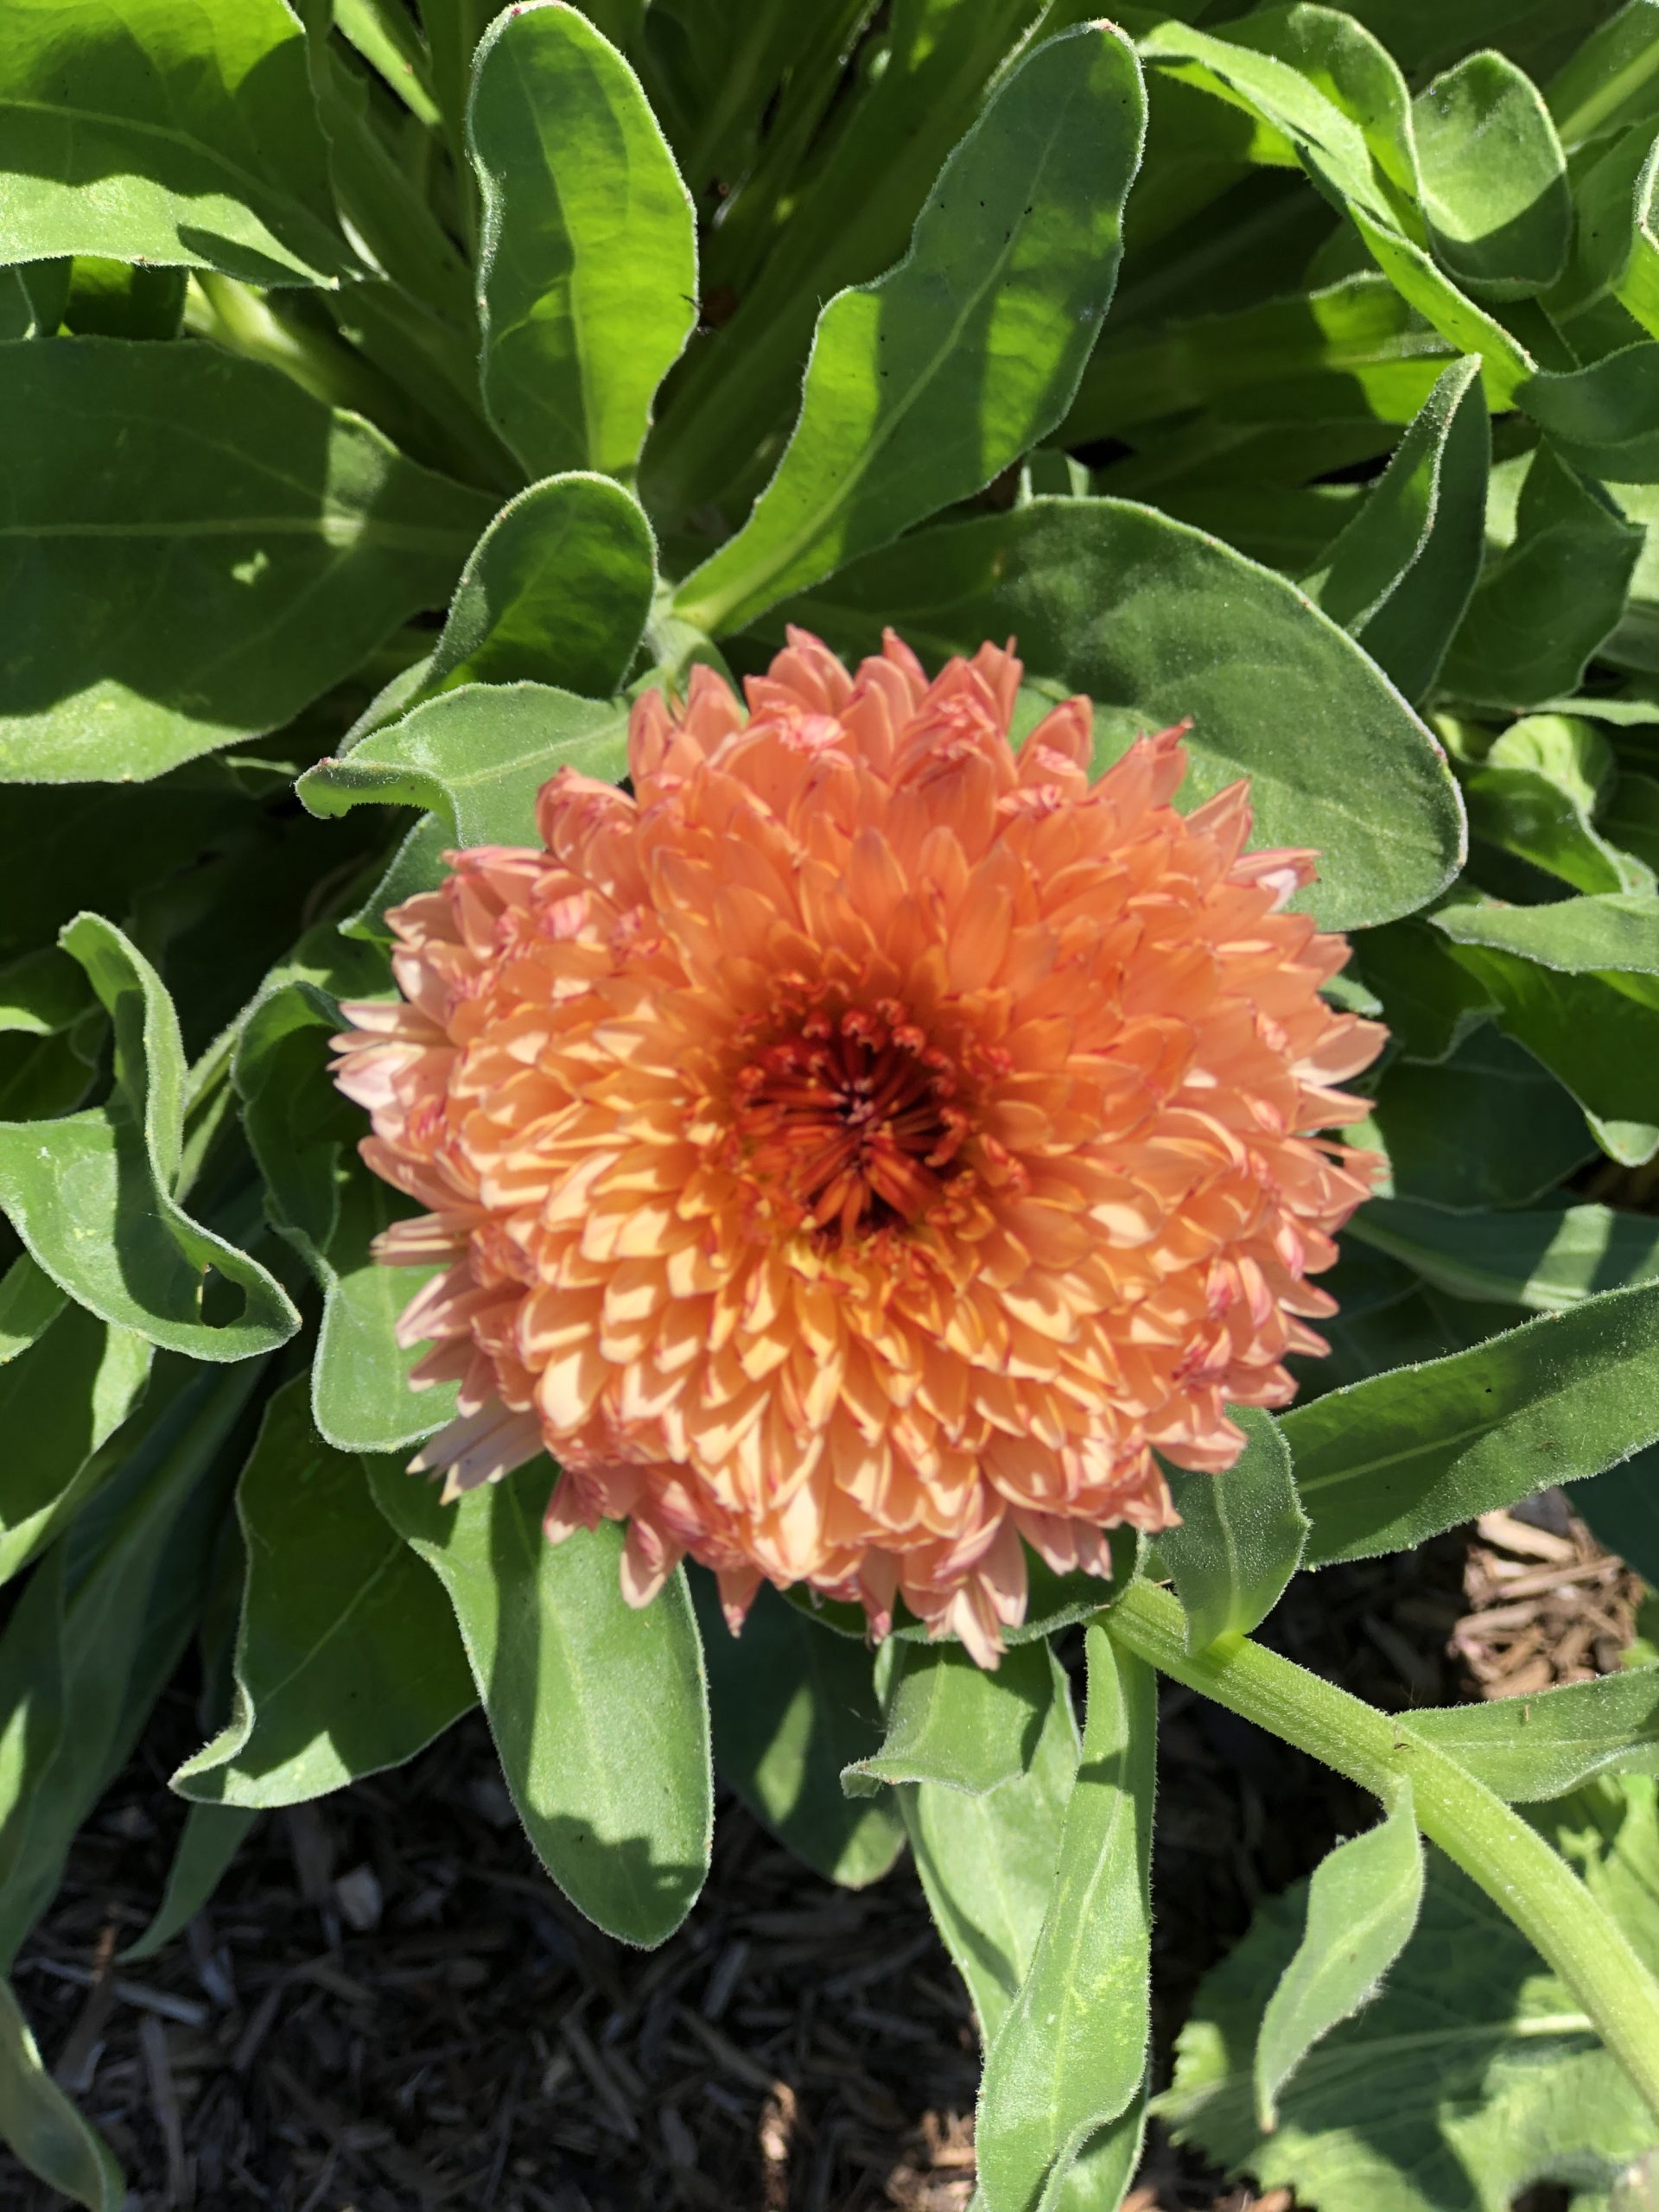
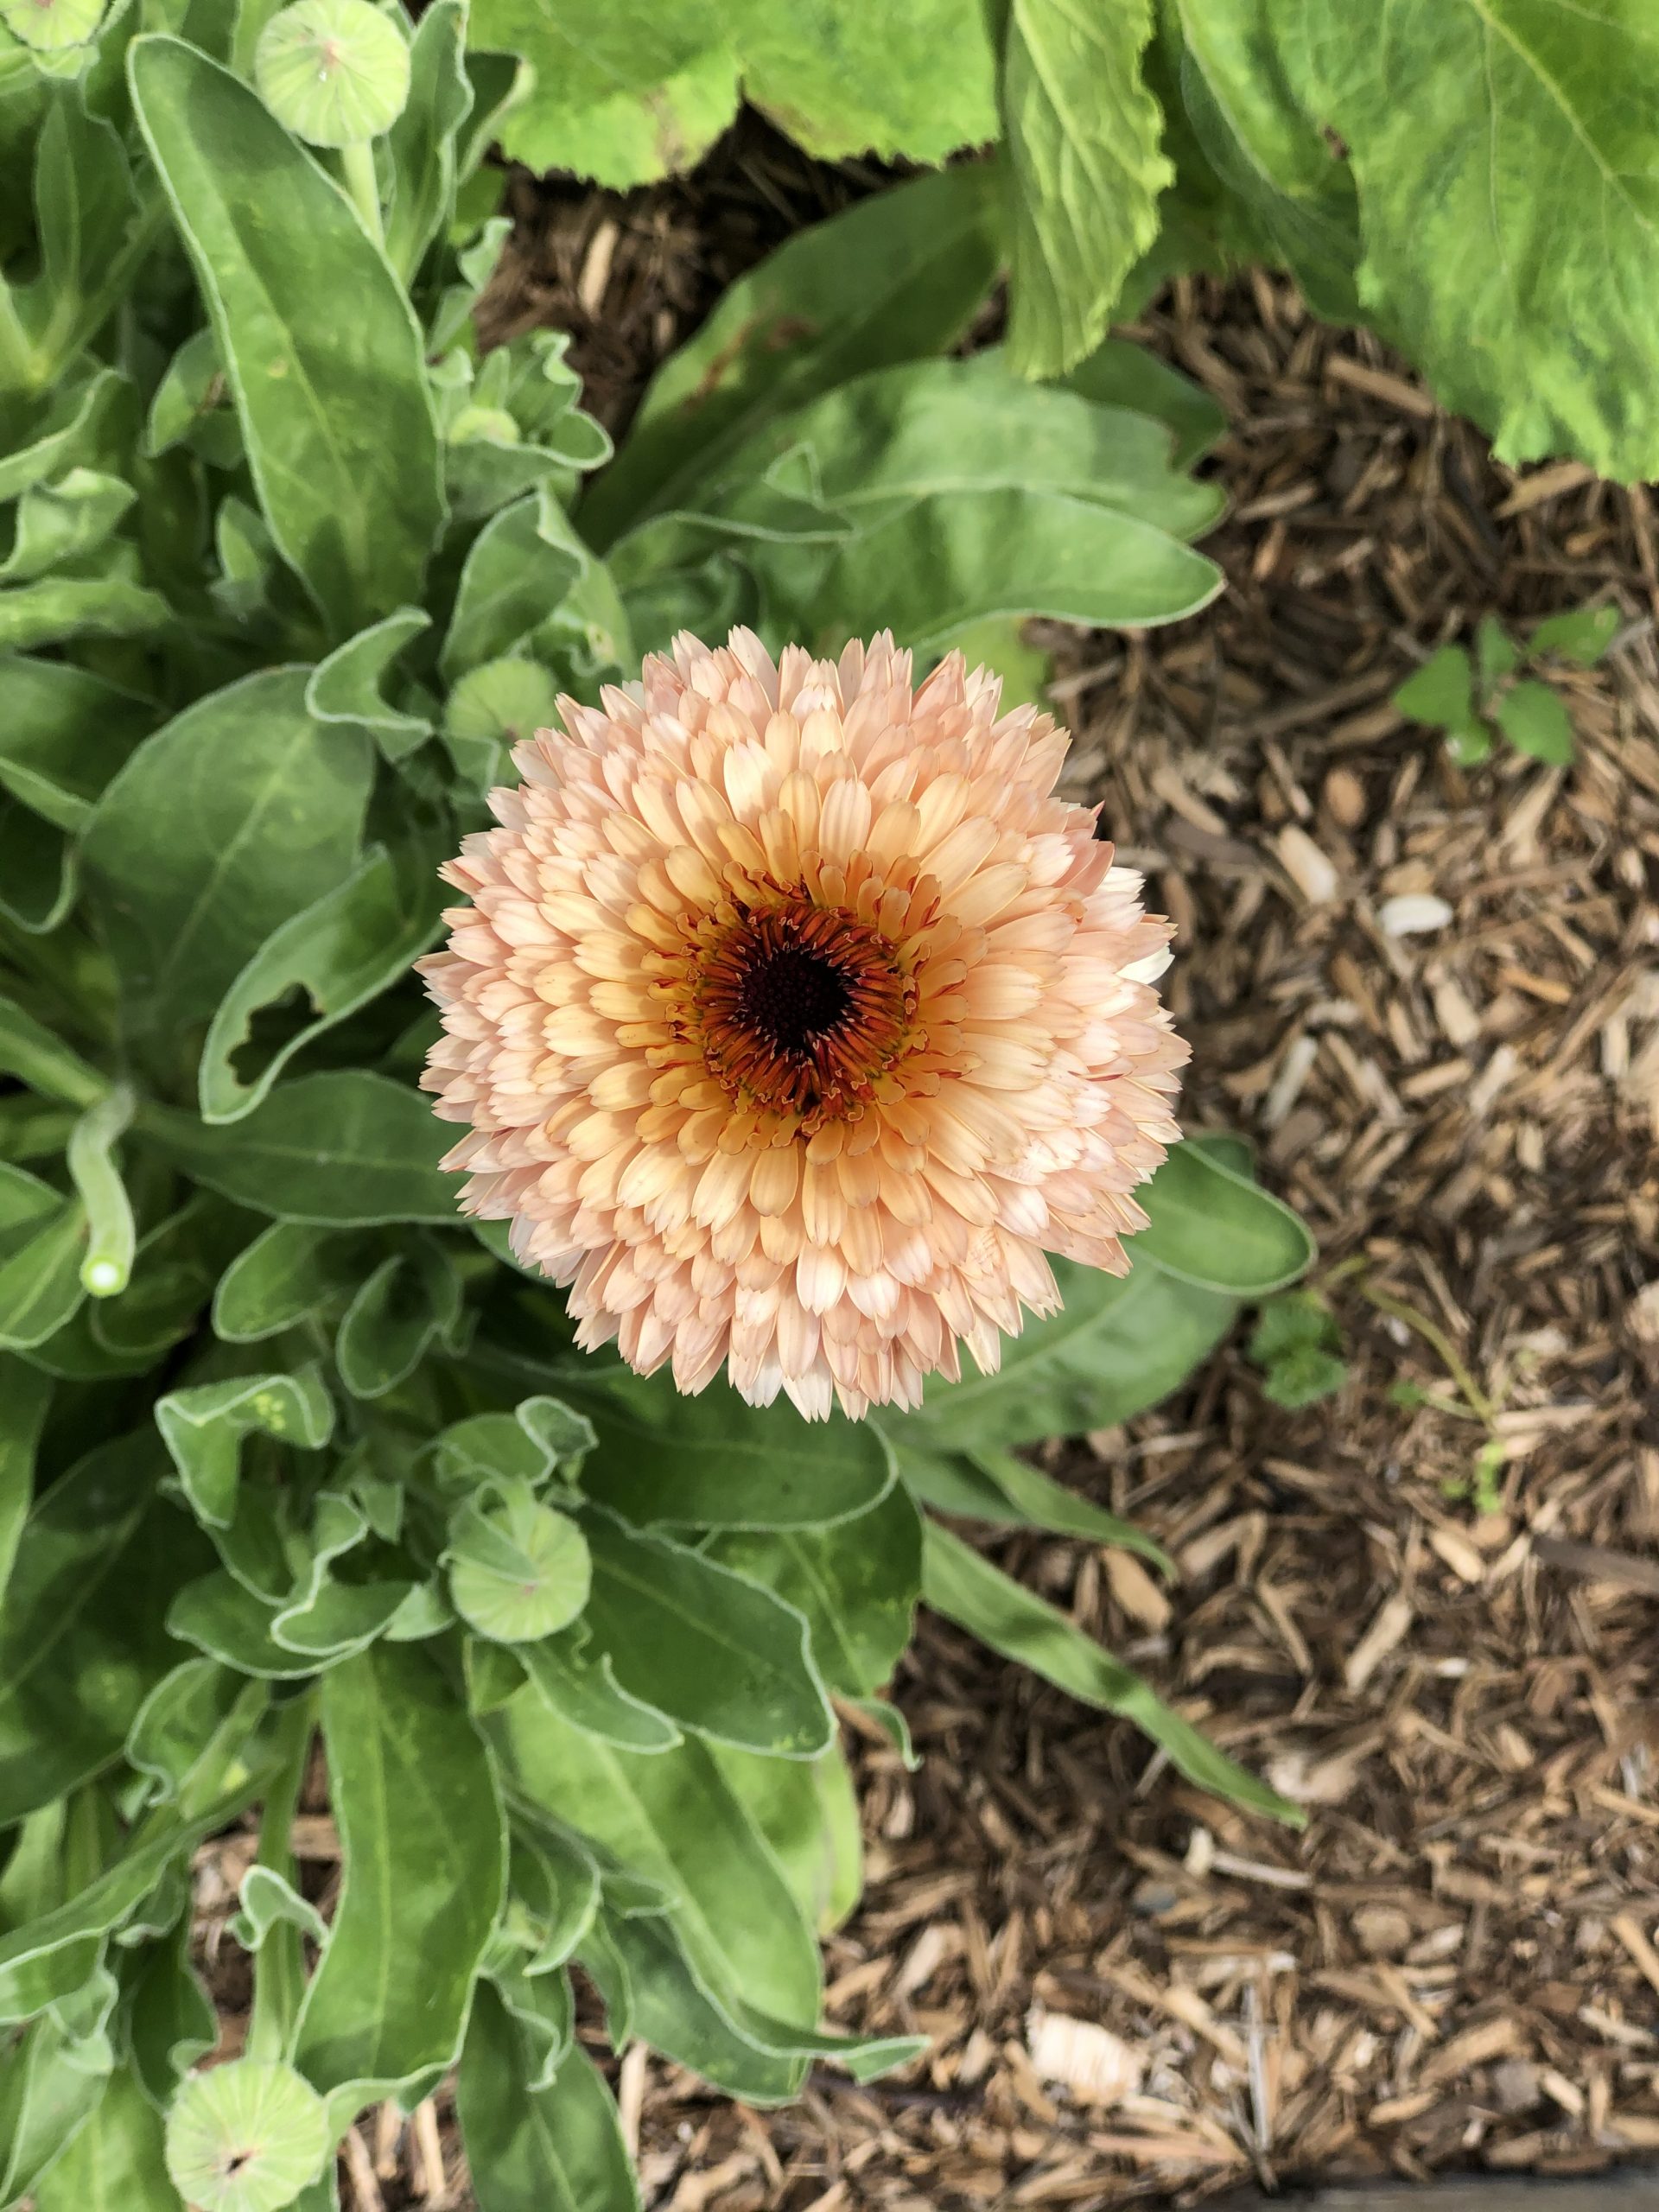
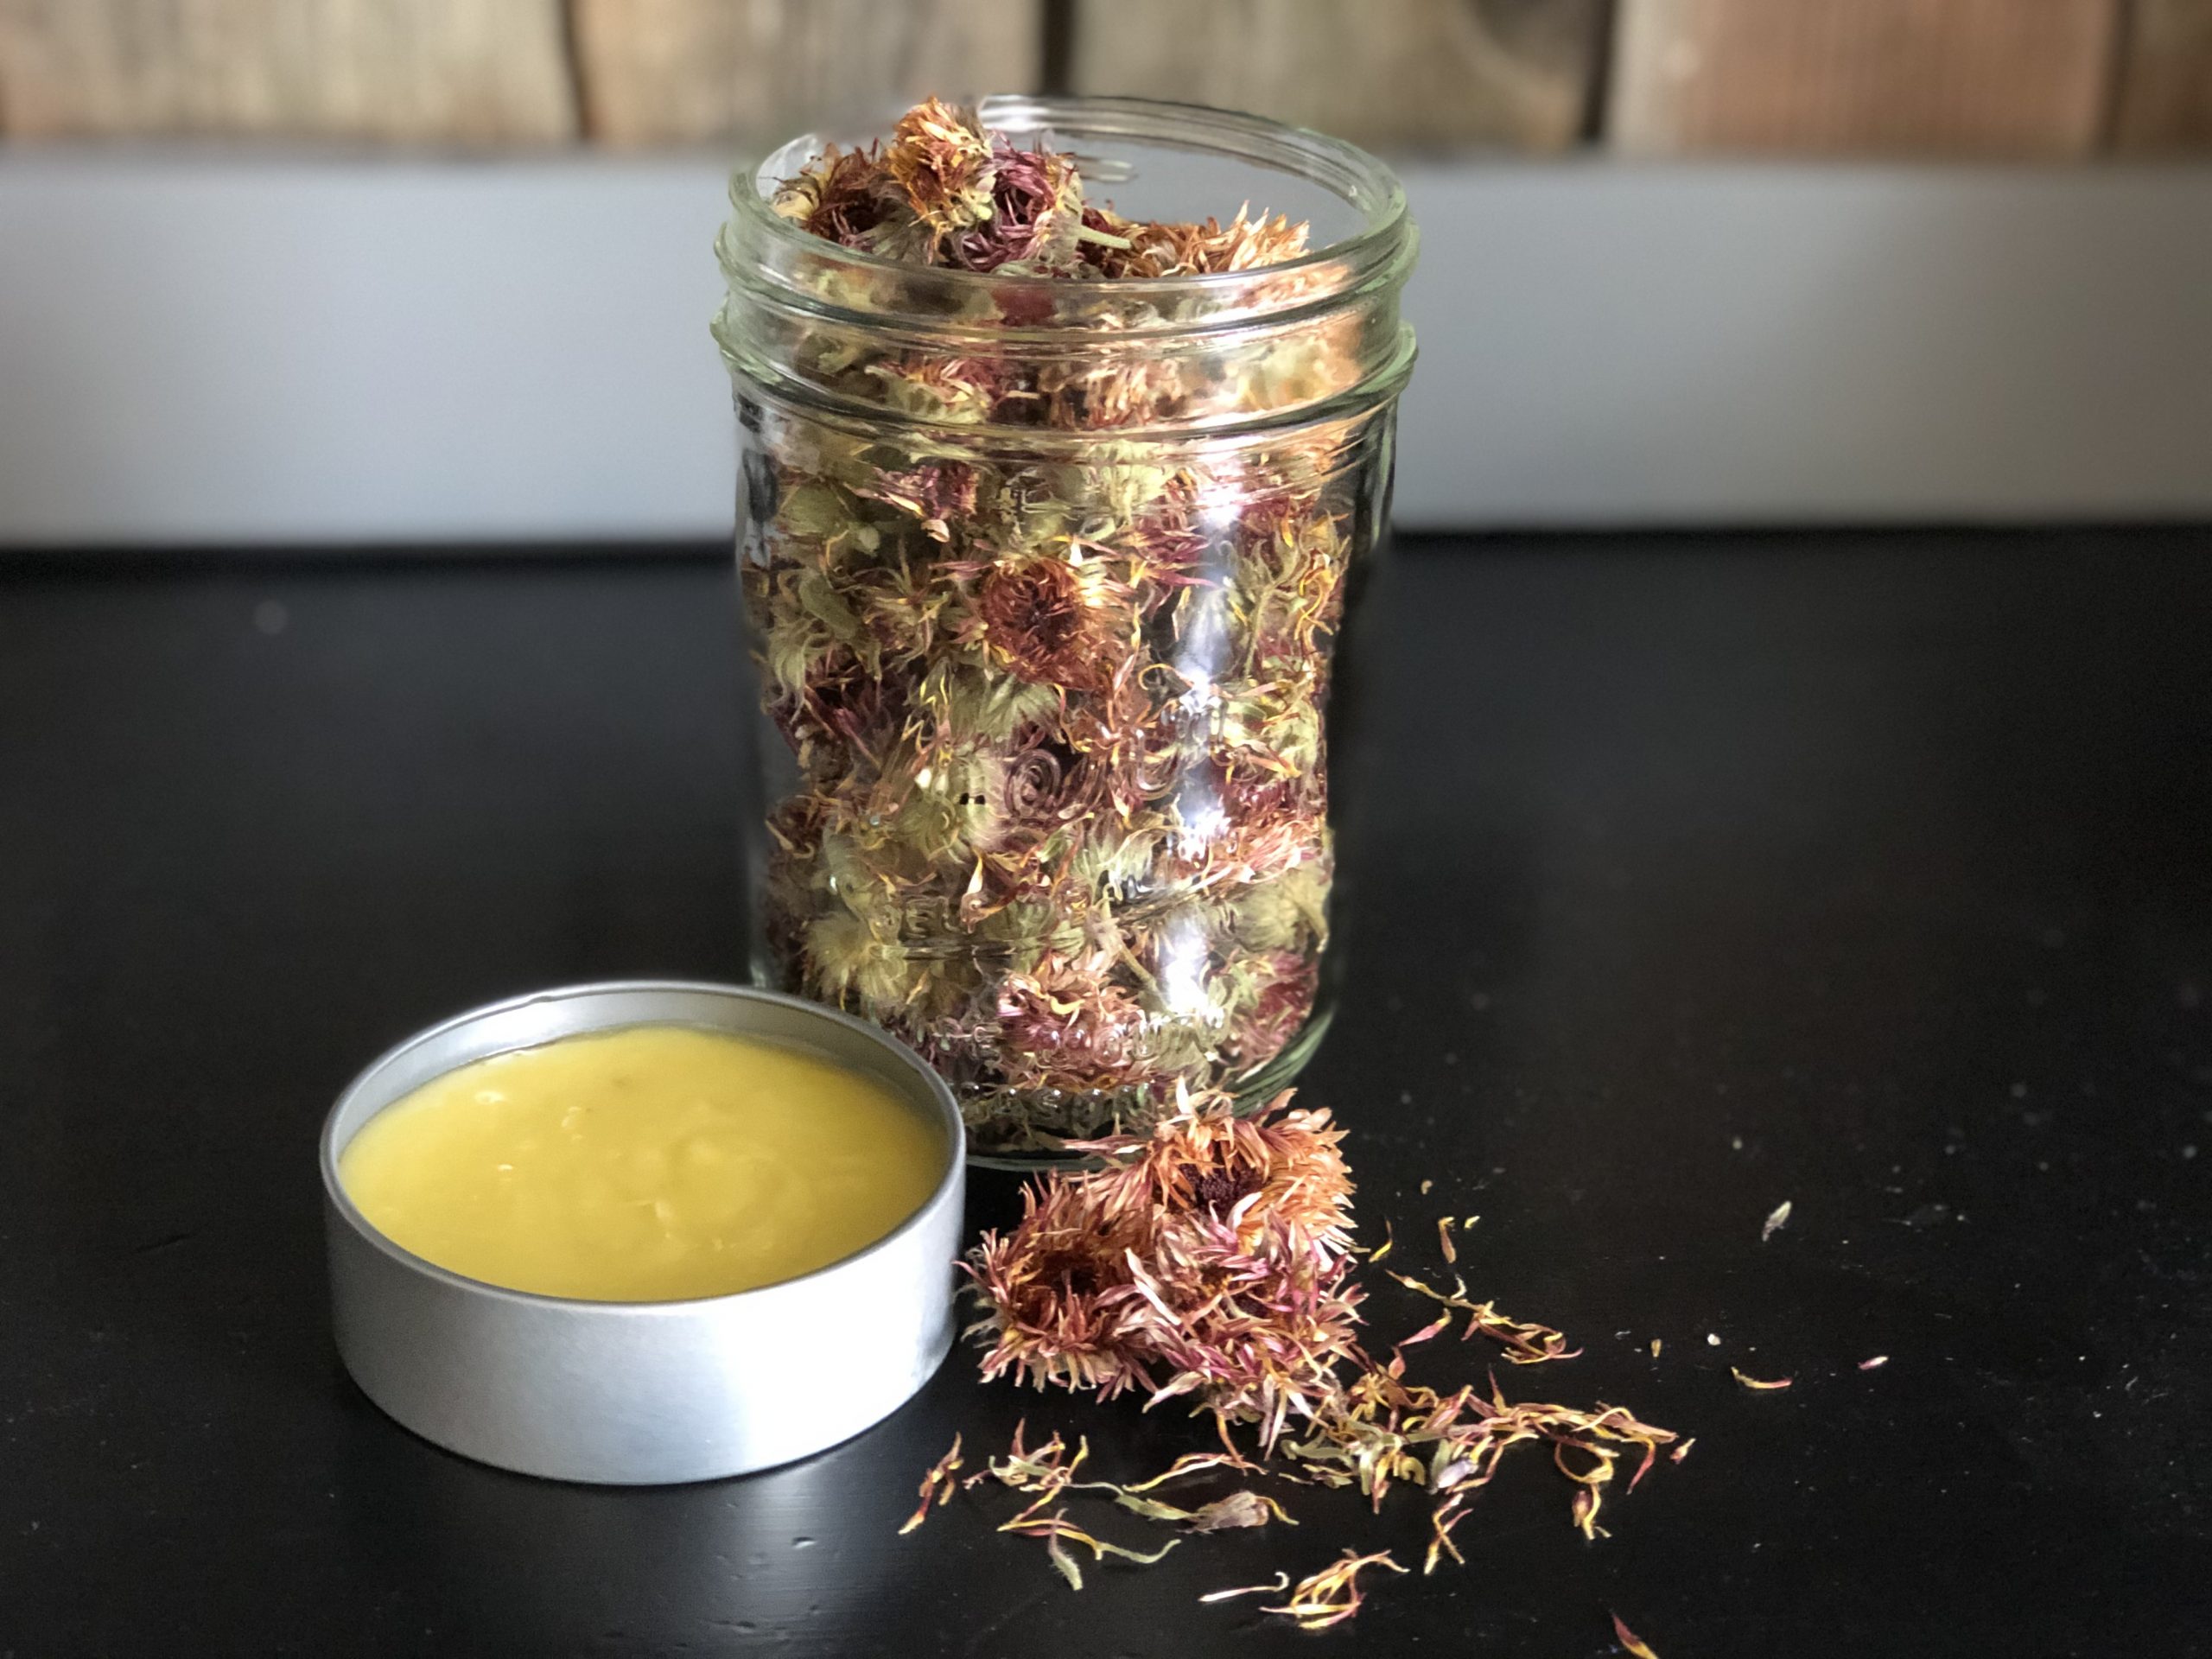
I use my calendula salve almost everyday! It is so gentle and very effective. I keep one tin in my garden bag for minor cuts/scrapes I get in the garden. I keep a jar in my kitchen for minor cuts or burns I get while cooking. My boys know to go to our salve jar first (before antibiotic cream) for chapped noses during cold or allergy season or for small cuts/scrapes. My boys are older now, but if they were littler, I would even use this as a diaper rash treatment.
I get the WORST dry skin on my feet during the summer flip-flop season and this salve works great to help heal my cracked heels. In the evening I will coat my heels in salve and put on little ankle socks for a few hours, sometimes even sleeping in them. By the next day my heels are SO MUCH BETTER! Needless to say, the uses are nearly endless!
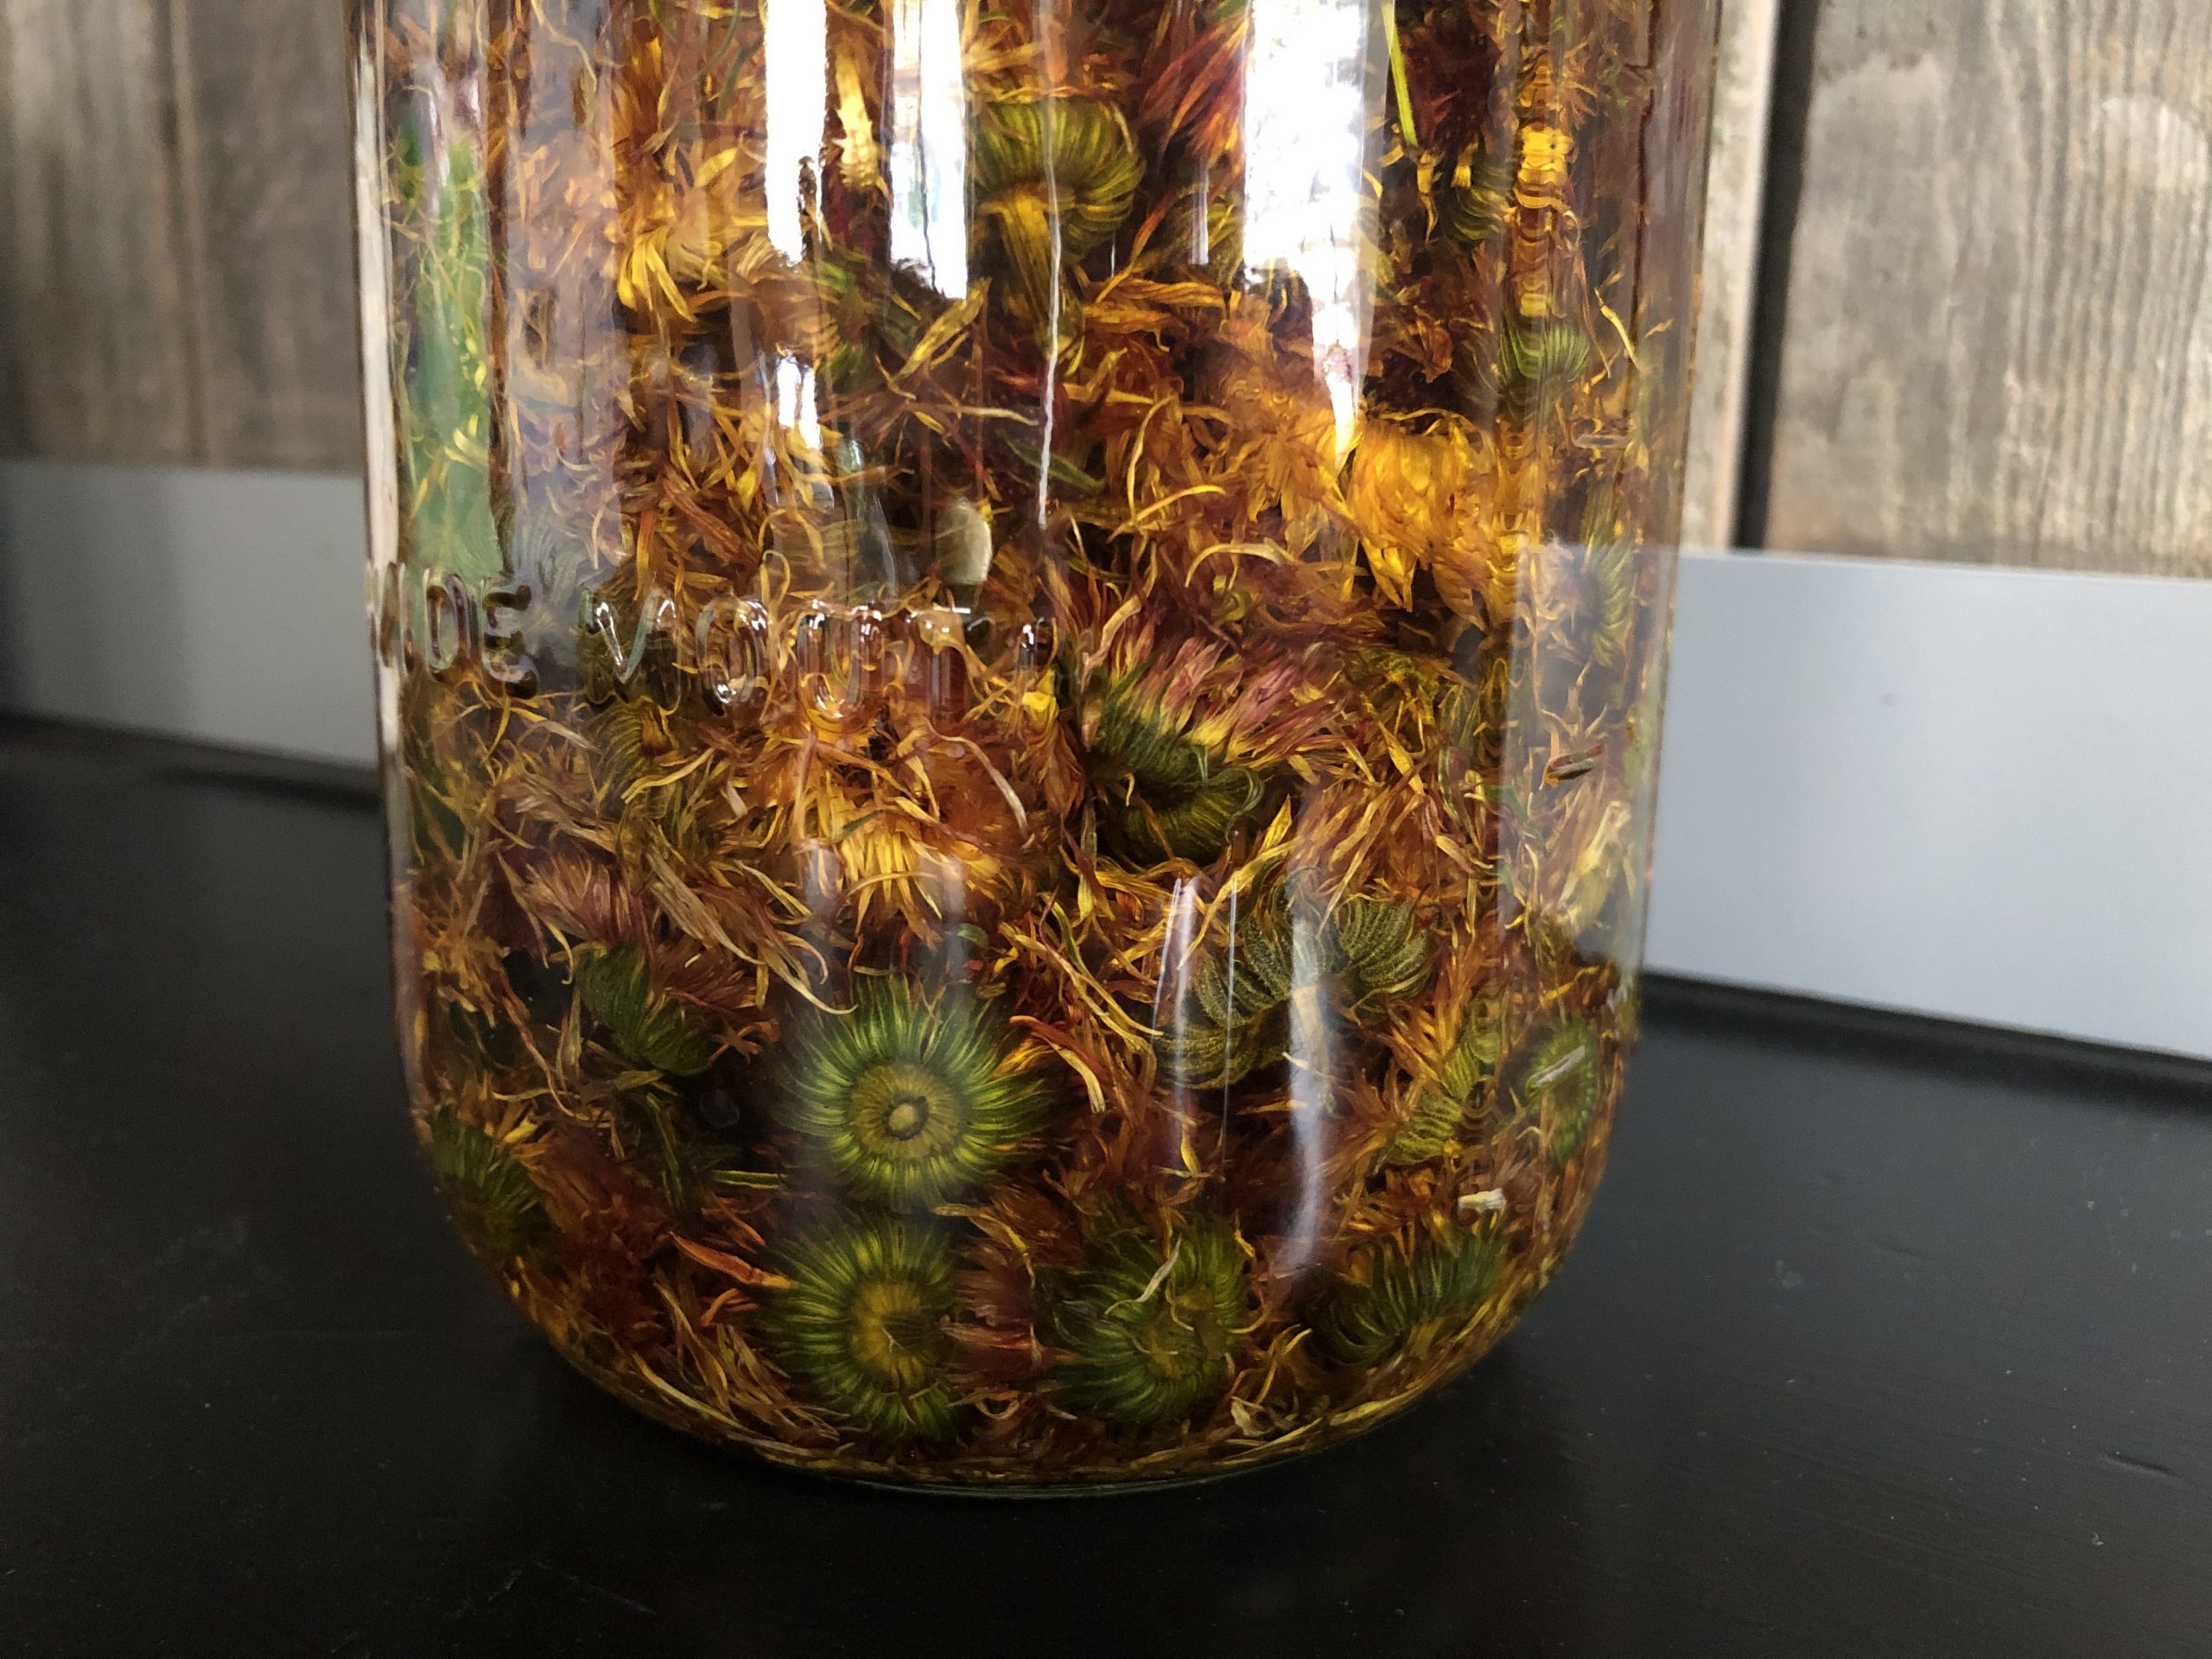
Calendula Infused Oil
To make this calendula salve, you must first start with making a calendula infused oil. Here are the ingredients you need to make your infused oil:
Ingredients:
Dried calendula flowers*
Oil for infusing (olive, jojoba and sweet almond are good ones to use)*
Glass jar with lid for infusing
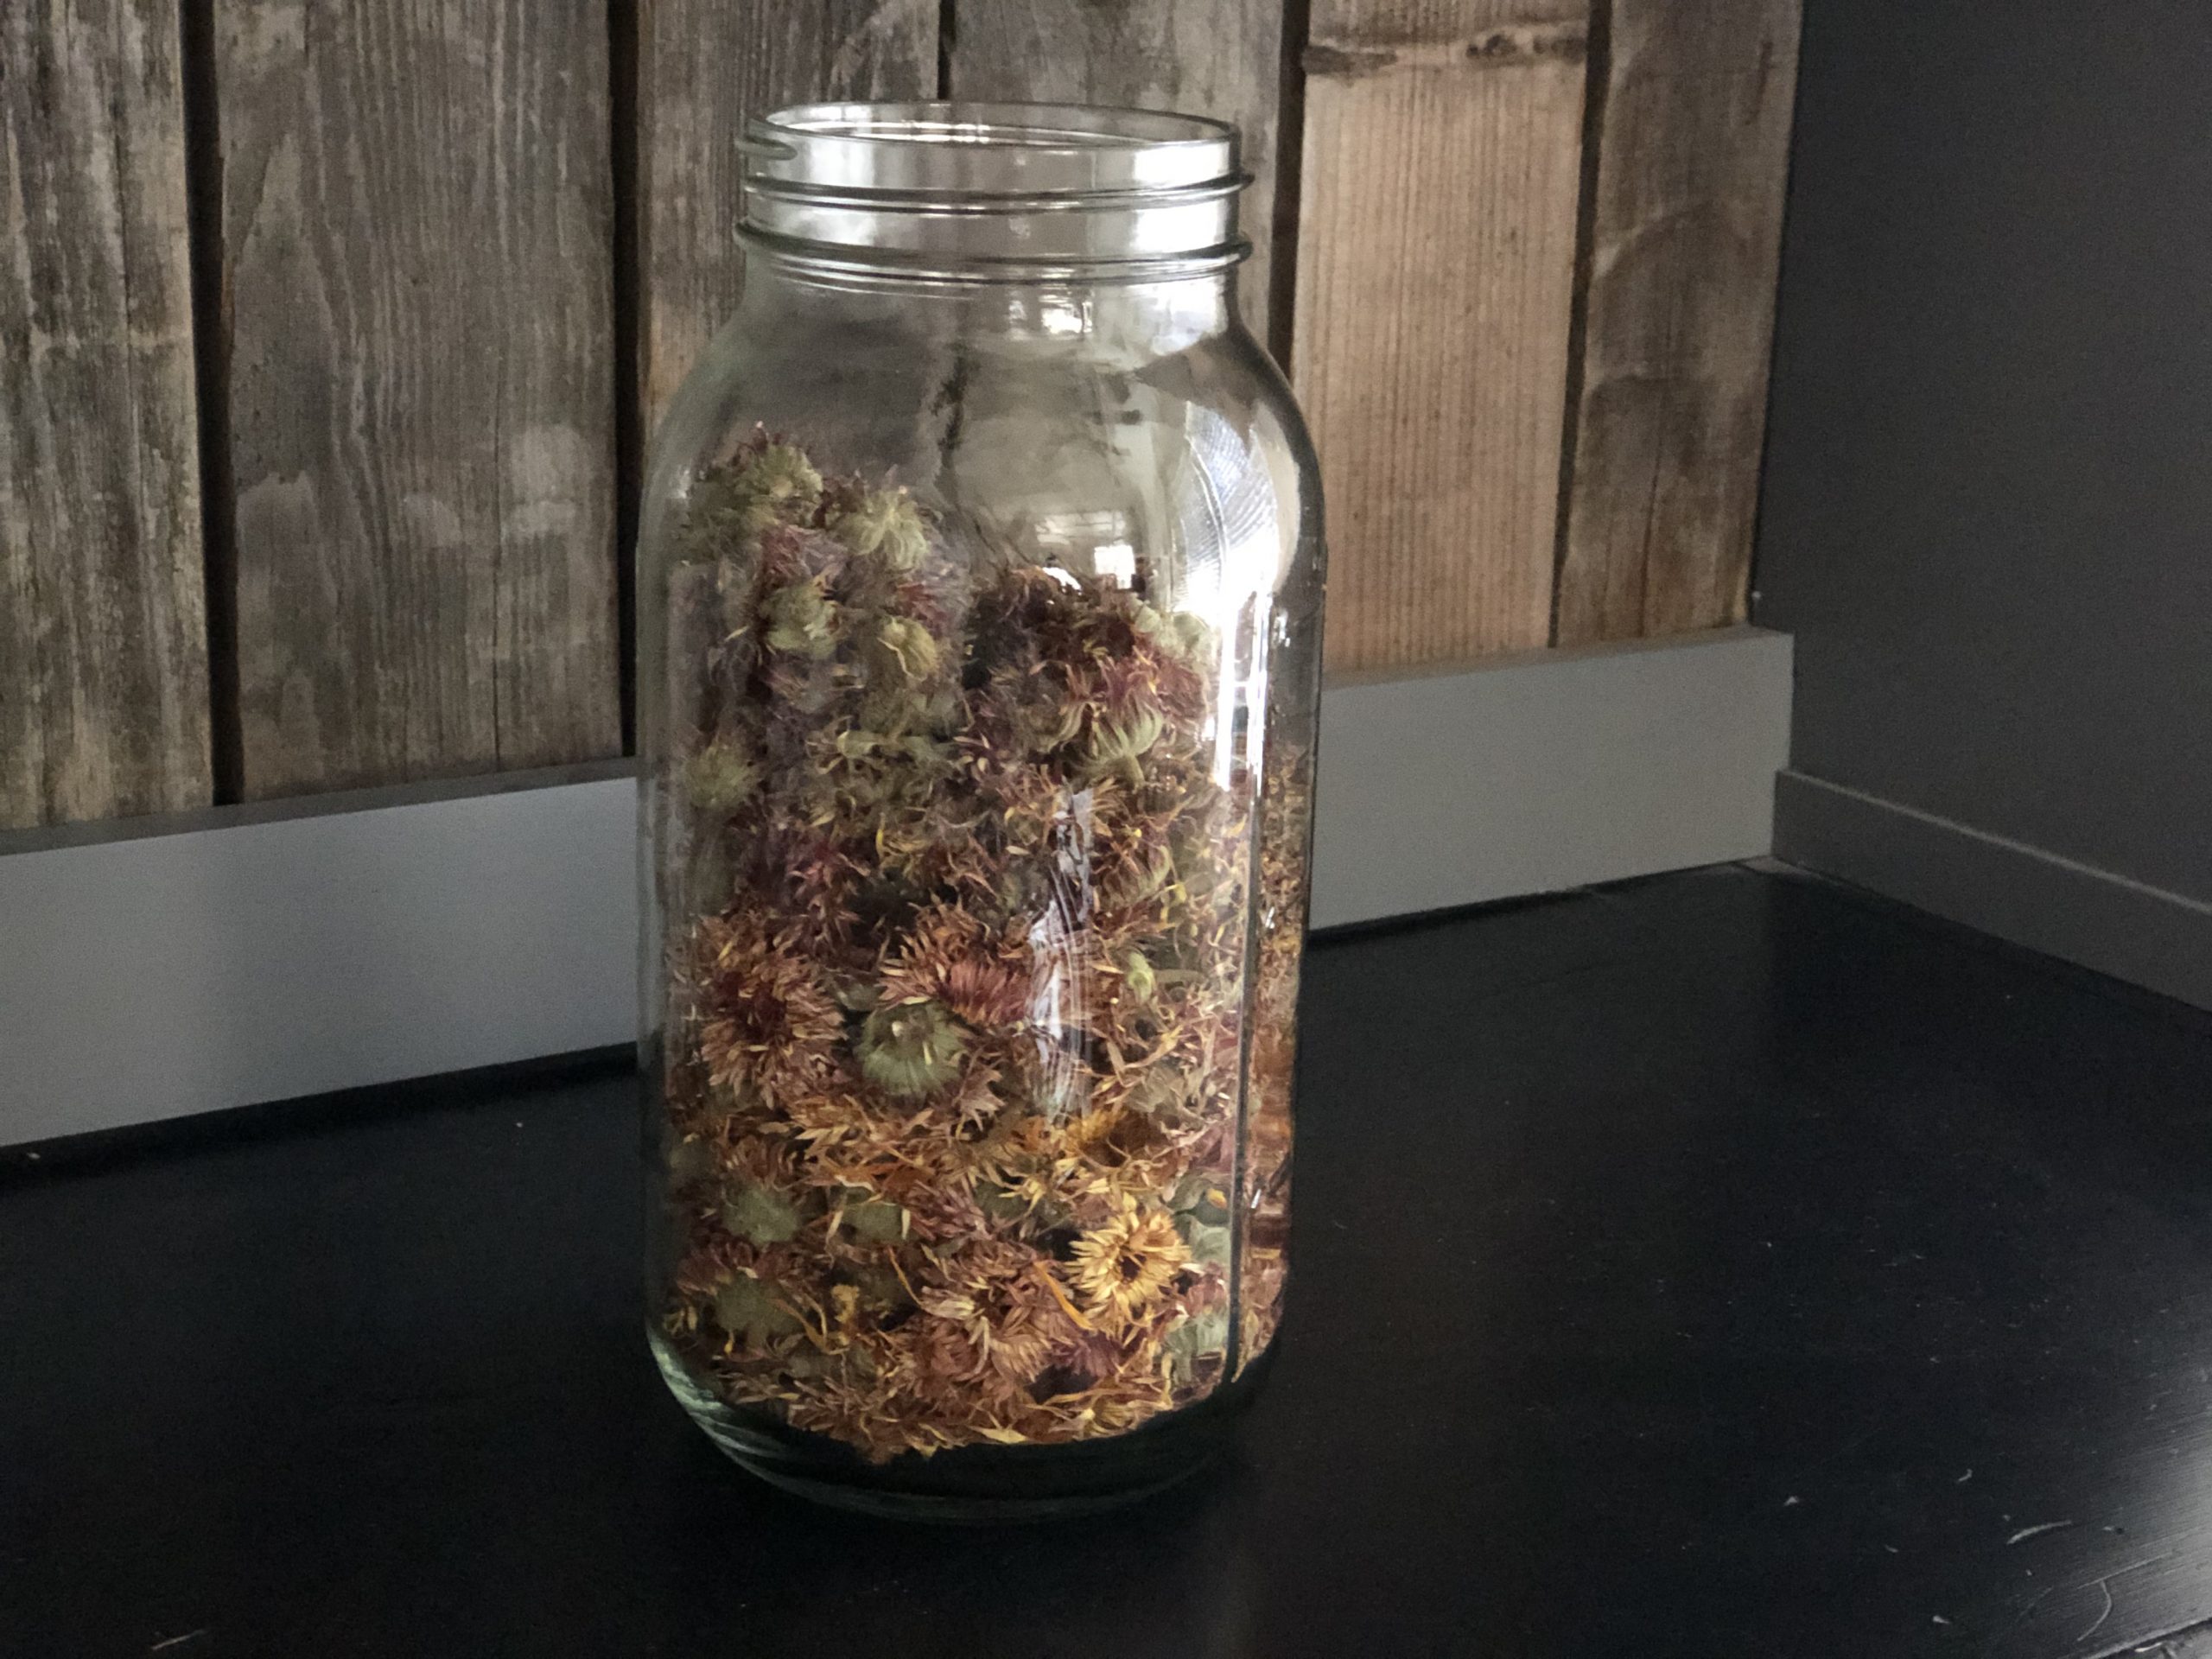
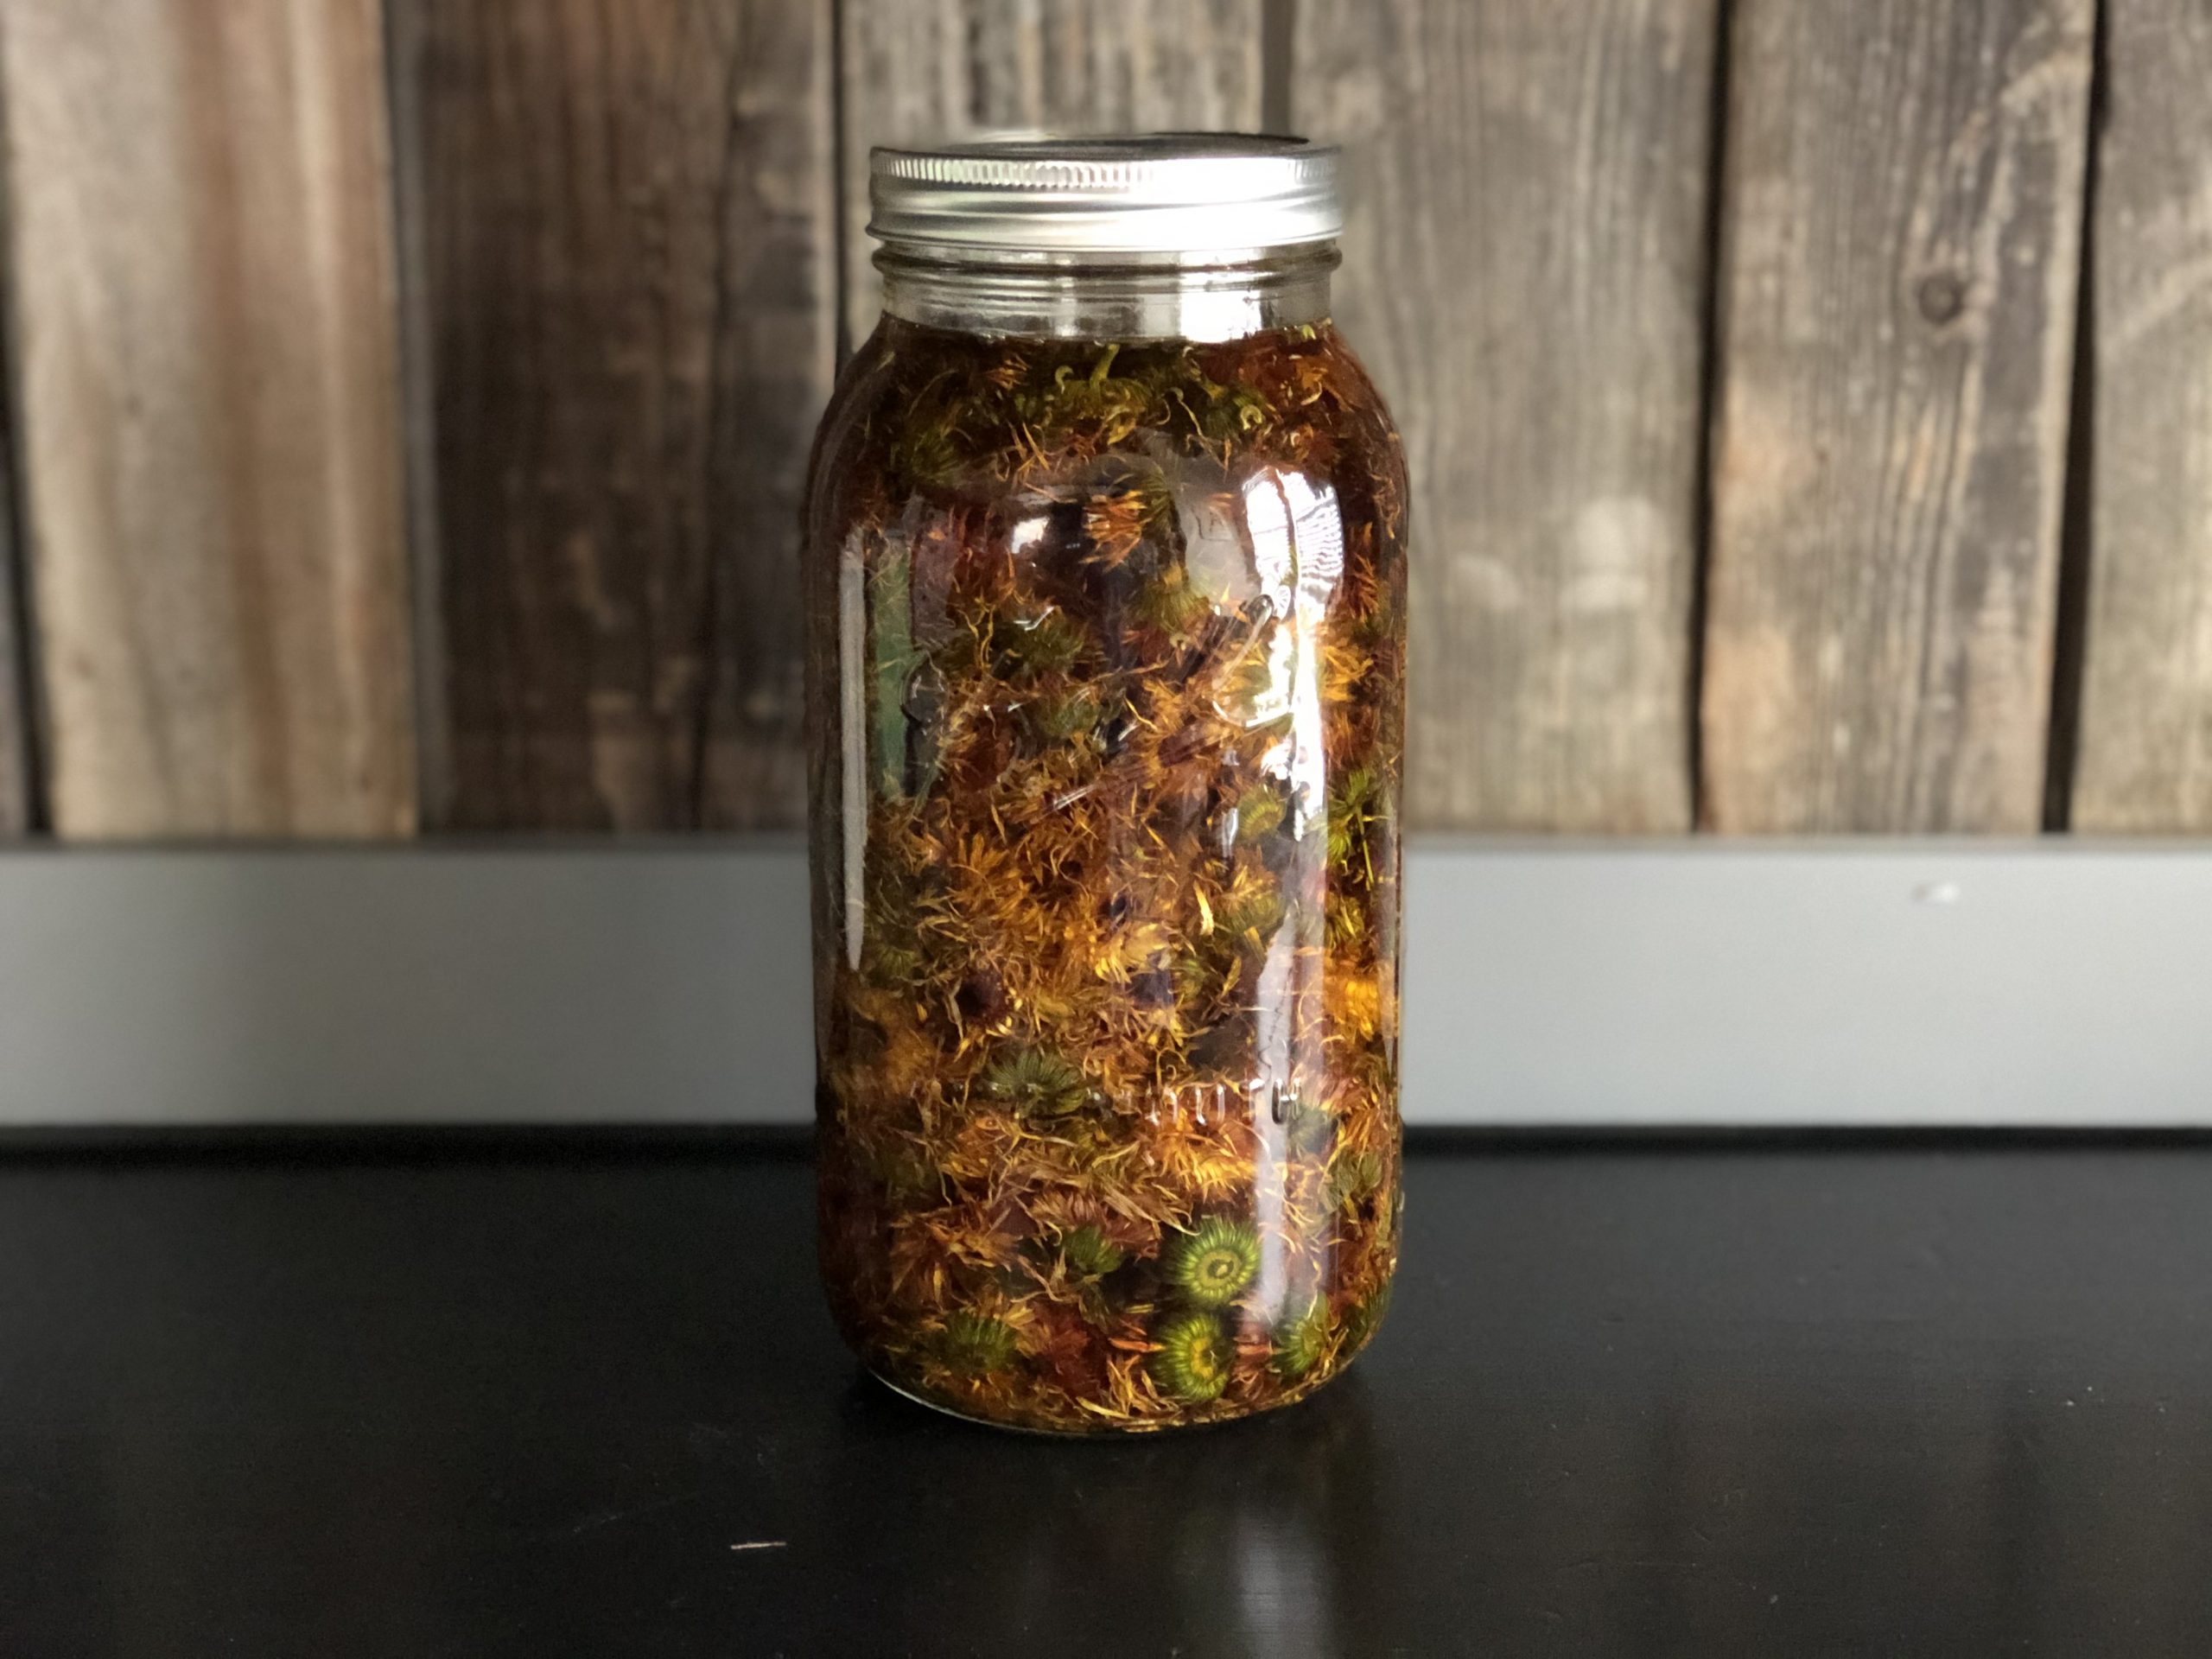
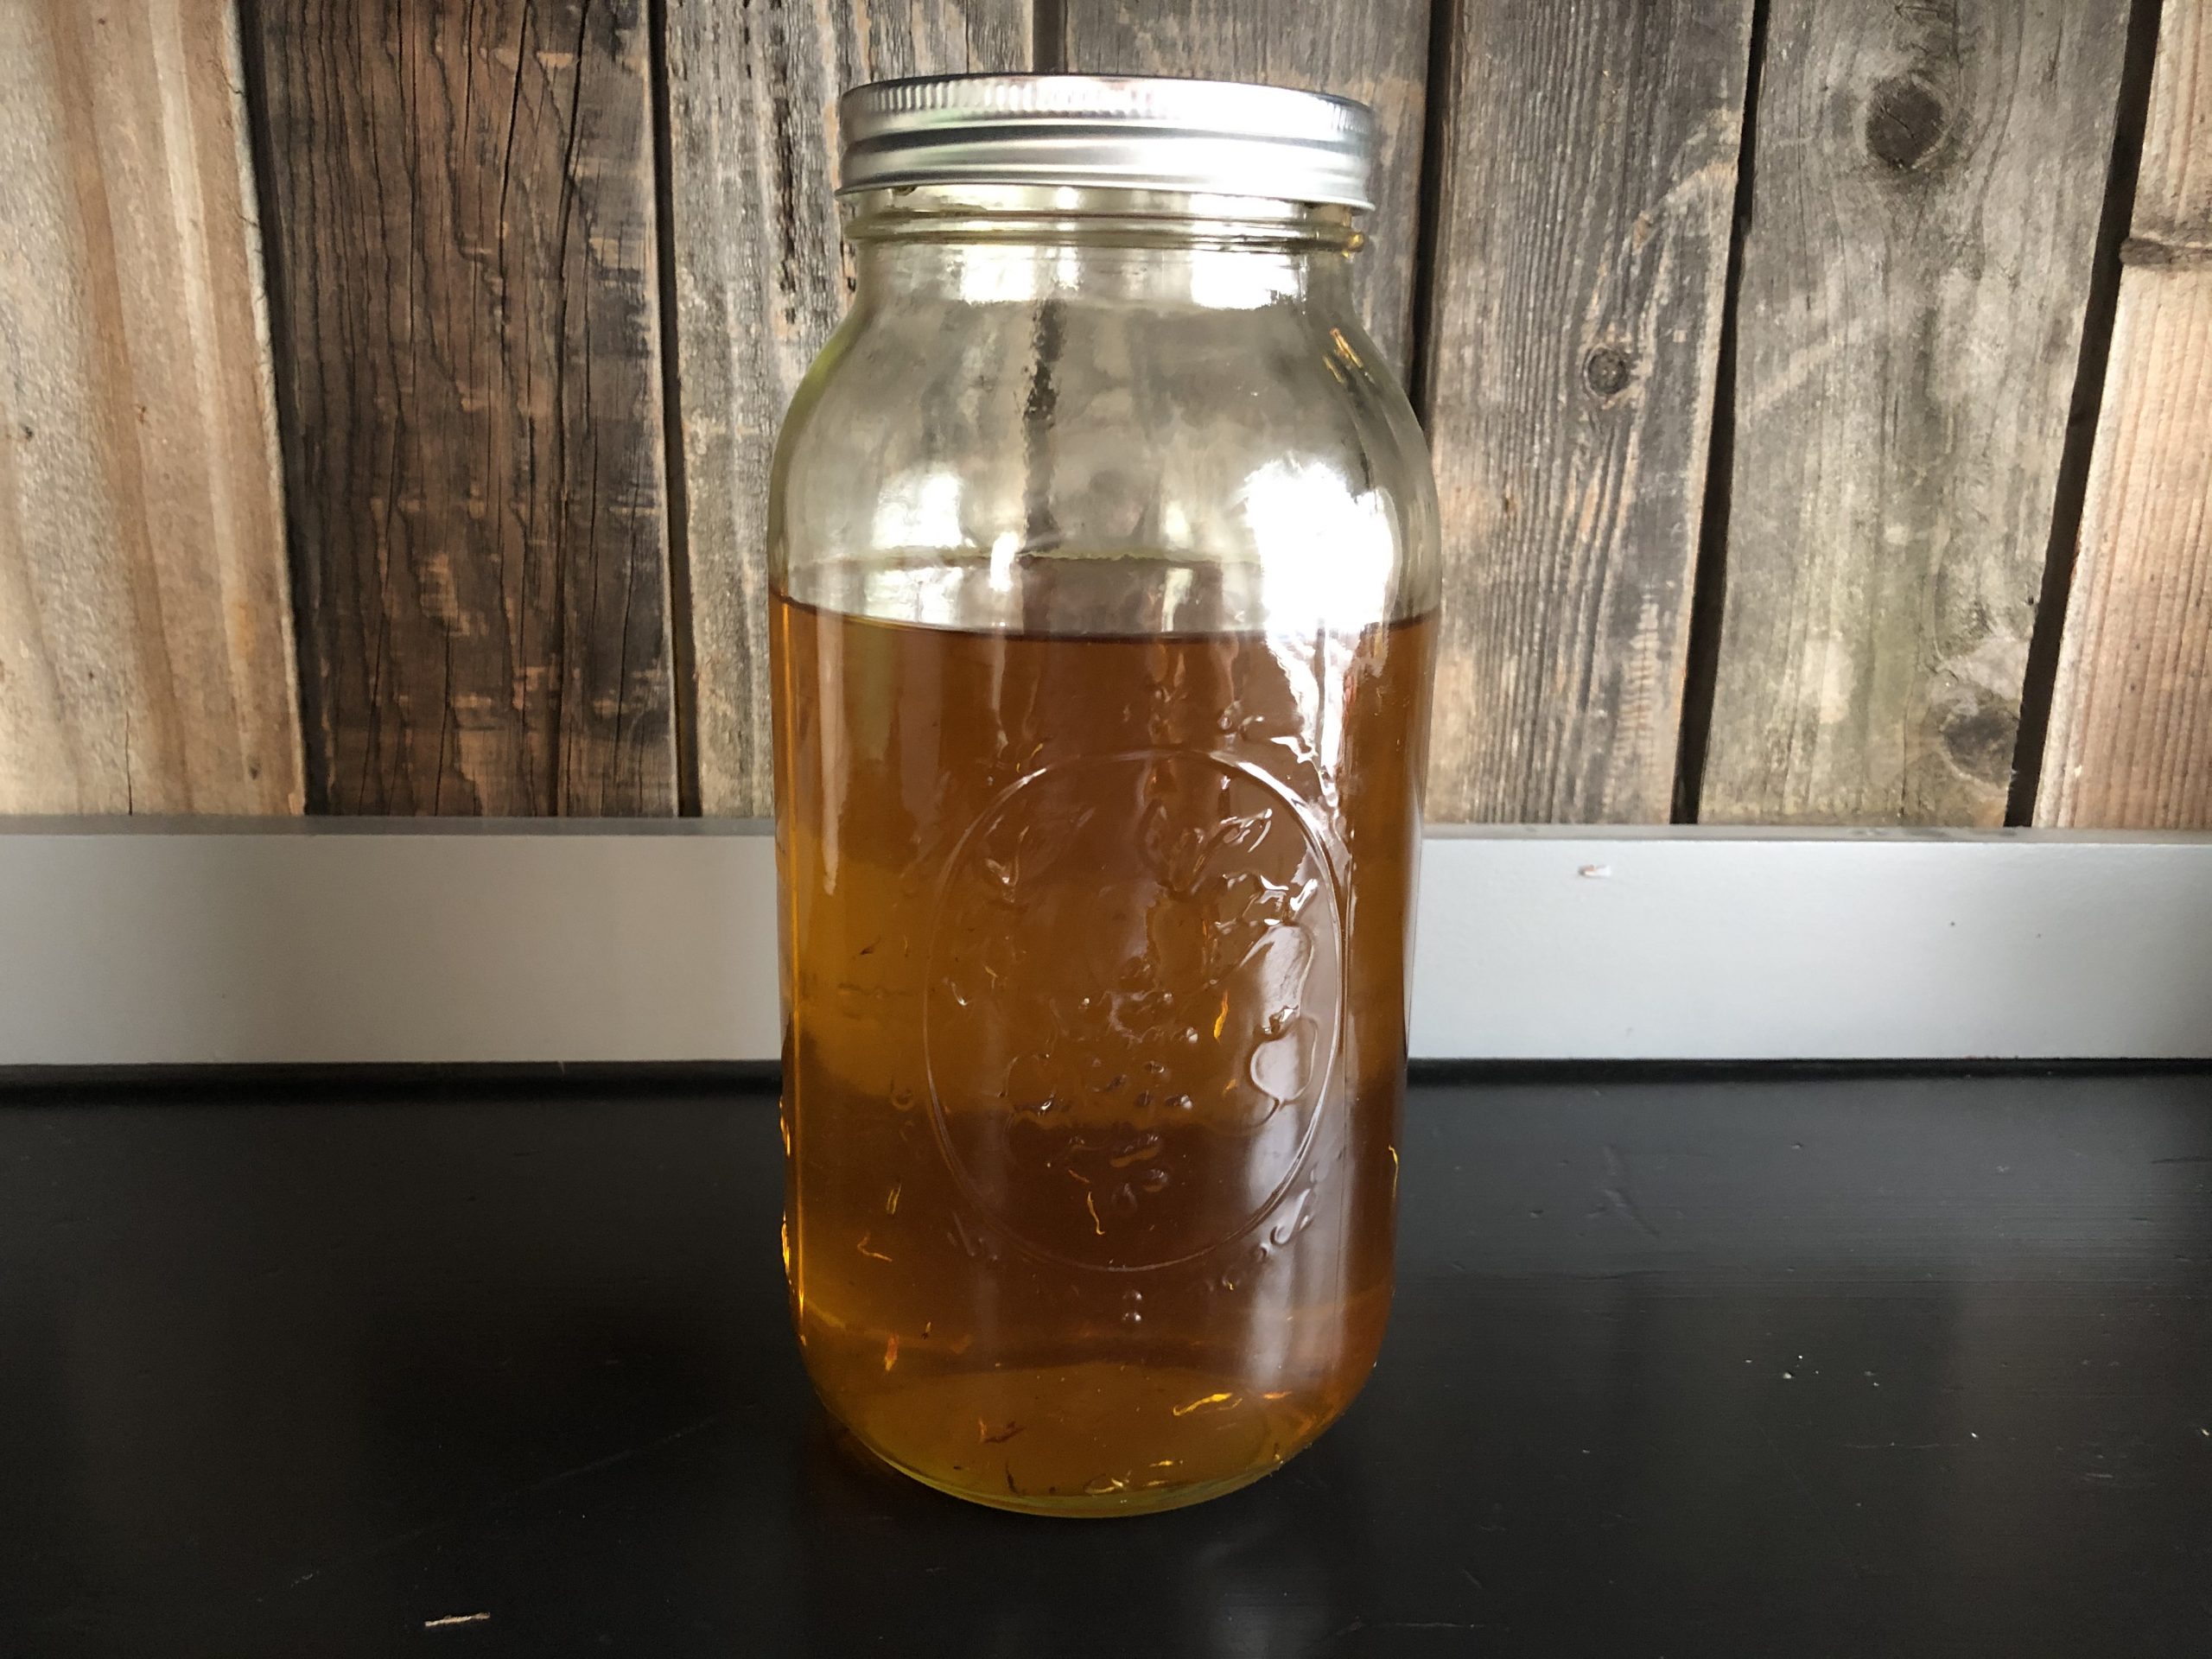
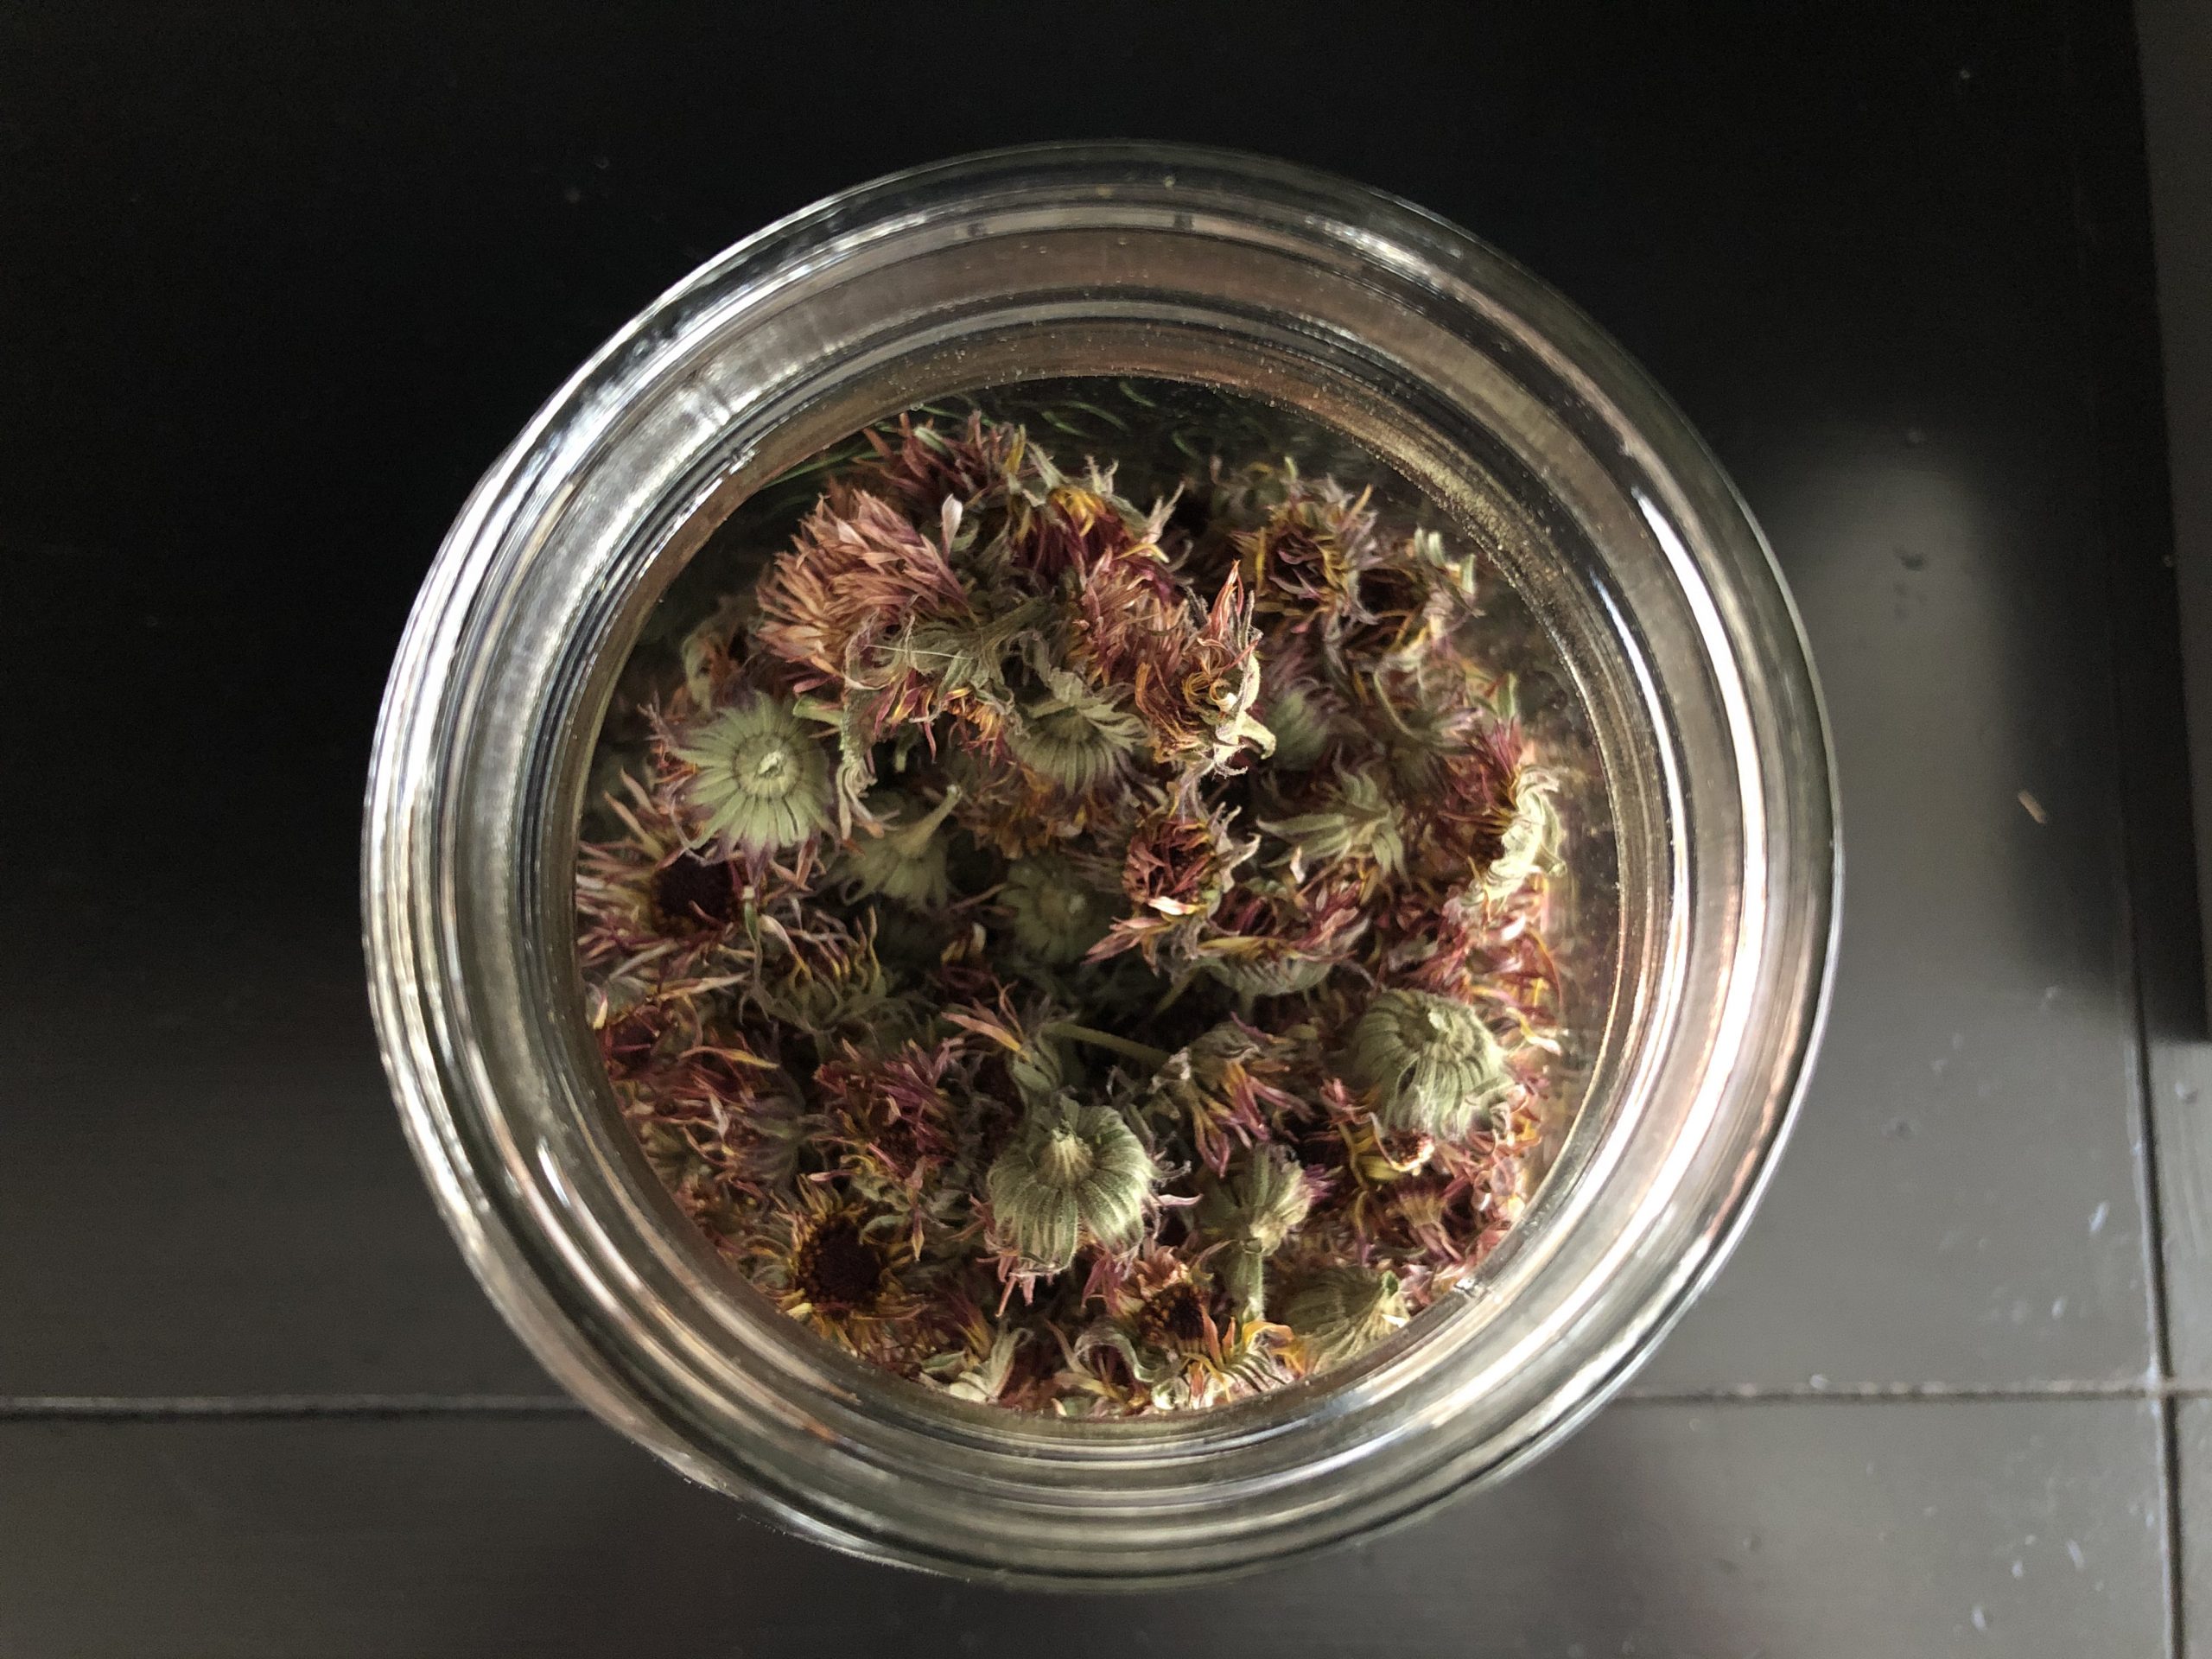
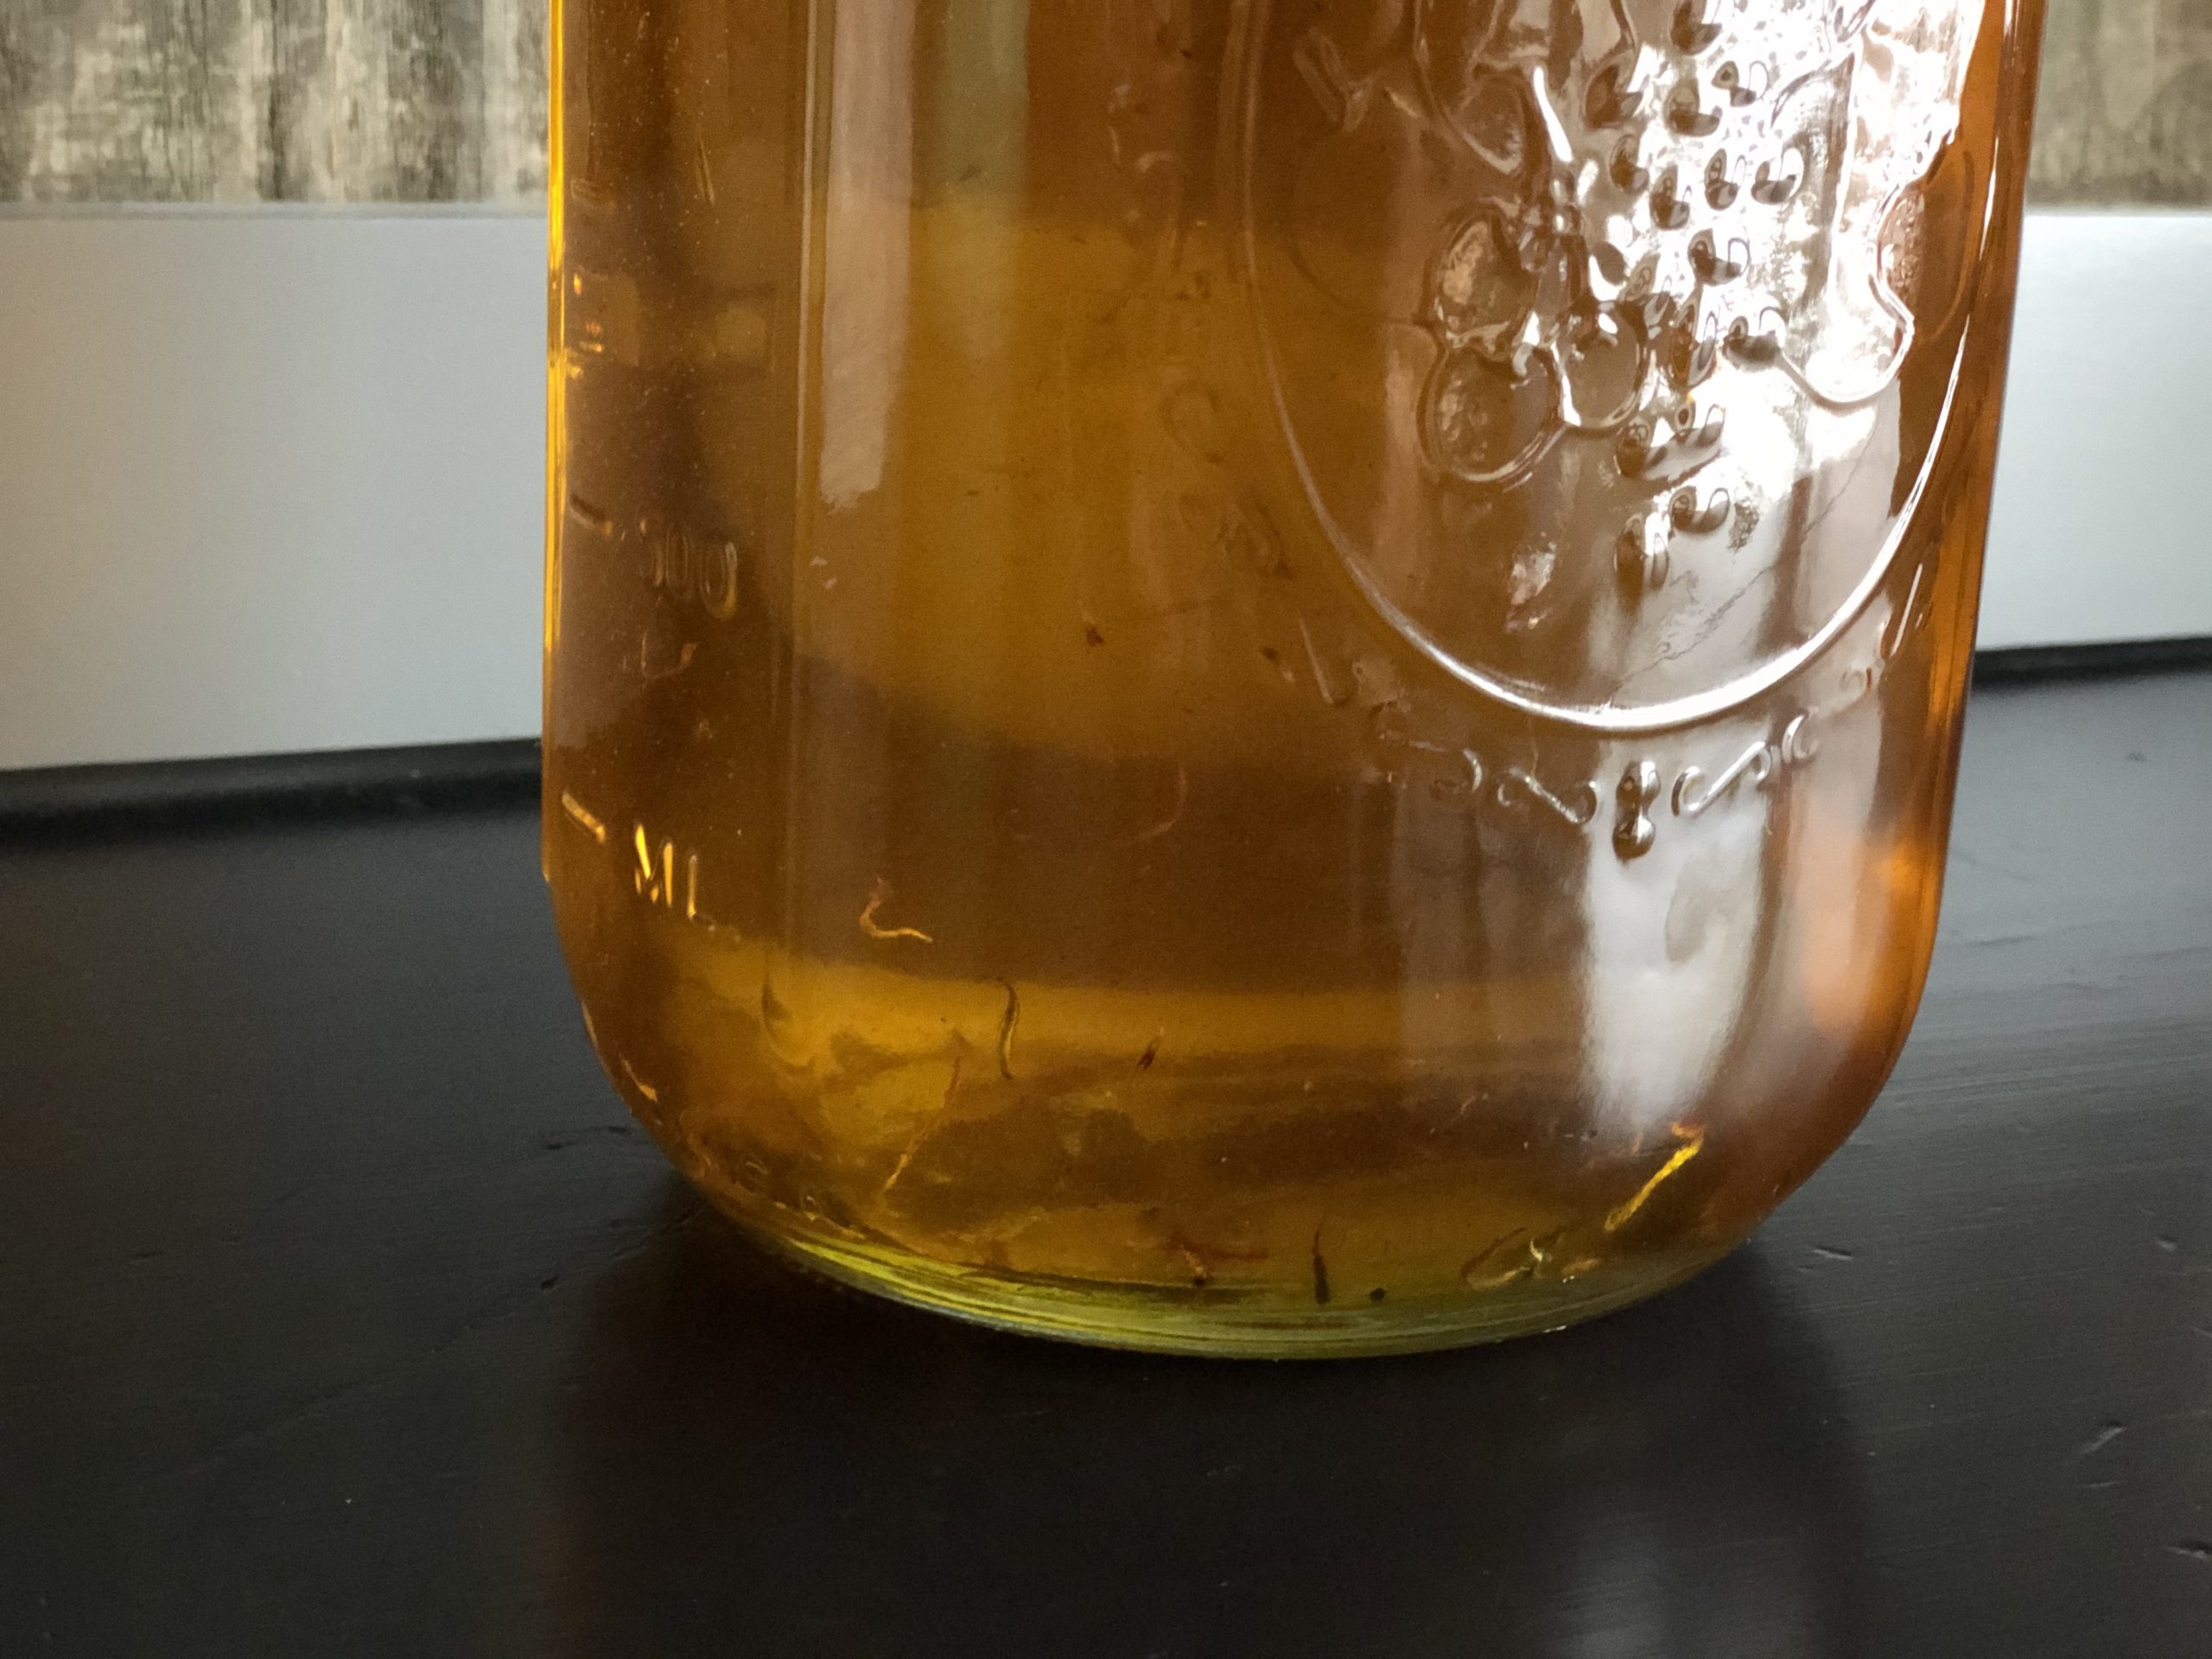
To begin making your calendula oil, fill your glass jar to about ¾ full of dried calendula flowers (like the photo on the left). Top flowers with oil (photo on right), making sure to tap the jar on the counter to remove any bubbles that form. Once you fill the jar to the top with the oil, securely screw on the lid and give it a good shake. There are several methods for infusing the oil, but my favorite tried and true method is the slower method. Place the jar in a warm, sunny window for 3-4 weeks, remembering to give the jar a good shake every so often.
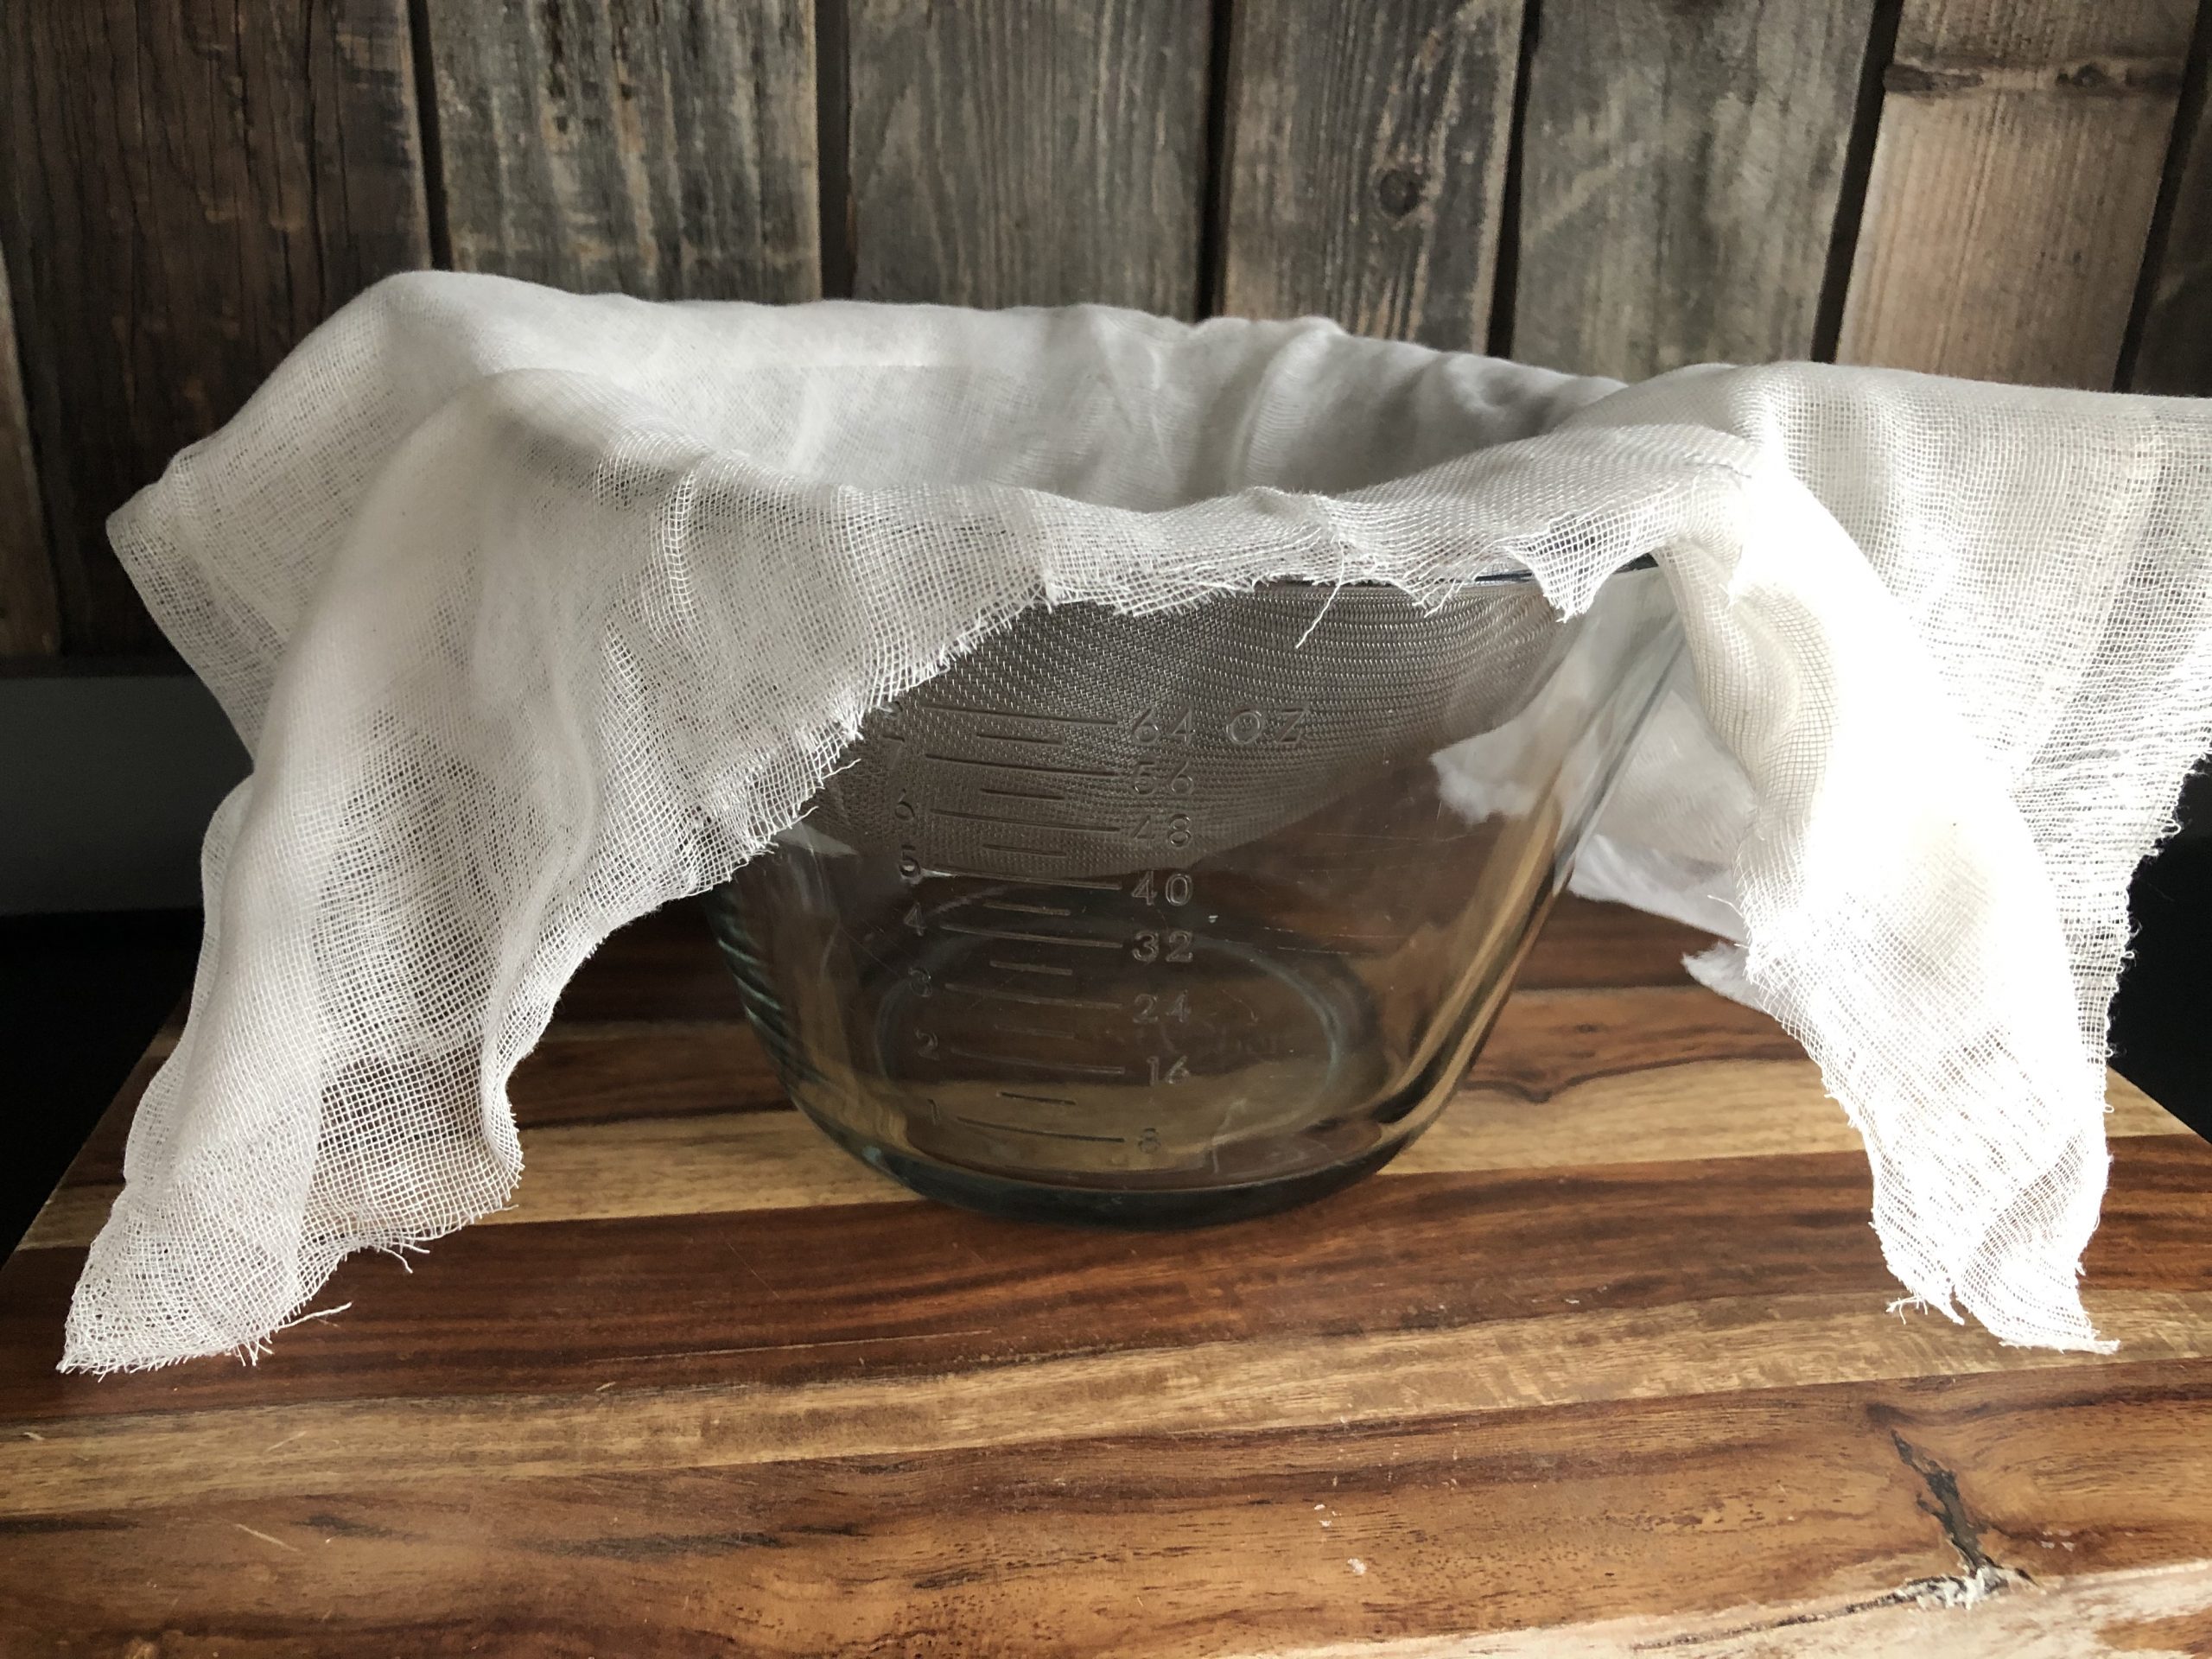
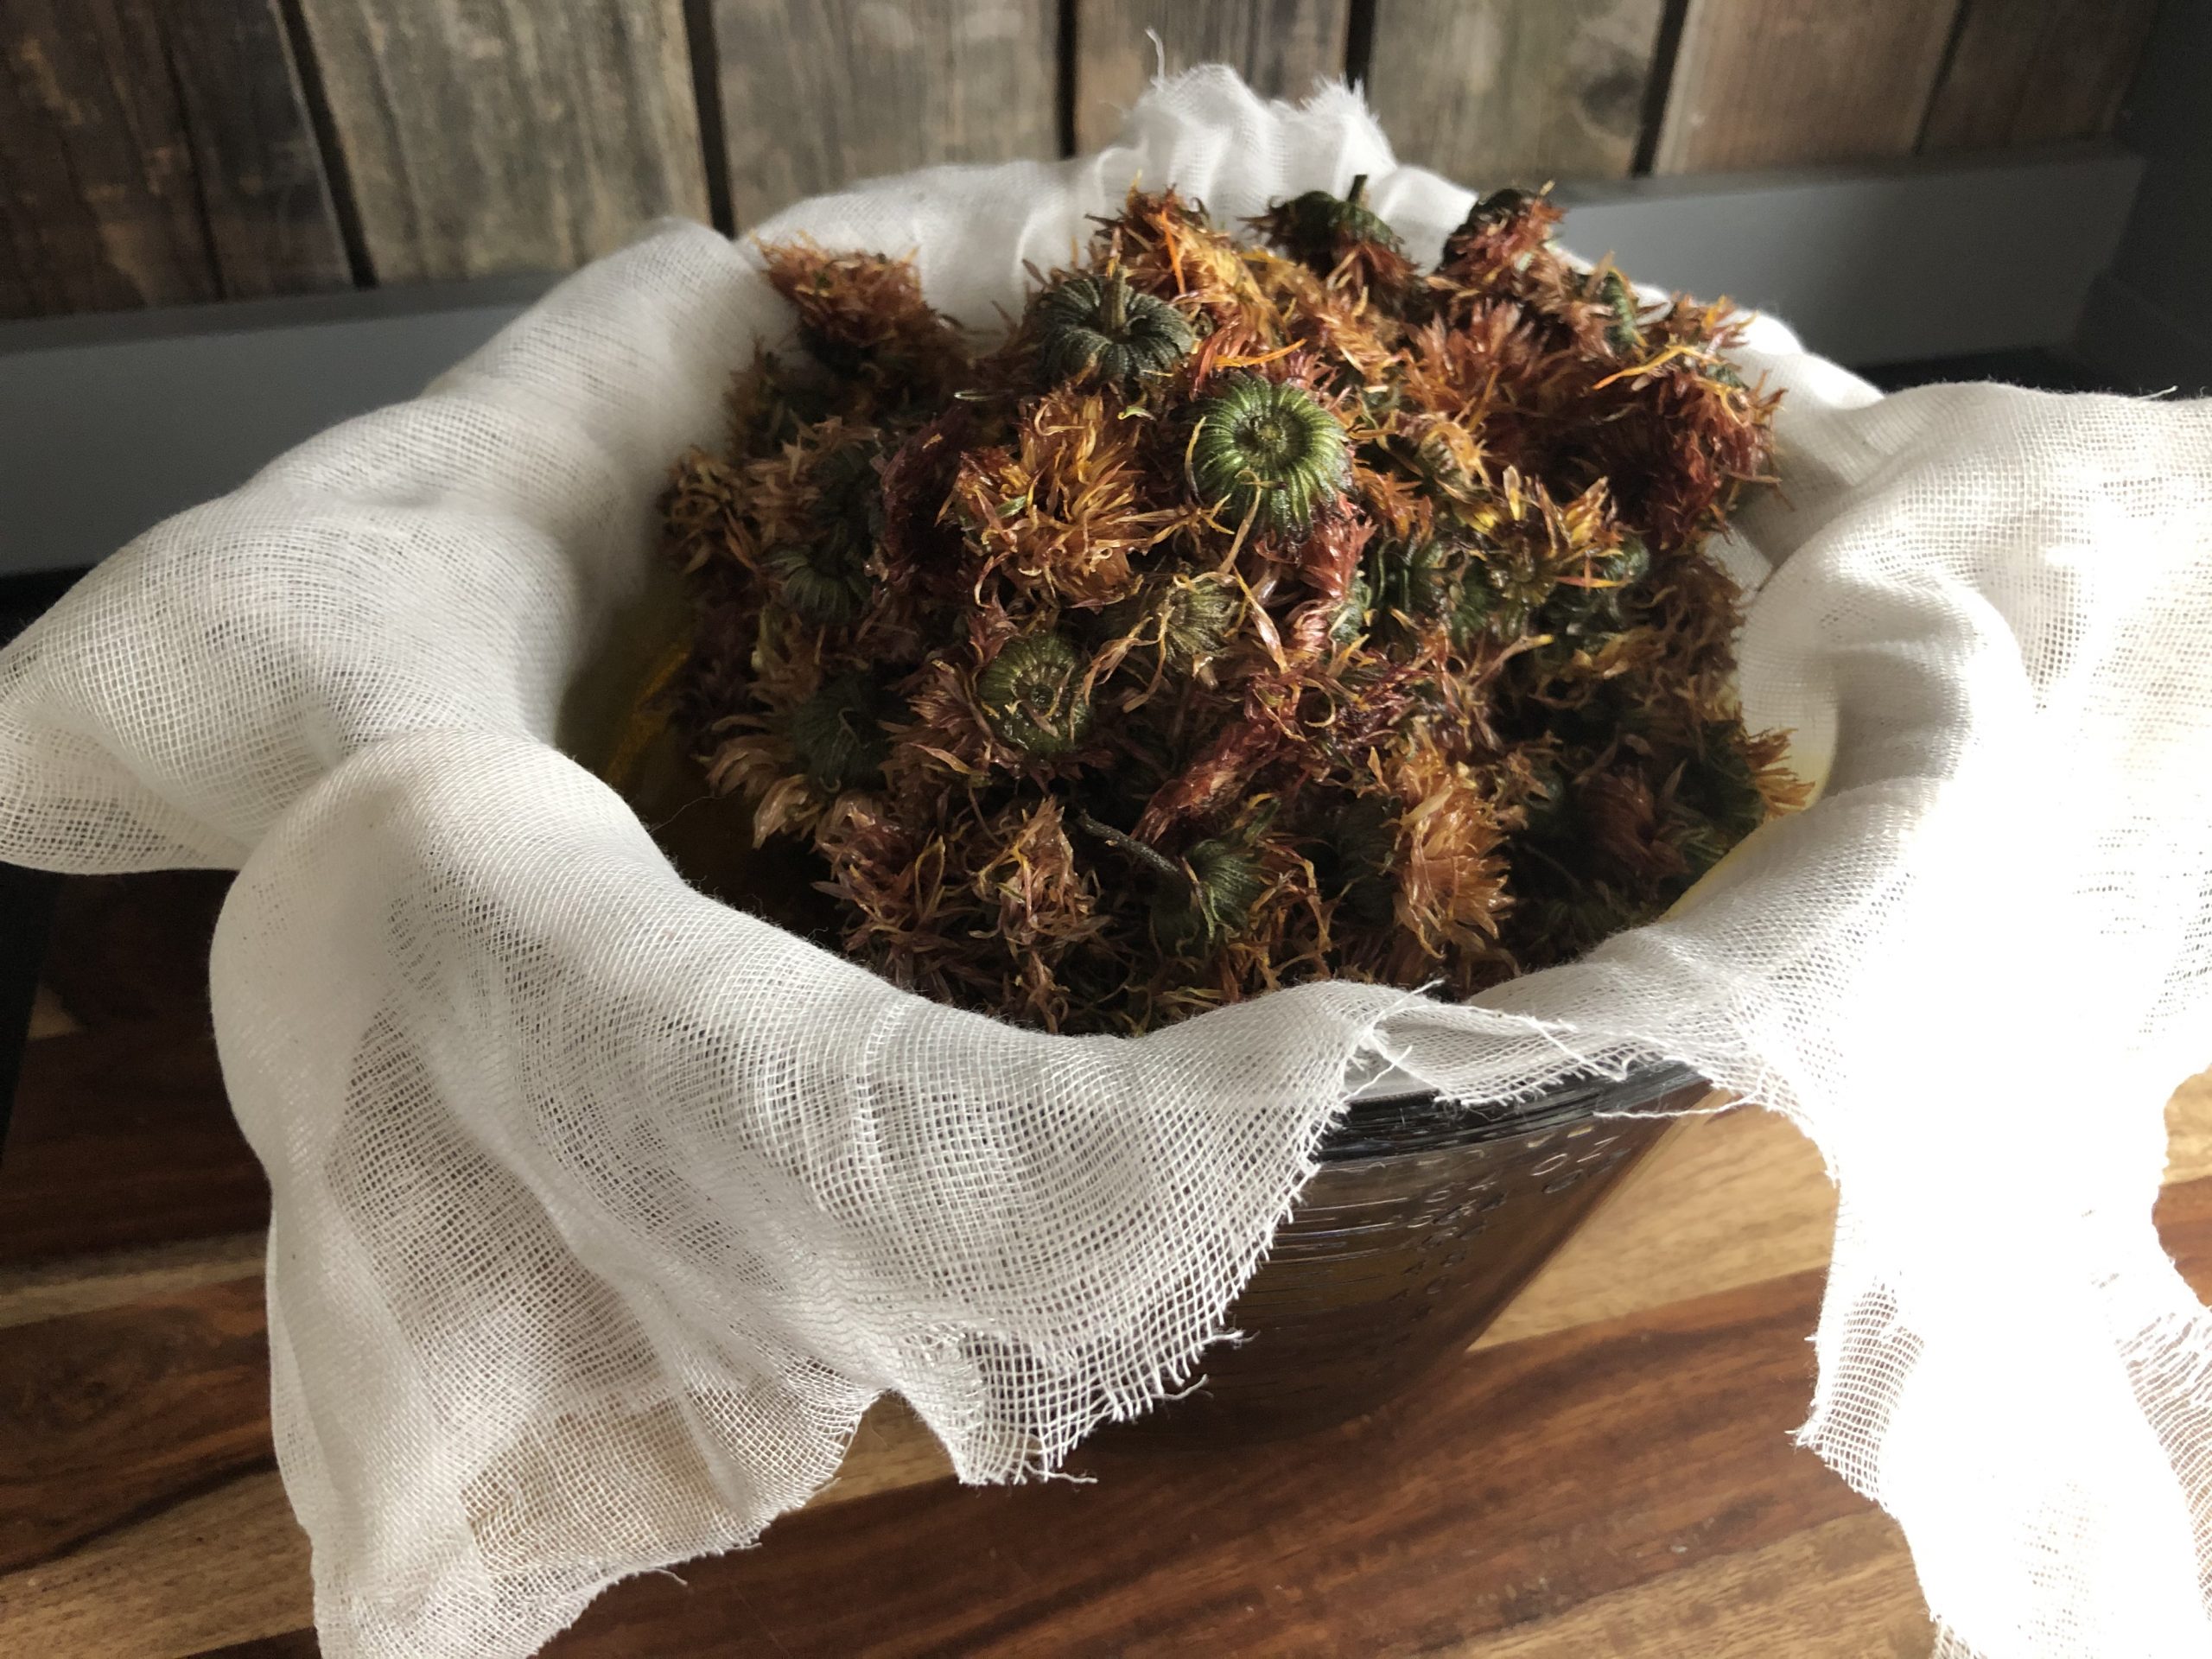
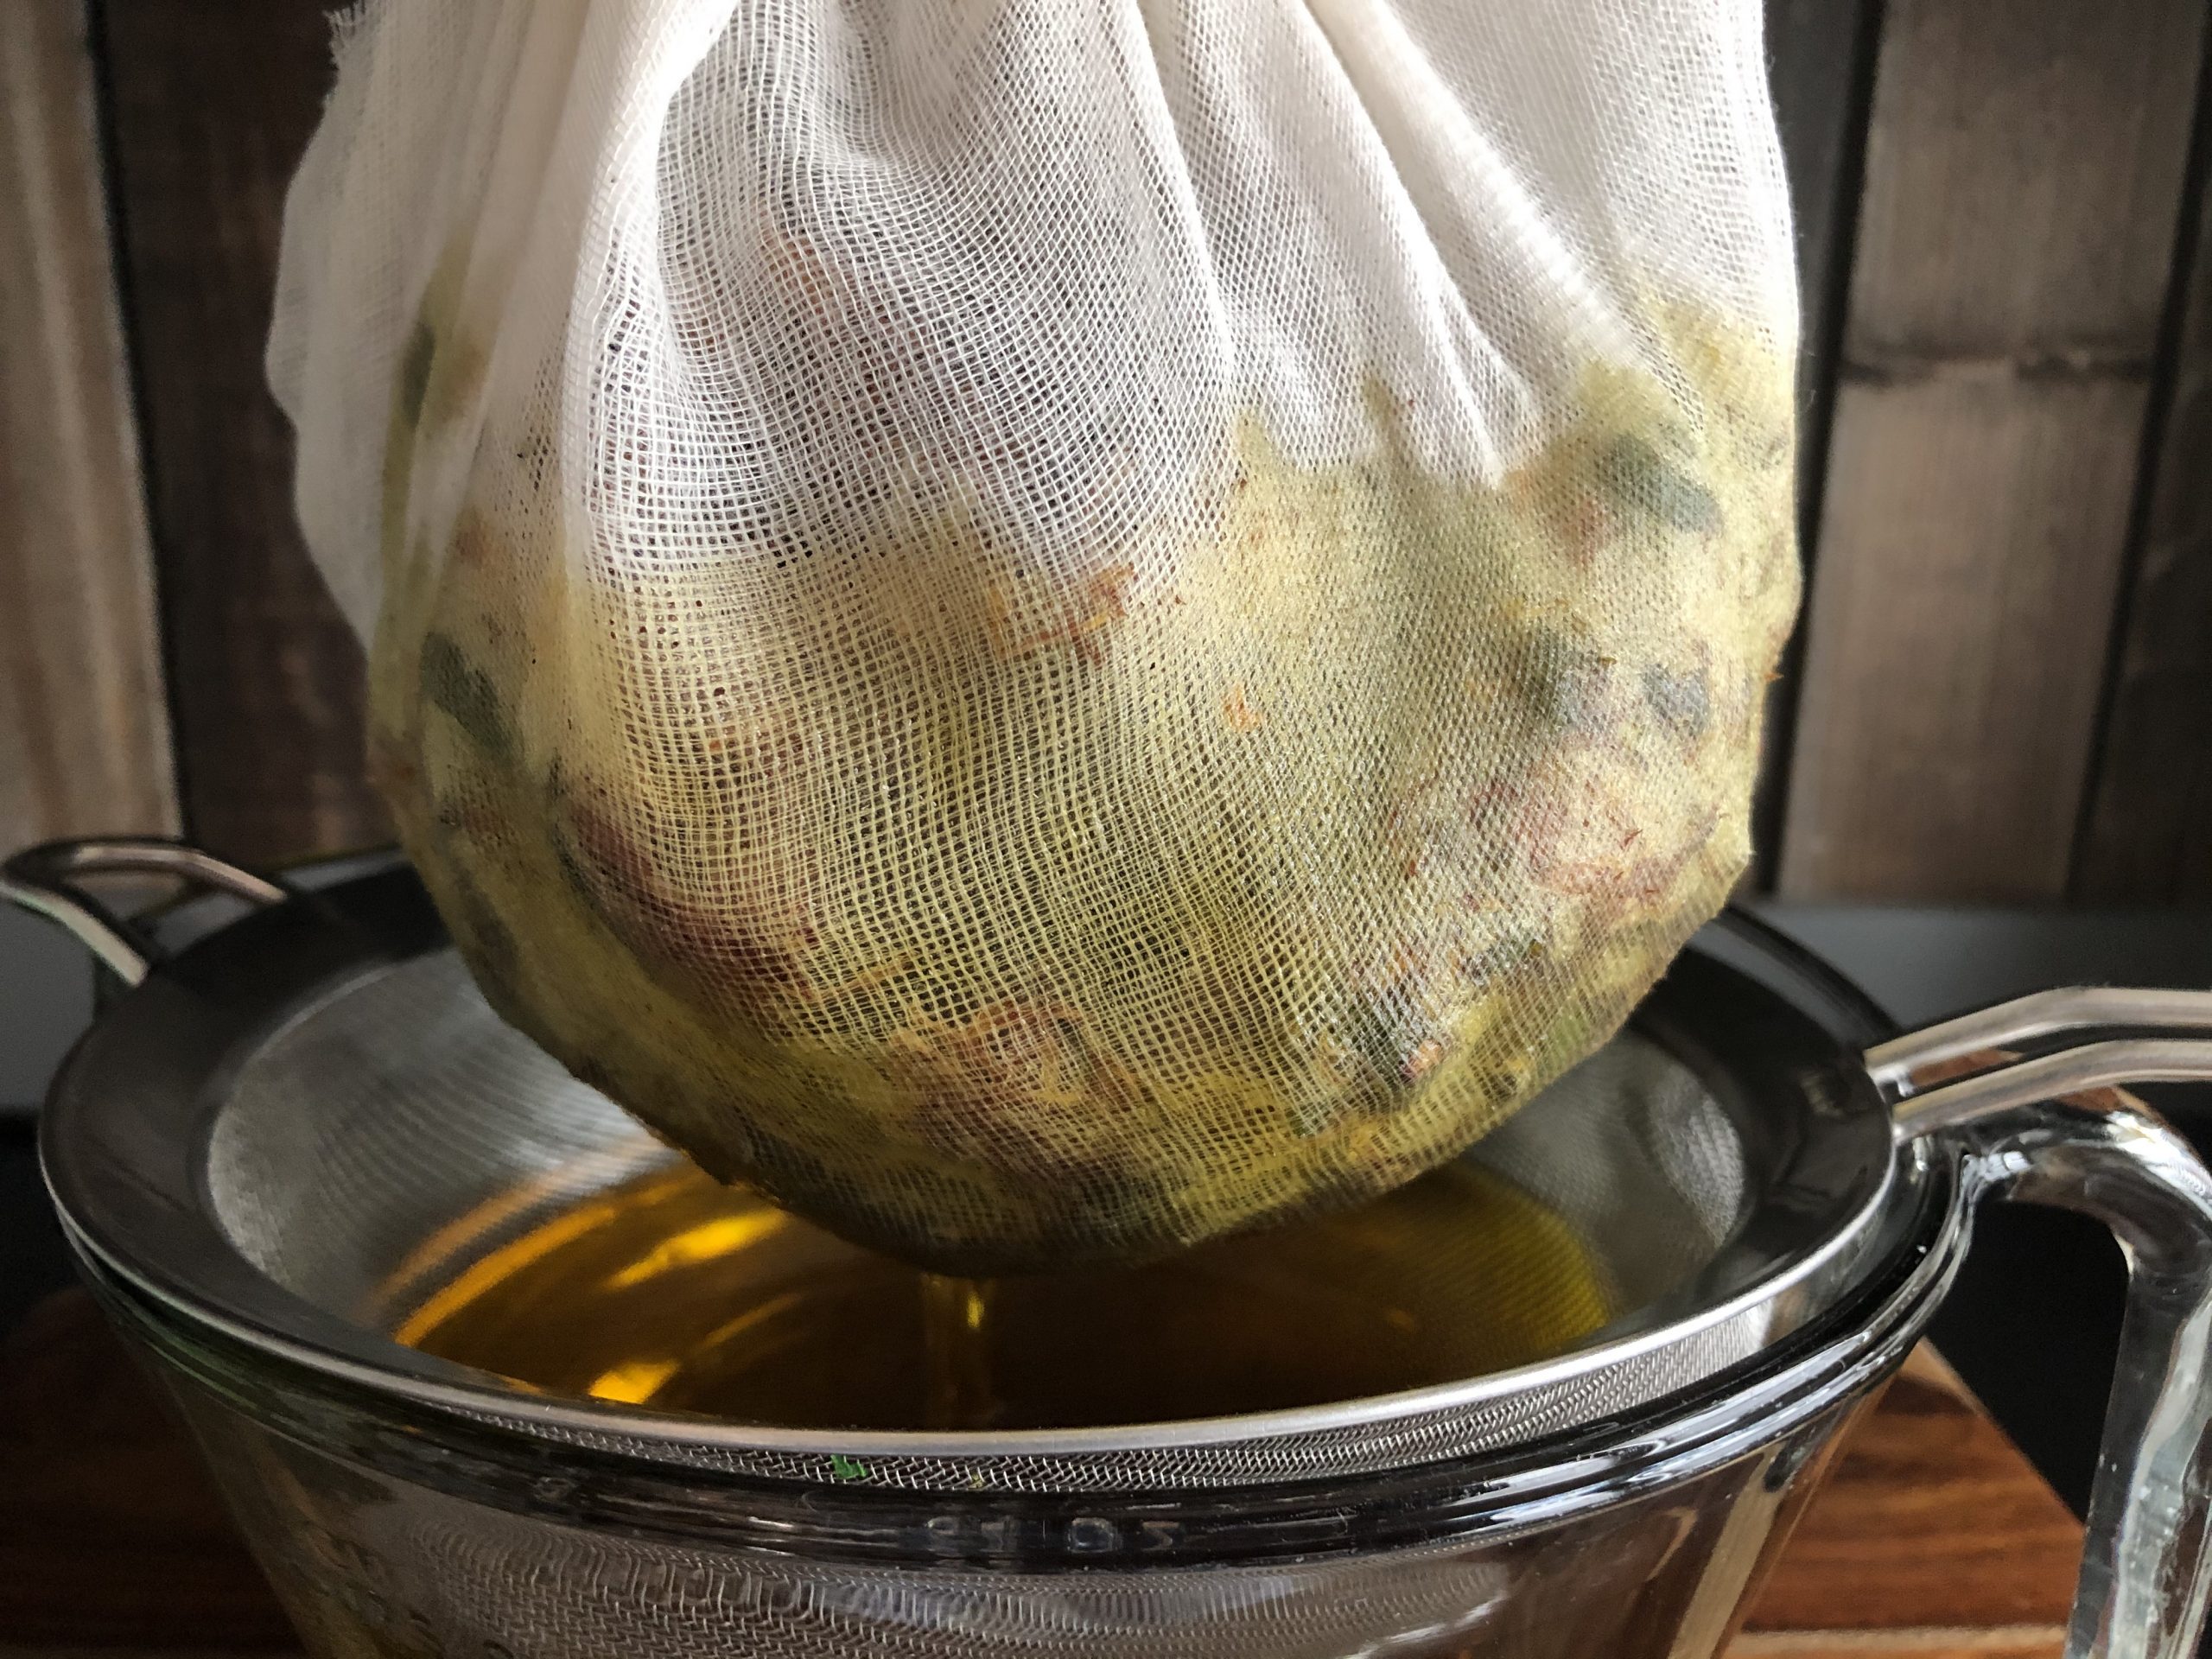
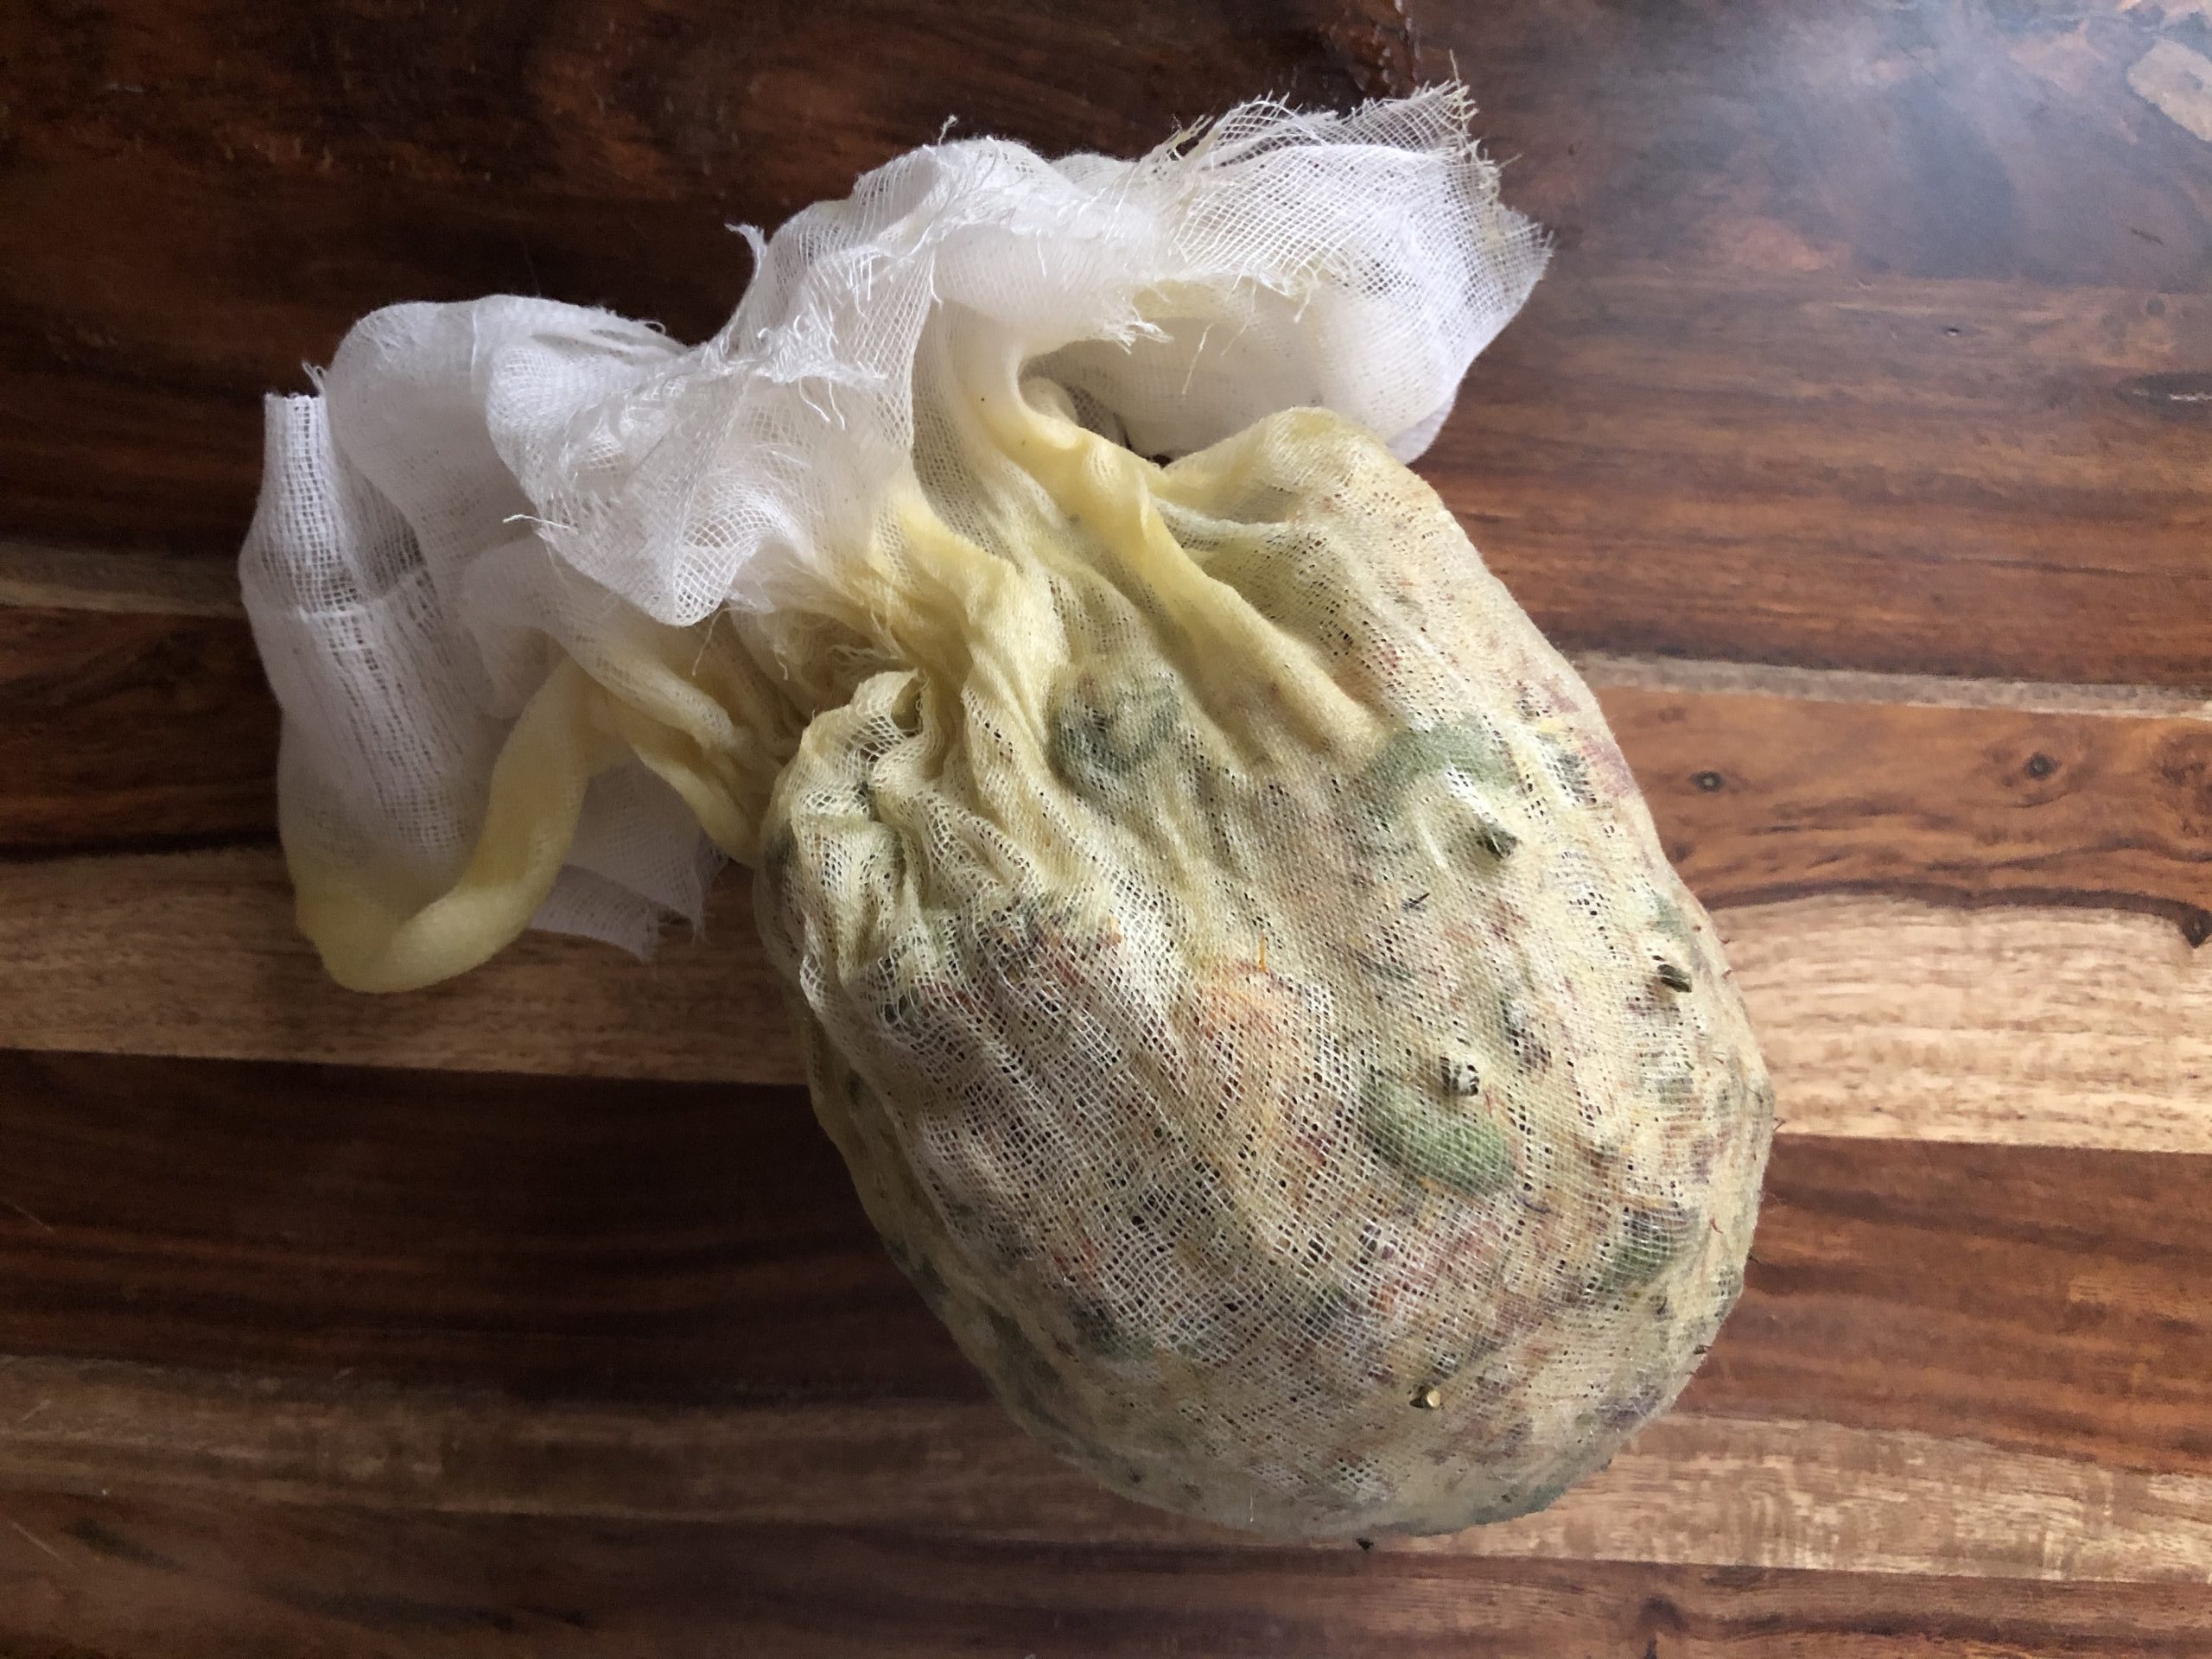
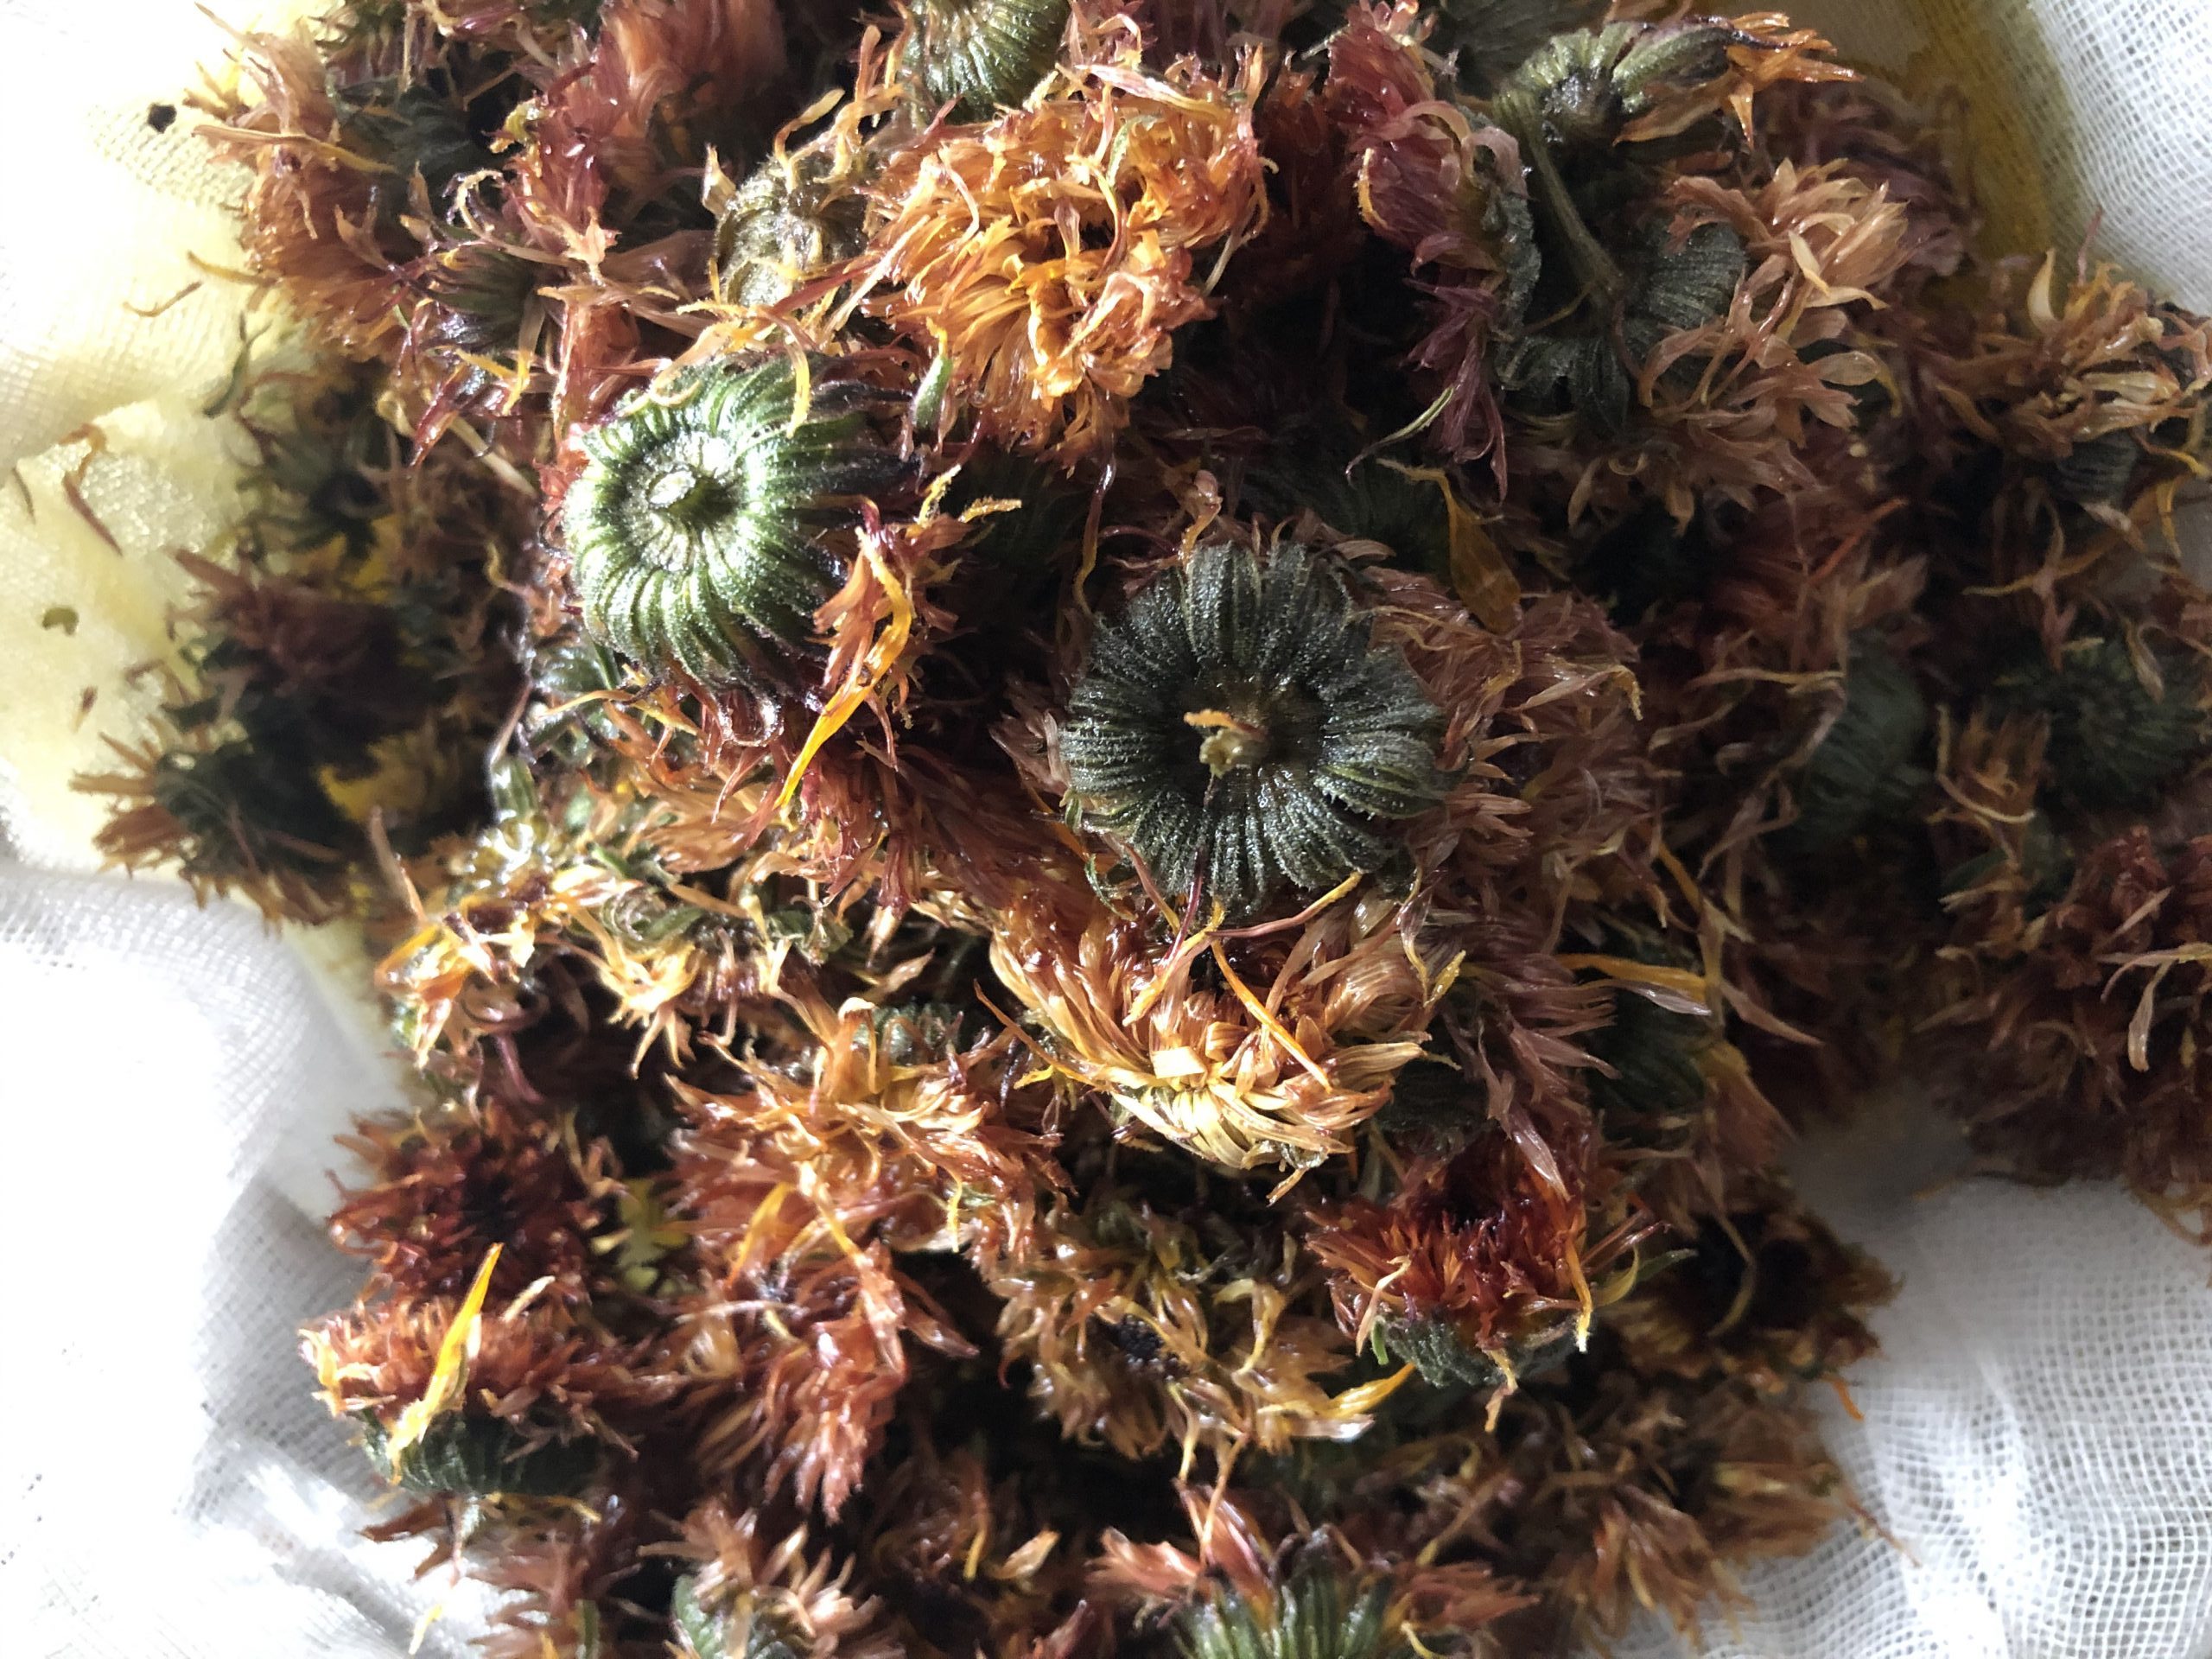
After 3-4 weeks it’s time to strain the oil! Place a cheesecloth-lined strainer over a bowl or jar and pour the oil/flowers over the cheesecloth. When the oil is finished straining, pick up the cheesecloth and squeeze as much oil out of the flowers as you possibly can. You don’t want to miss out anything!
Your calendula oil will typically have as long of a shelf life as your carrier oil so be sure to check the date on your oil before recycling the bottle. Calendula oil is best stored in a cool, dark place, but can also be stored in the fridge. If you are using the oil for salve or other purpose, it’s best used right away!
*Note on dried flowers*
When drying your own calendula flowers, harvest flower heads when they are freshly blooming, making sure to include the green sepals behind the flower (not just the petals) and the top part of the stem. After harvesting, either lay the flower heads dehydrate them as soon as possible. You have a couple options for ways to dehydrate your flowers. One way is to lay out the flower heads on a baking sheet in a single row and allow them to dry out in a warm, dry place for several weeks until the heads are completely dry with no moisture left. You could also place the flower heads in a single row on dehydrator trays, turn your dehydrator on and dry them out over the course of several hours. Either way, once heads are completely dry, place them in a glass jar with a lid until ready to use.
*Note on oils*
There are many carrier oils that will work for infusing- each have their own beneficial/healing properties, comedogenic ratings and various absorption ratings (i.e. more or less “greasy” or moisturizing, etc.). To find out in more detail about carrier oils, check out Deanna’s blog post on Homestead and Chill.
Calendula Salve
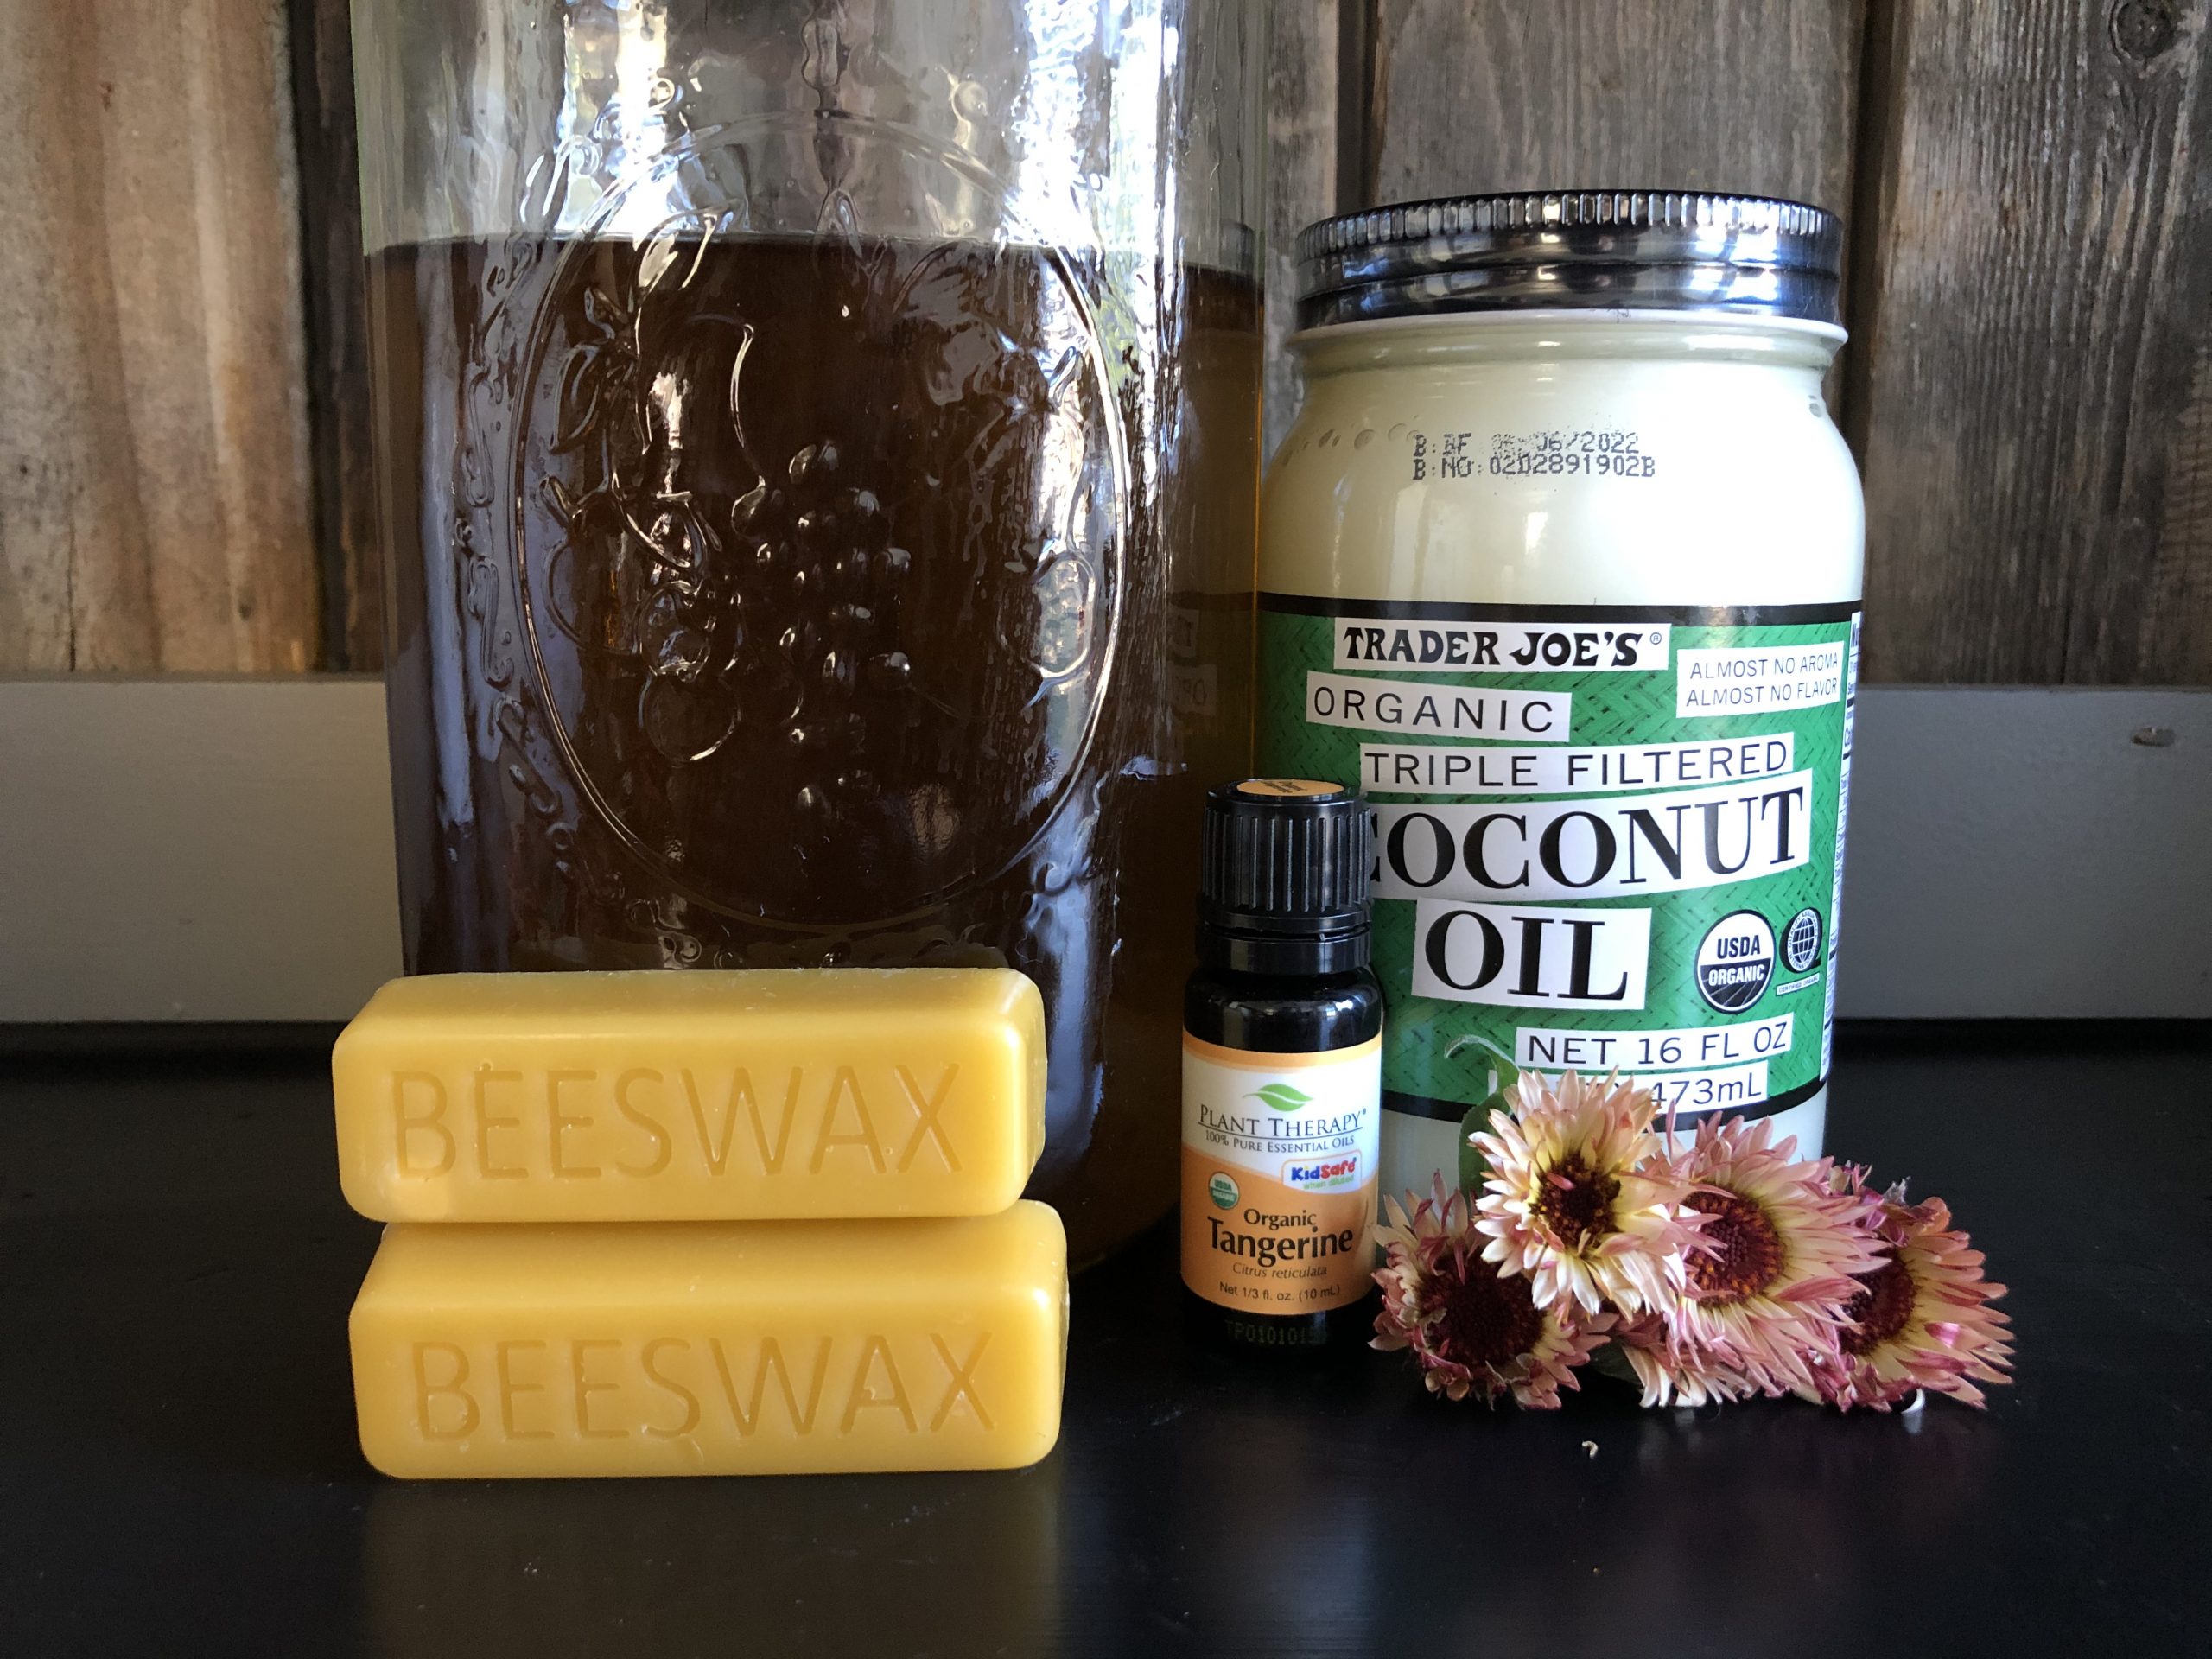
Now that you have your oil infused, let’s make some salve! Here are the ingredients you’ll need:
Ingredients:
1C calendula oil
1oz beeswax (cosmetic grade: either bars or pastilles)
2TB Coconut Oil, optional. (Adding the coconut oil will make the salve a little softer. Totally optional)
Essential oils (10-20 drops), optional*
Tins or jars for storage
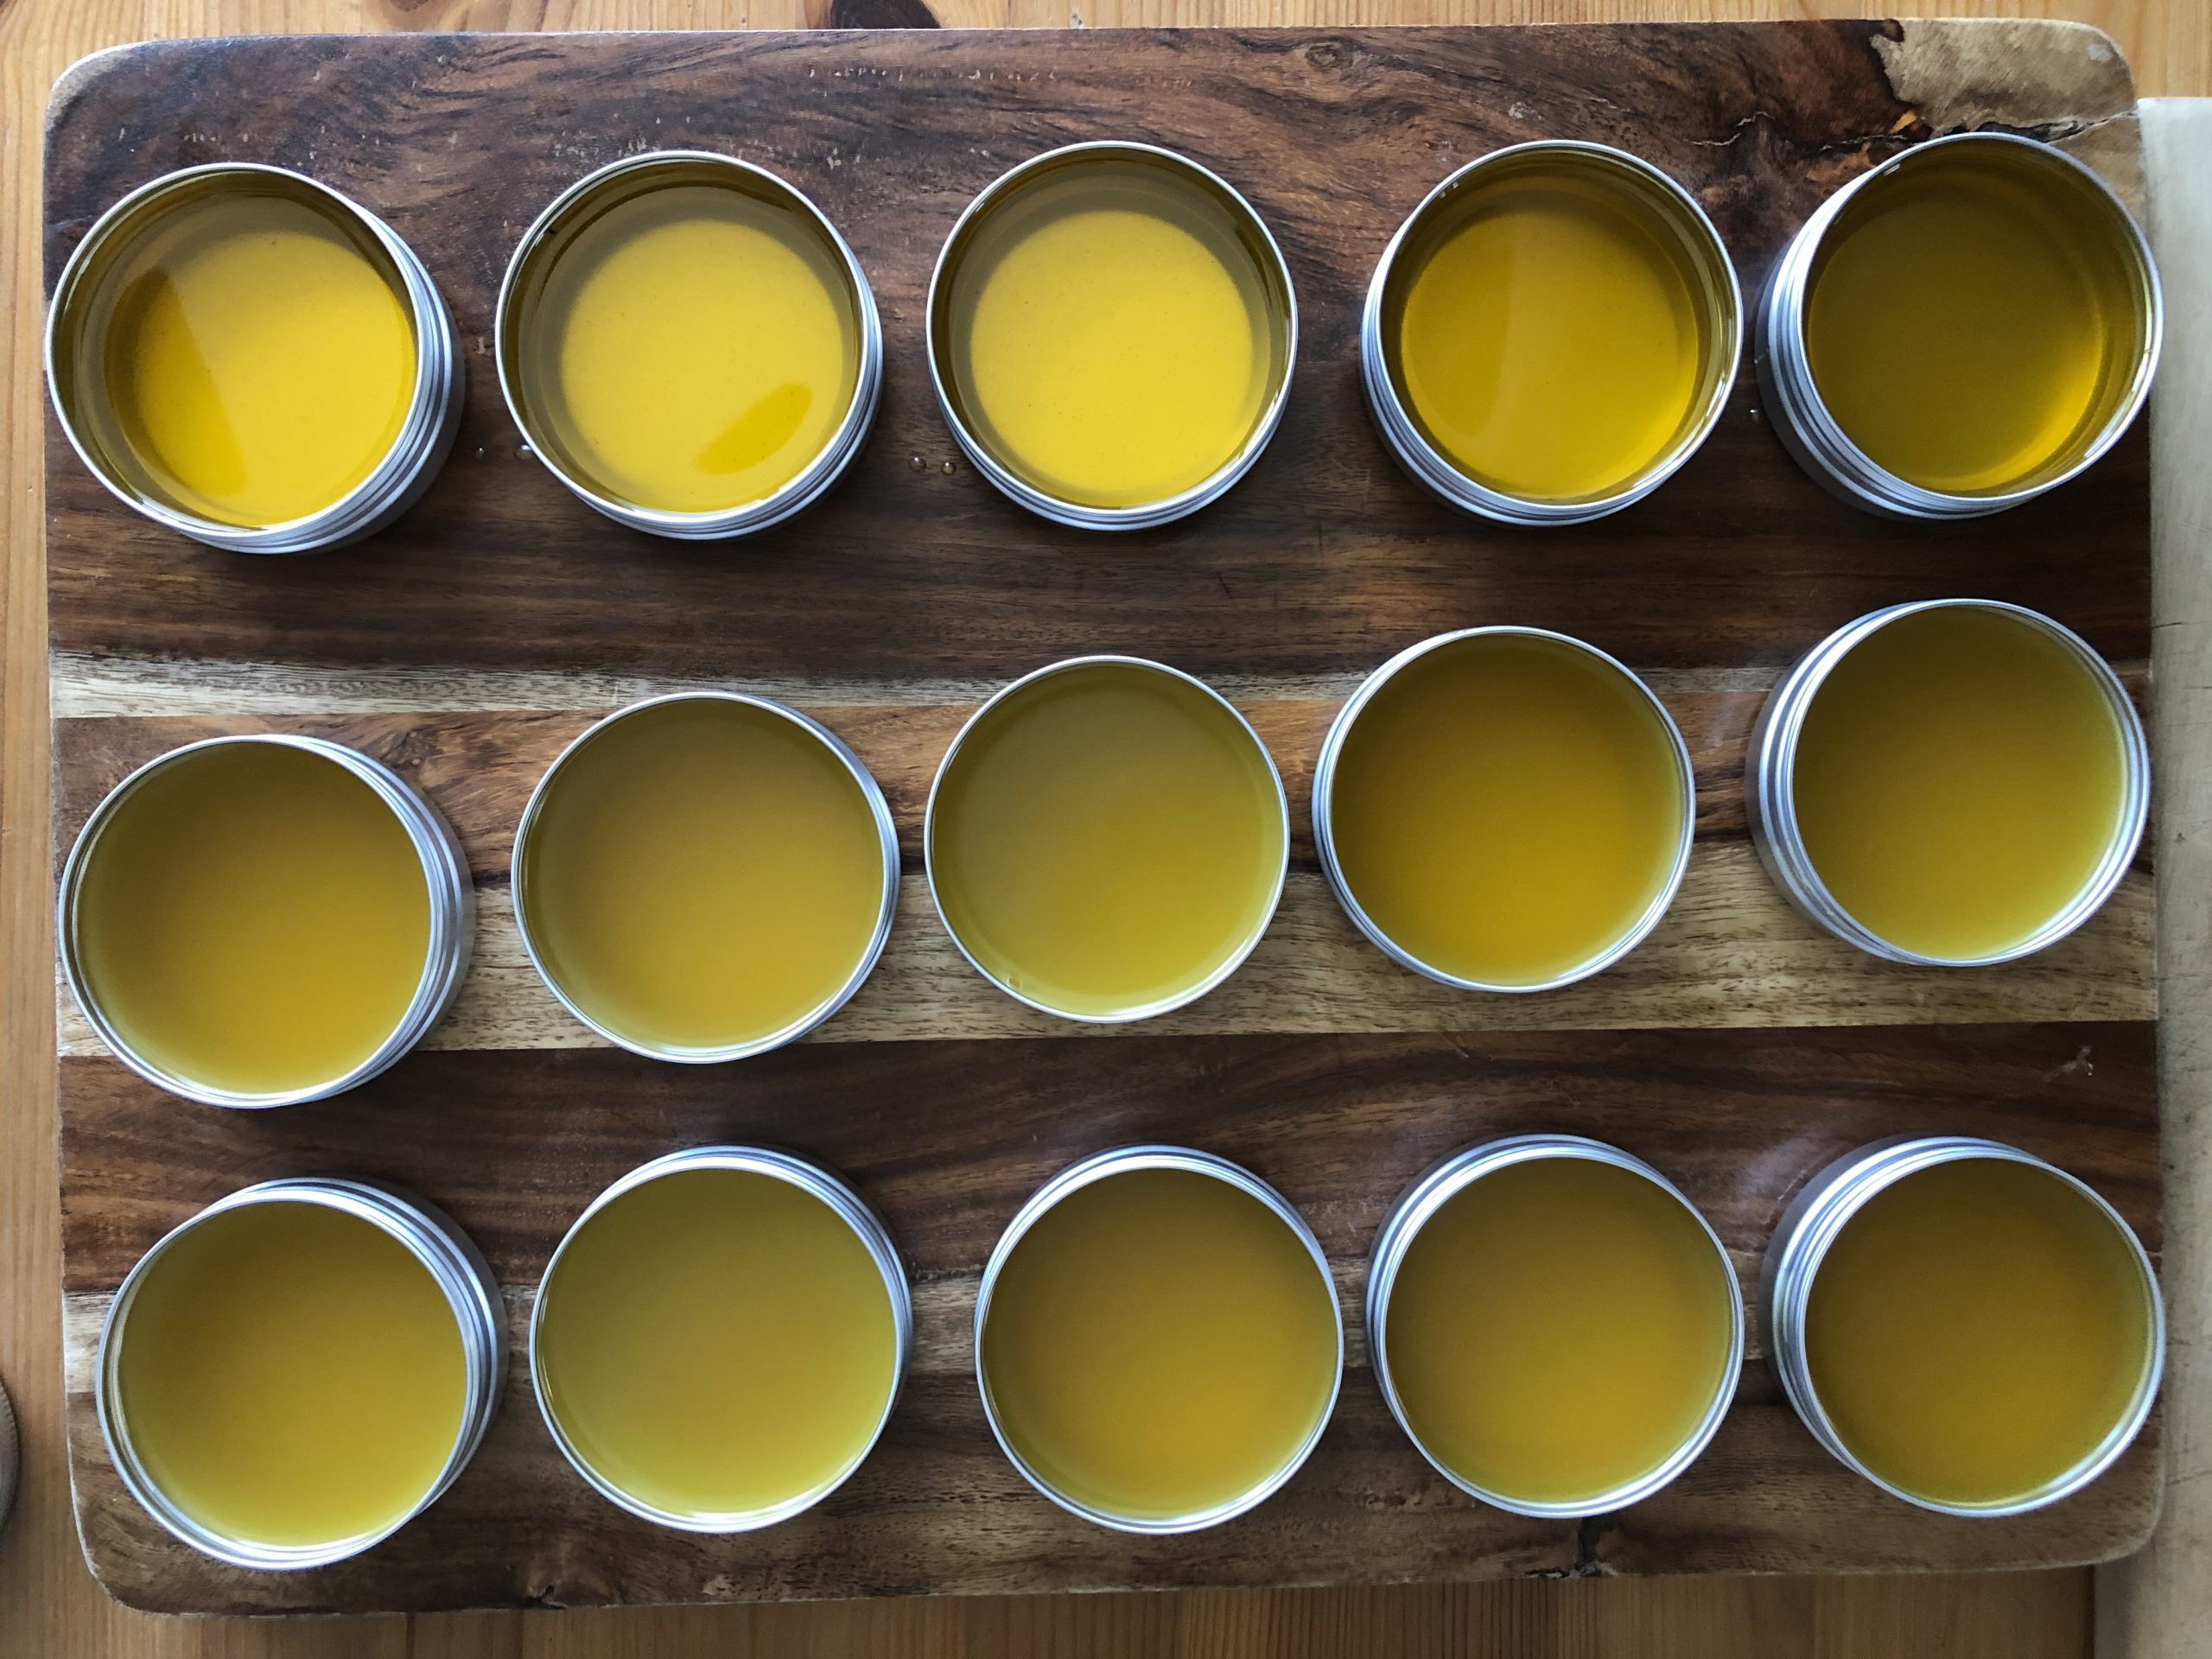
To make the salve, place your infused oil, beeswax and coconut oil (if using) into a double boiler. Bring water to a gentle simmer. Stir oil and beeswax until beeswax is completely dissolved. Once beeswax is dissolved, stir in your essential oils and remove from heat.
Once oil mixture is removed from heat, immediately and carefully pour into storage tins or jars. Allow them to cool completely. Once they are cool (and the salve is solidified), put on lids and your salve is ready to go! One recipe makes five 2oz tins/jars.
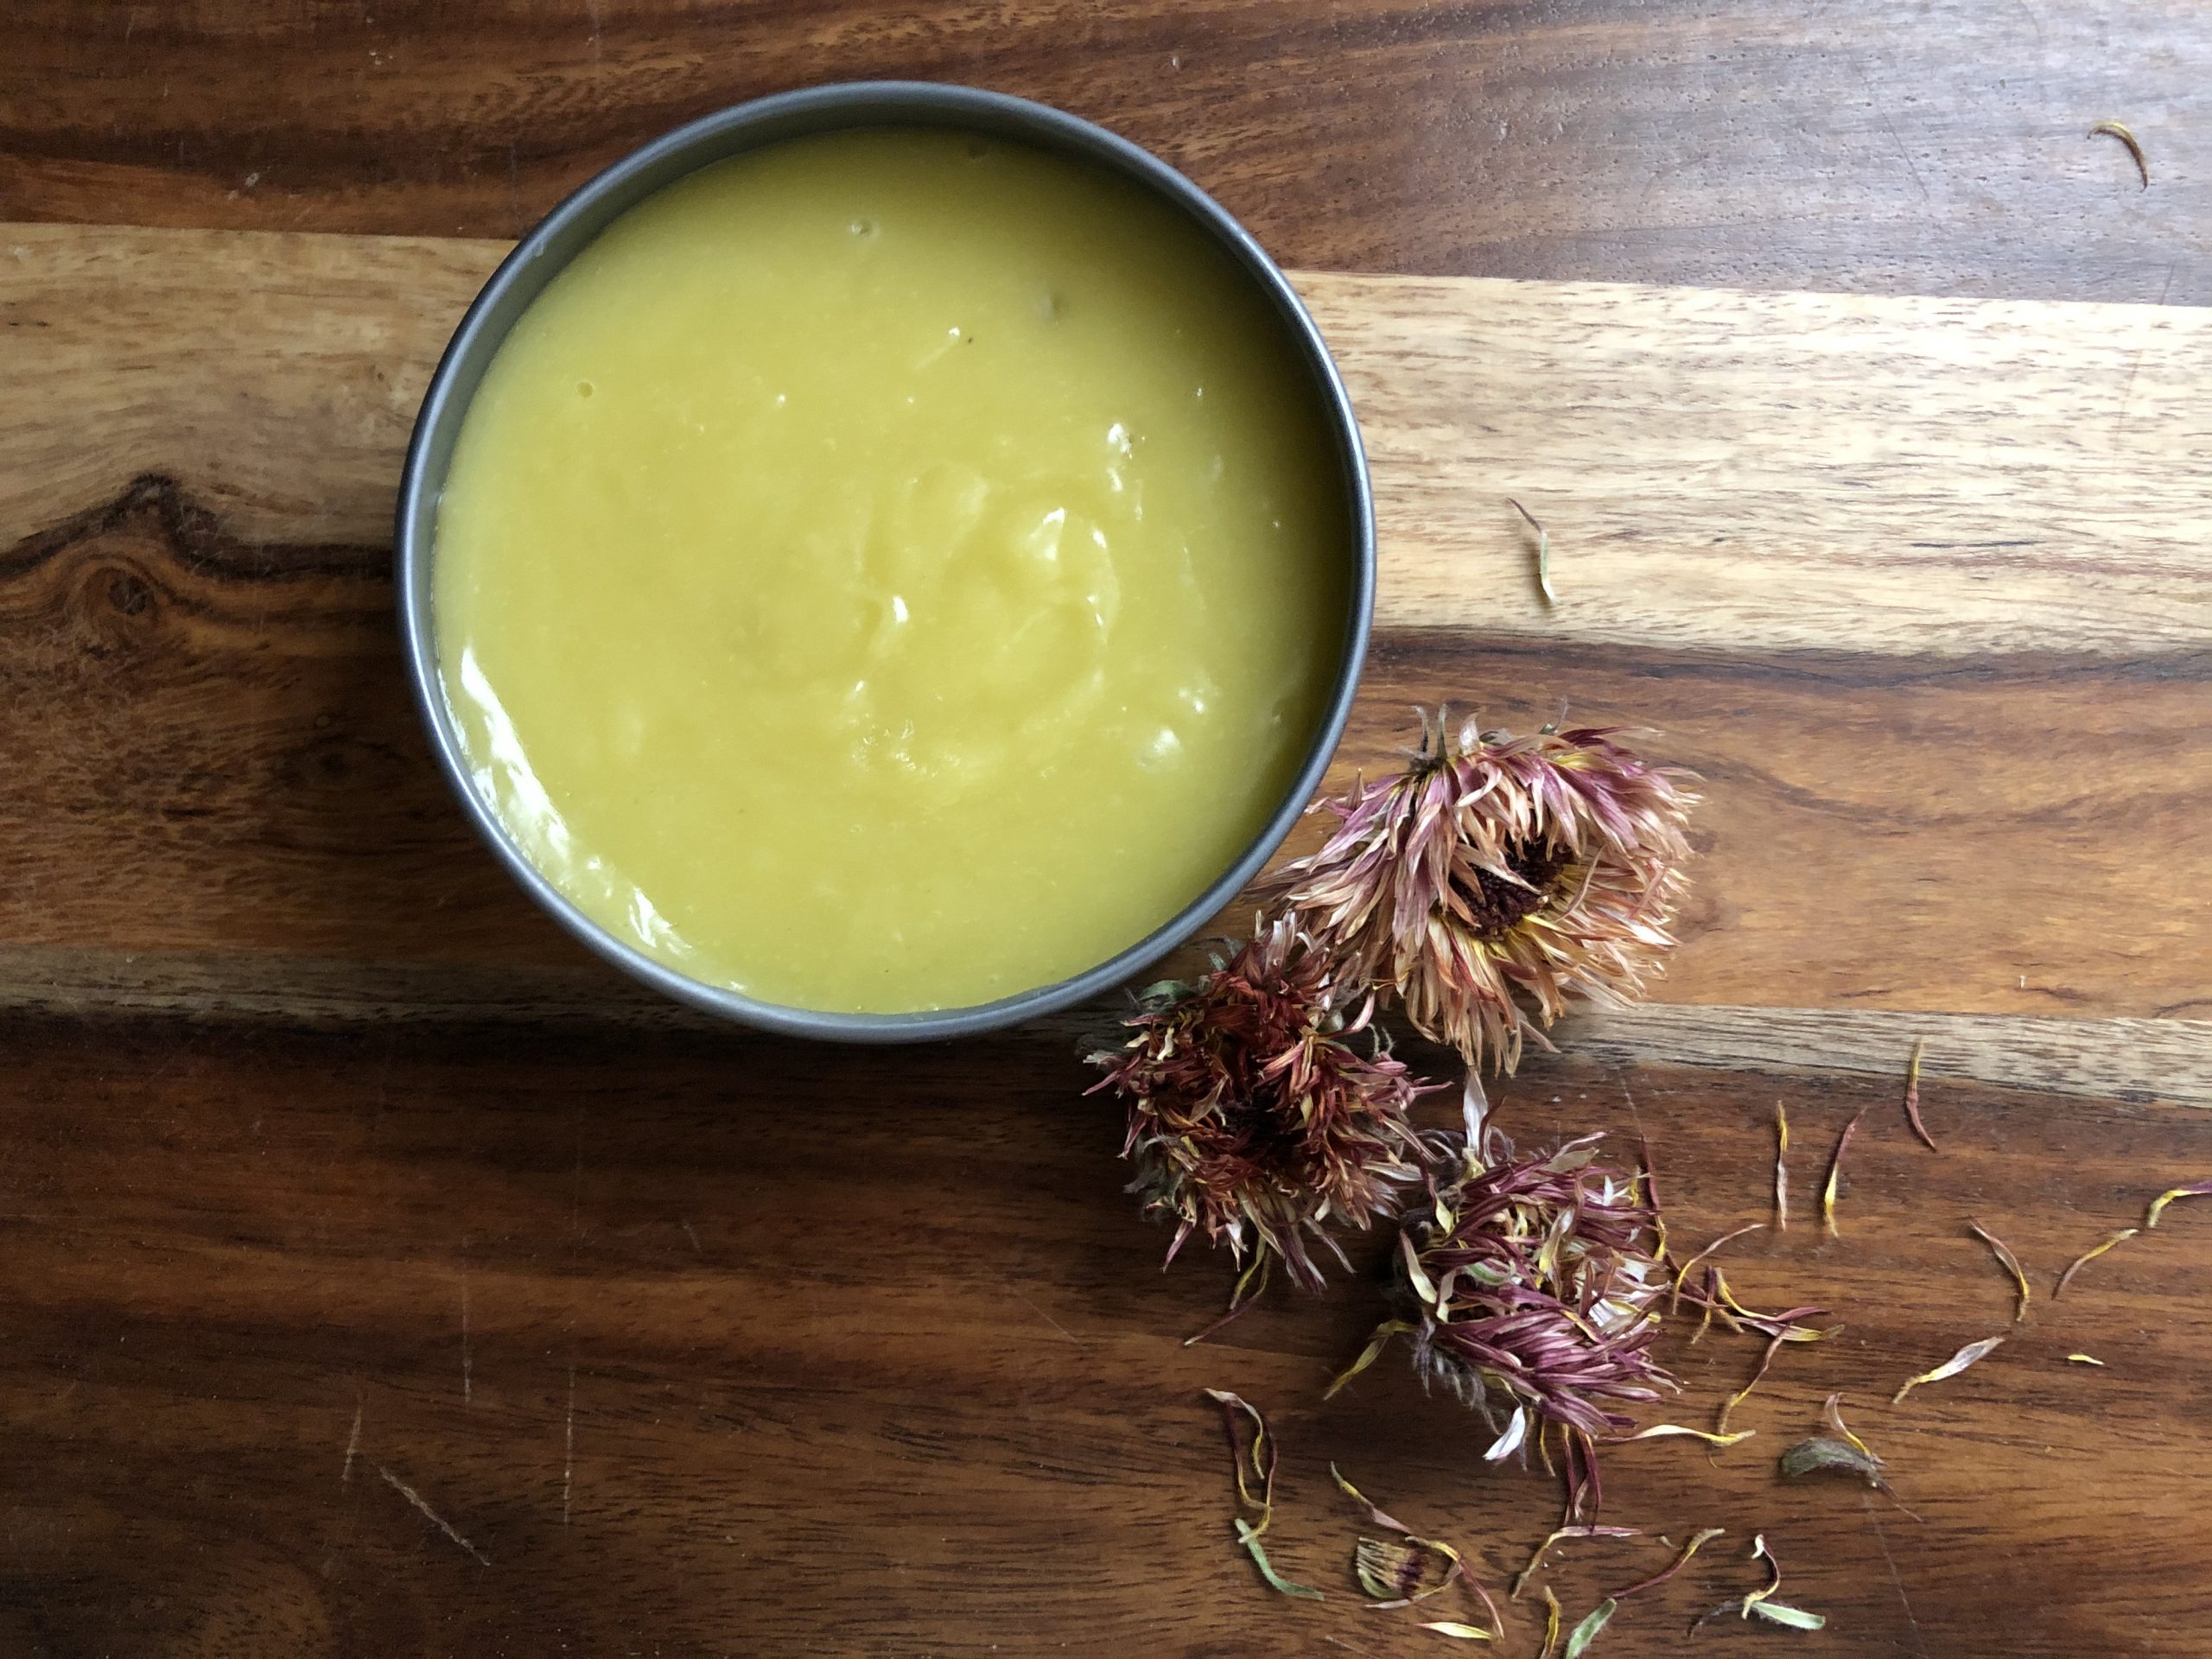
Your salve is best stored in a cool, dry place. The shelf life of your salve is typically as long as the shelf life of the carrier oil you used for your infused oil so be sure to check the date on your oil before recycling the bottle!
Now put it to use! I keep a tin of salve in my purse, in my garden bag, in our first aid drawer and a jar in our kitchen! I think you’ll soon find you’ll use it more than you think 🙂 Enjoy!
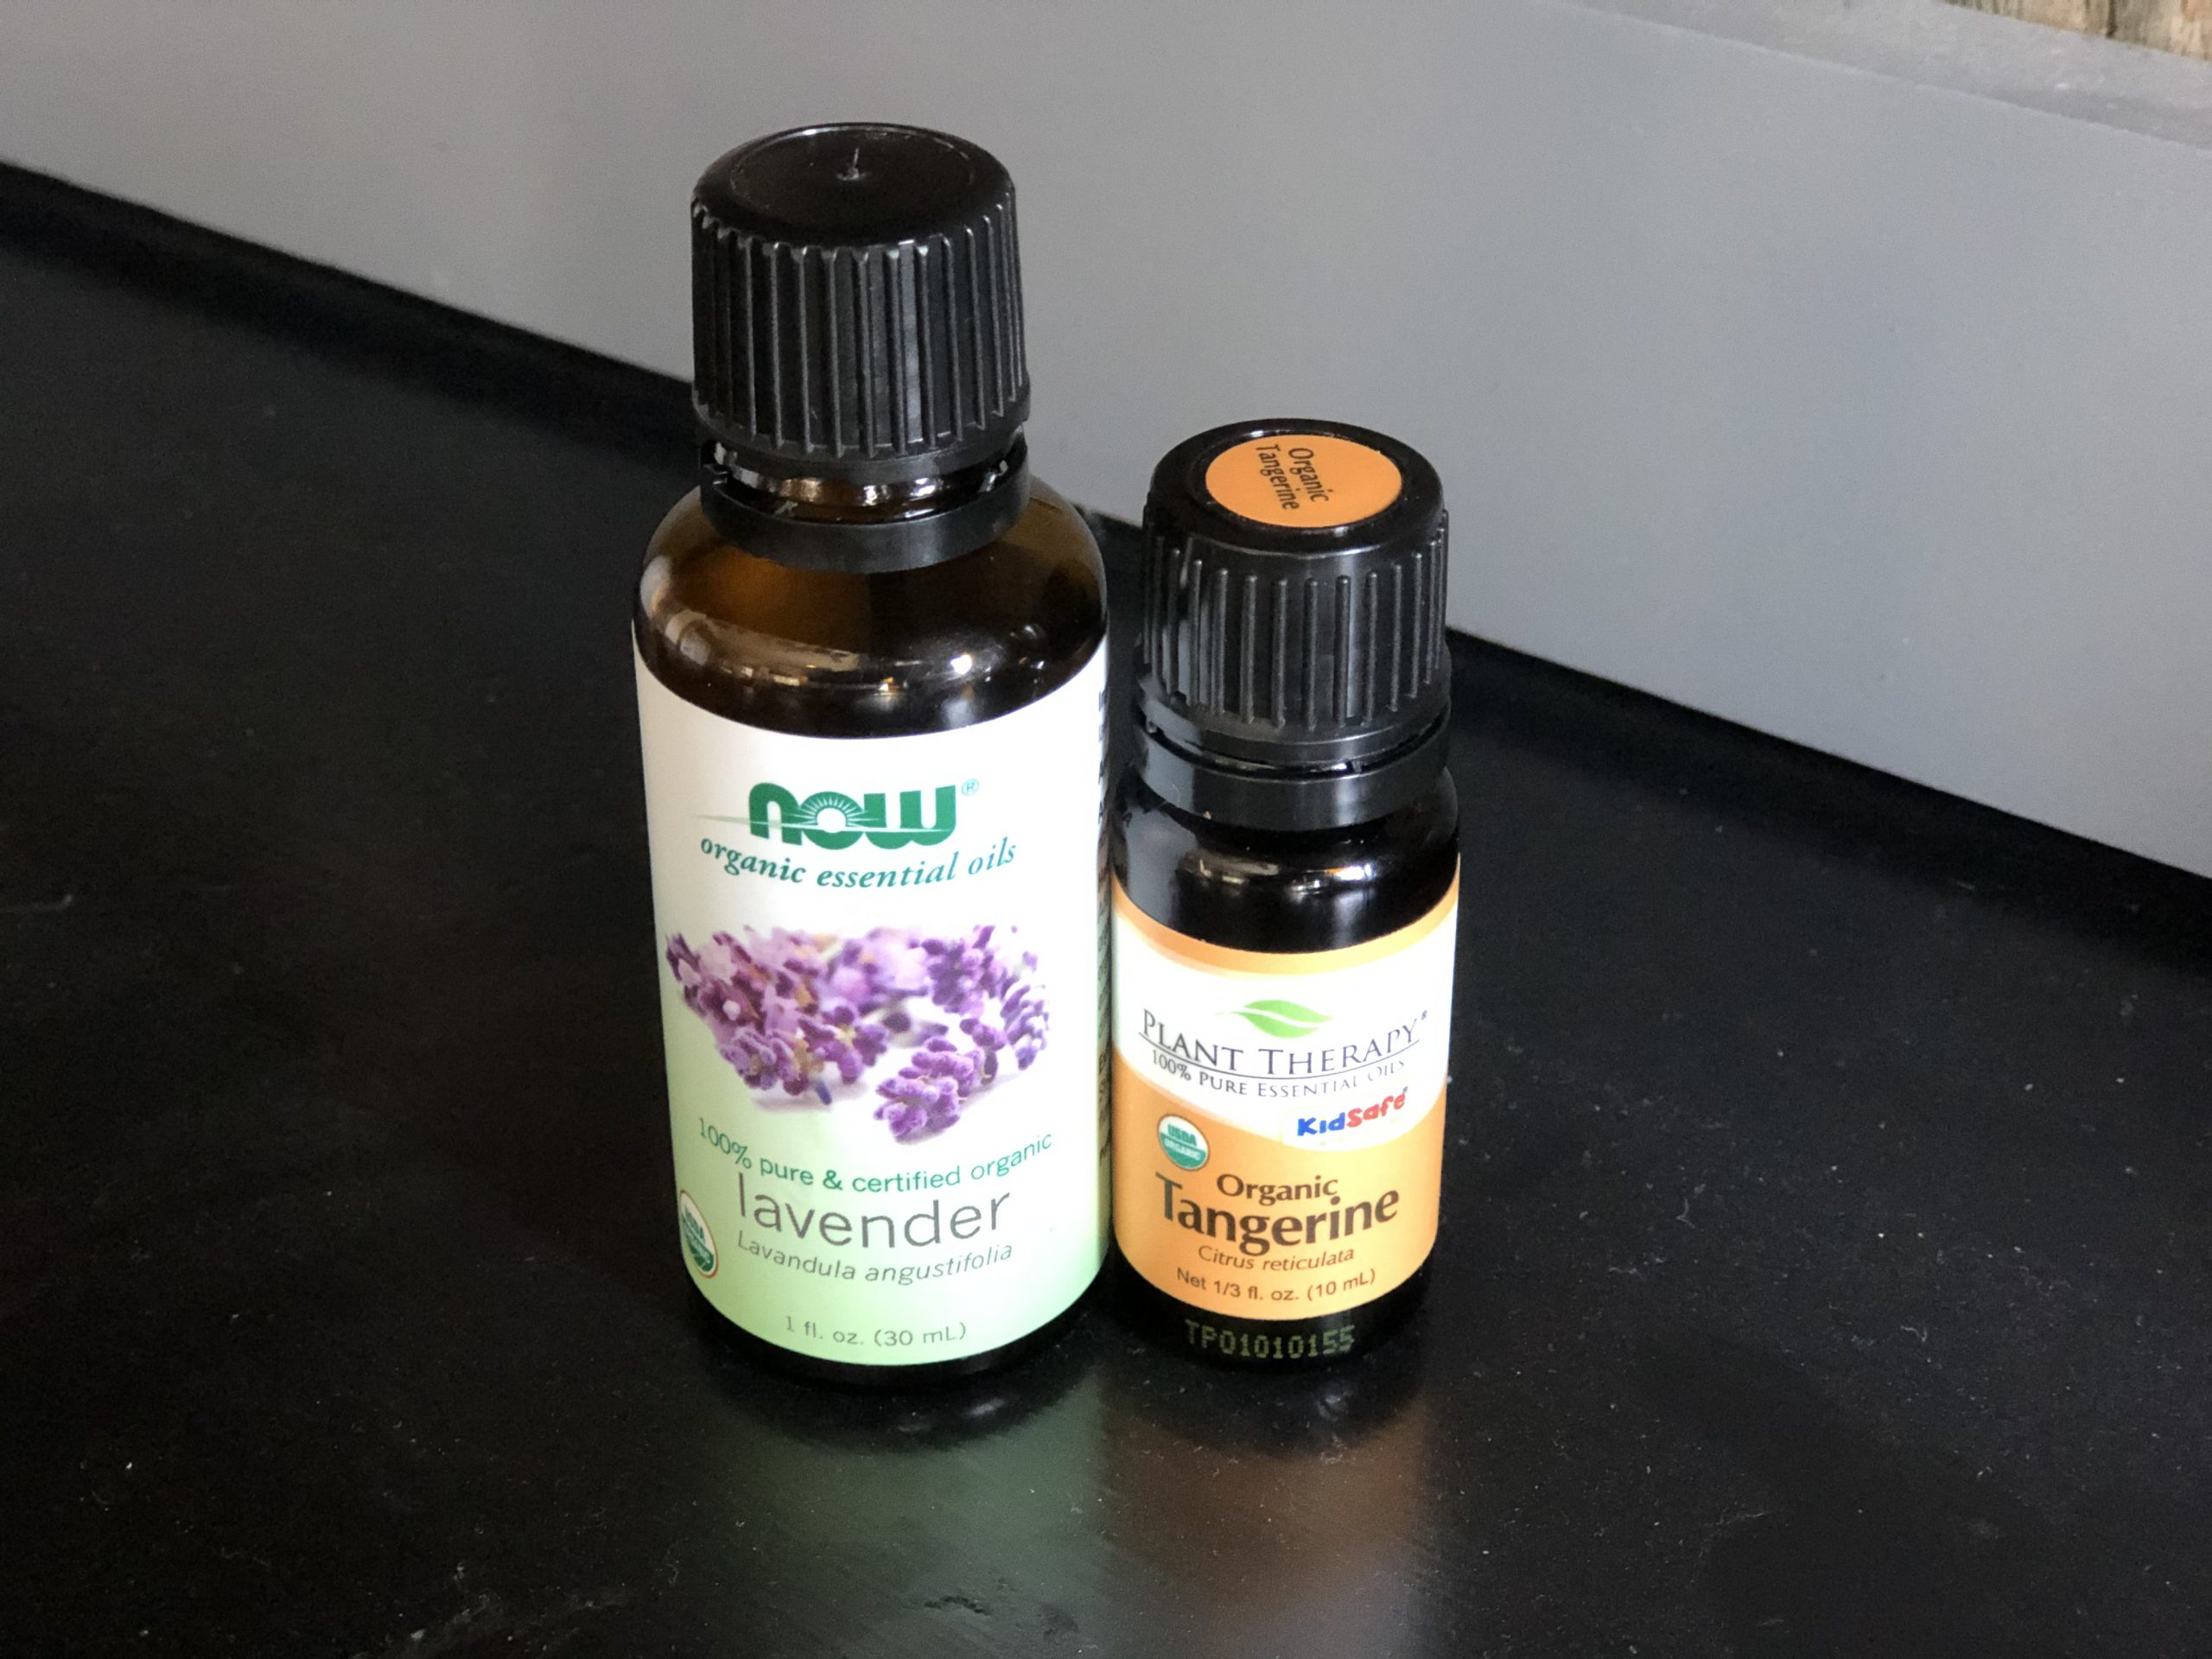
*Note about essential oils*
There are several different essential oils you can use in your salves that each have their own beneficial/healing properties and scents. I prefer to use either lavender or mandarin. Do your research as some essential oils can be phototoxic and are best used in the evening, not before/while spending time outdoors.